

I have received so many messages and queries regarding my chalk painted door that I have posted on my insta story over @delilapipoly I thought the best way to reply for all your questions is to write it all down here. Let's jump right in!
About the door
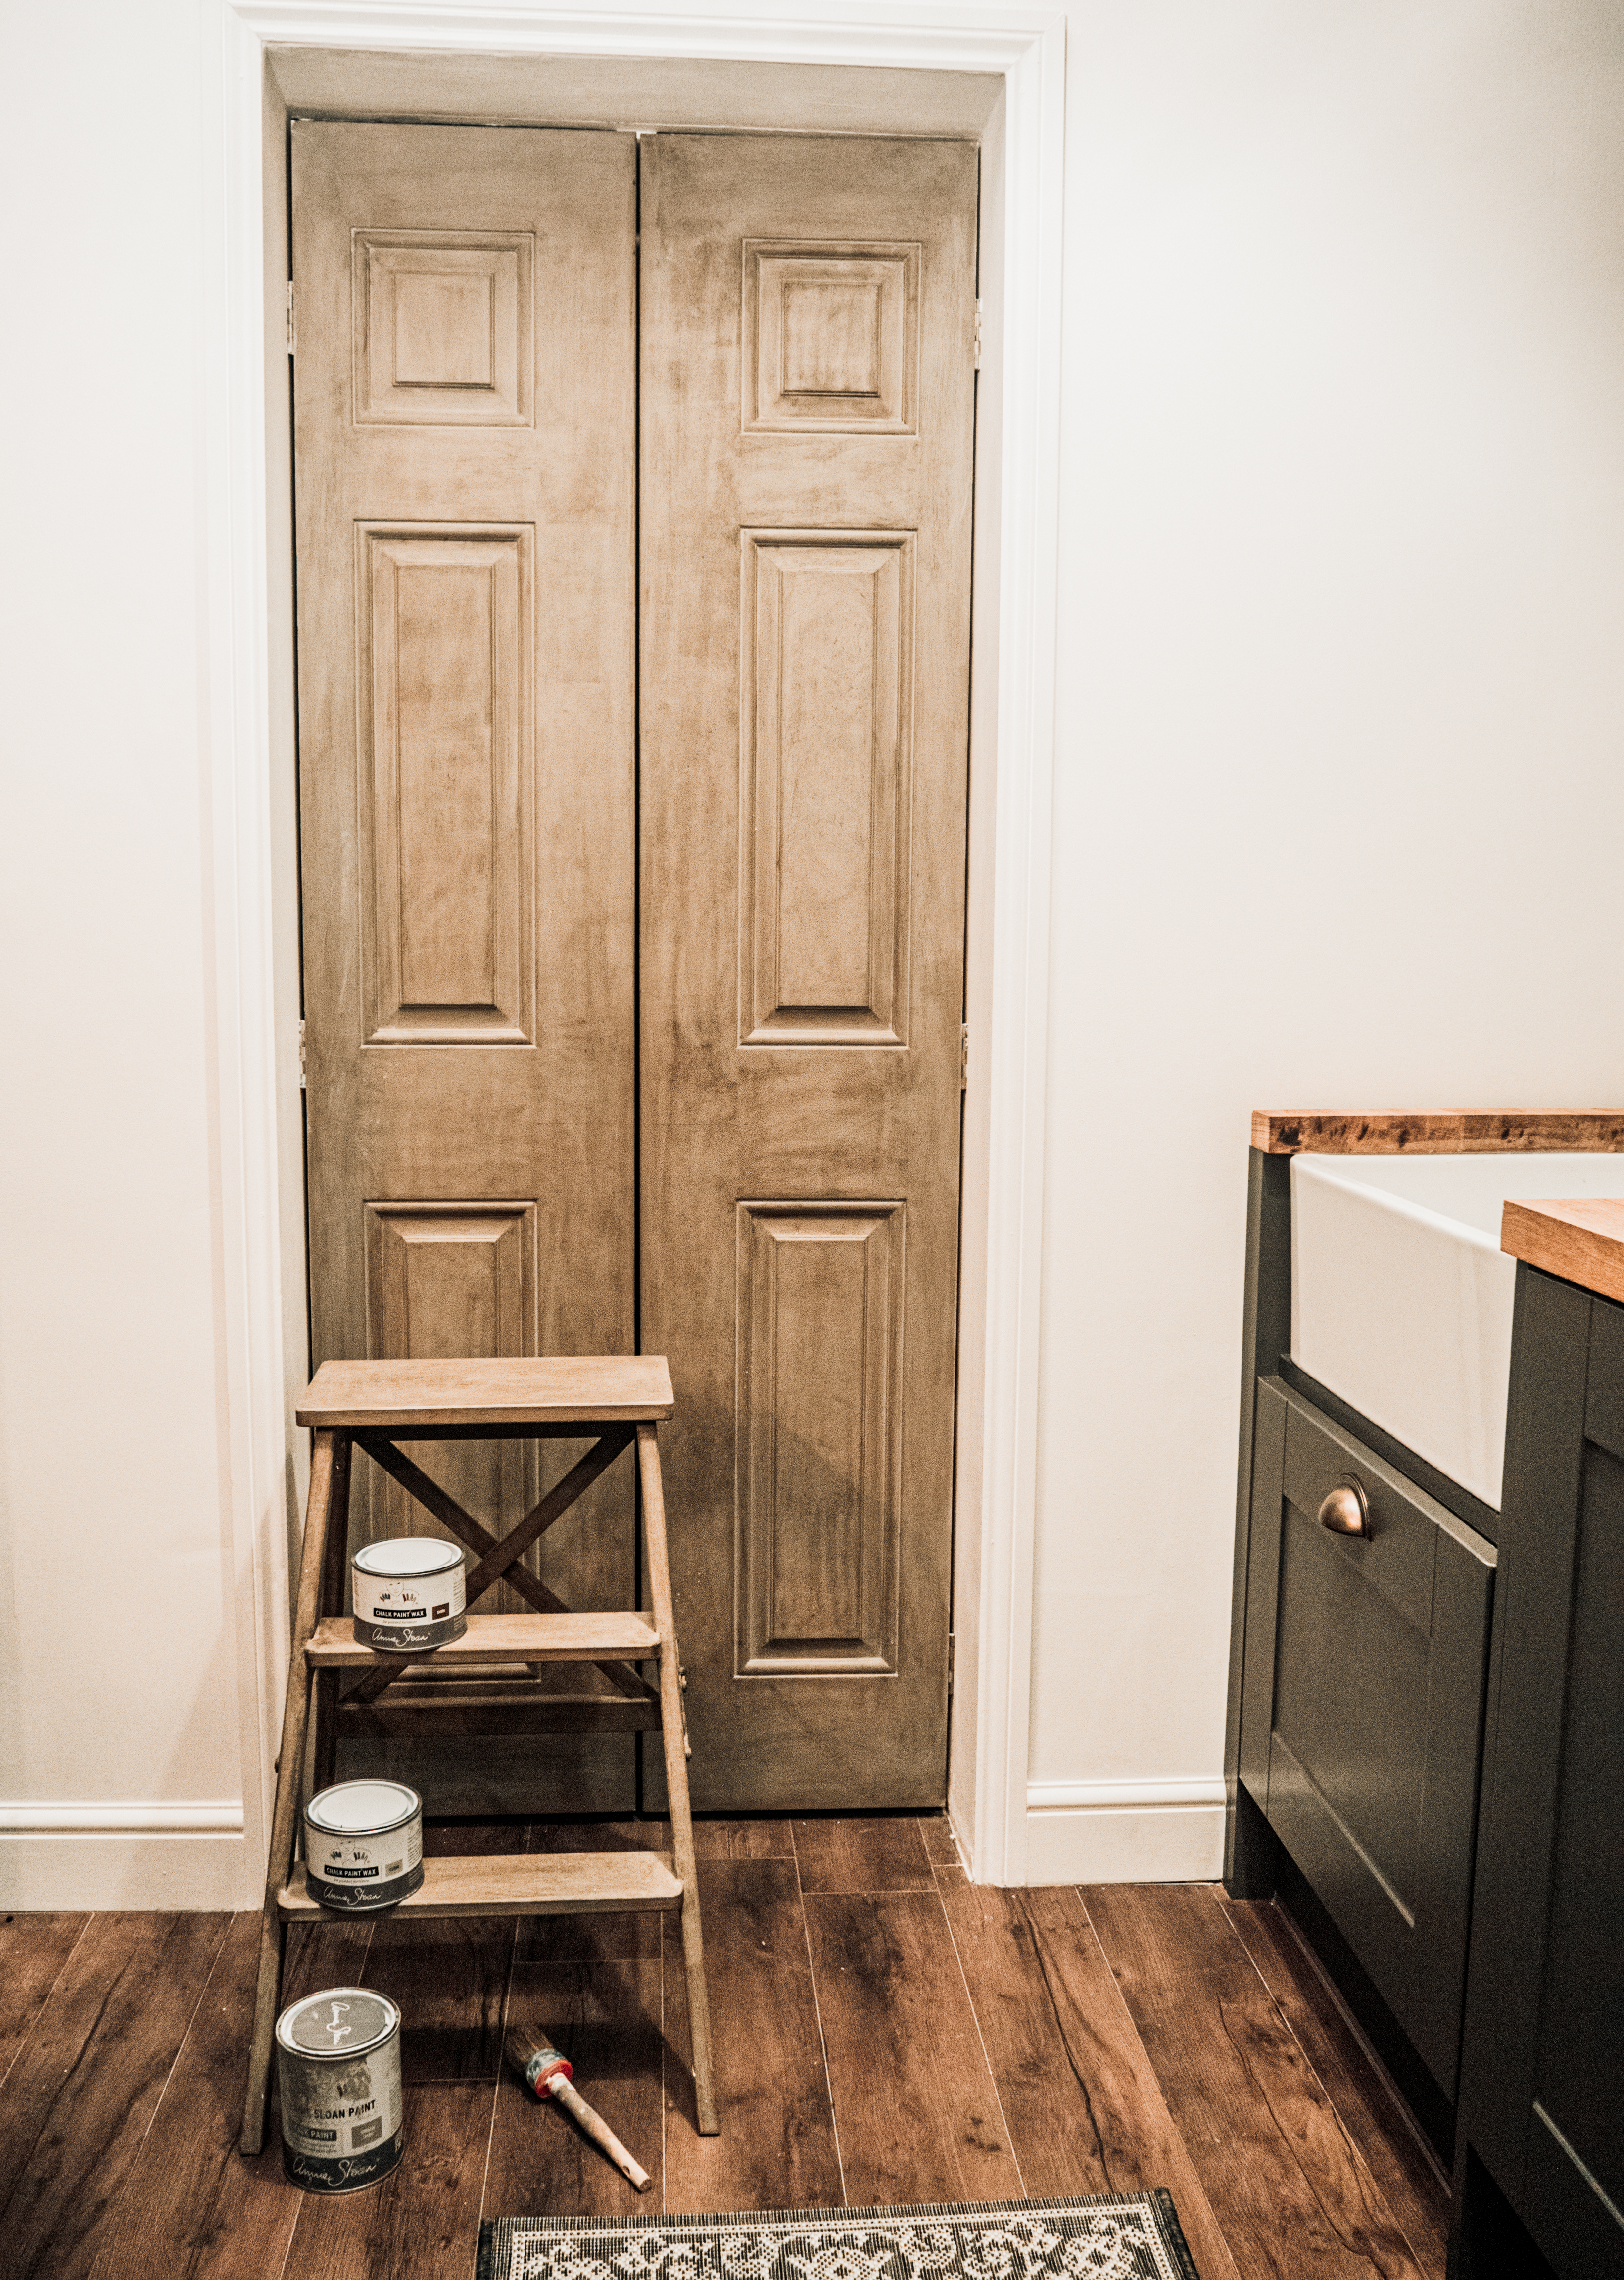
It separates the kitchen from the wine cellar and Carl's future men's cave.
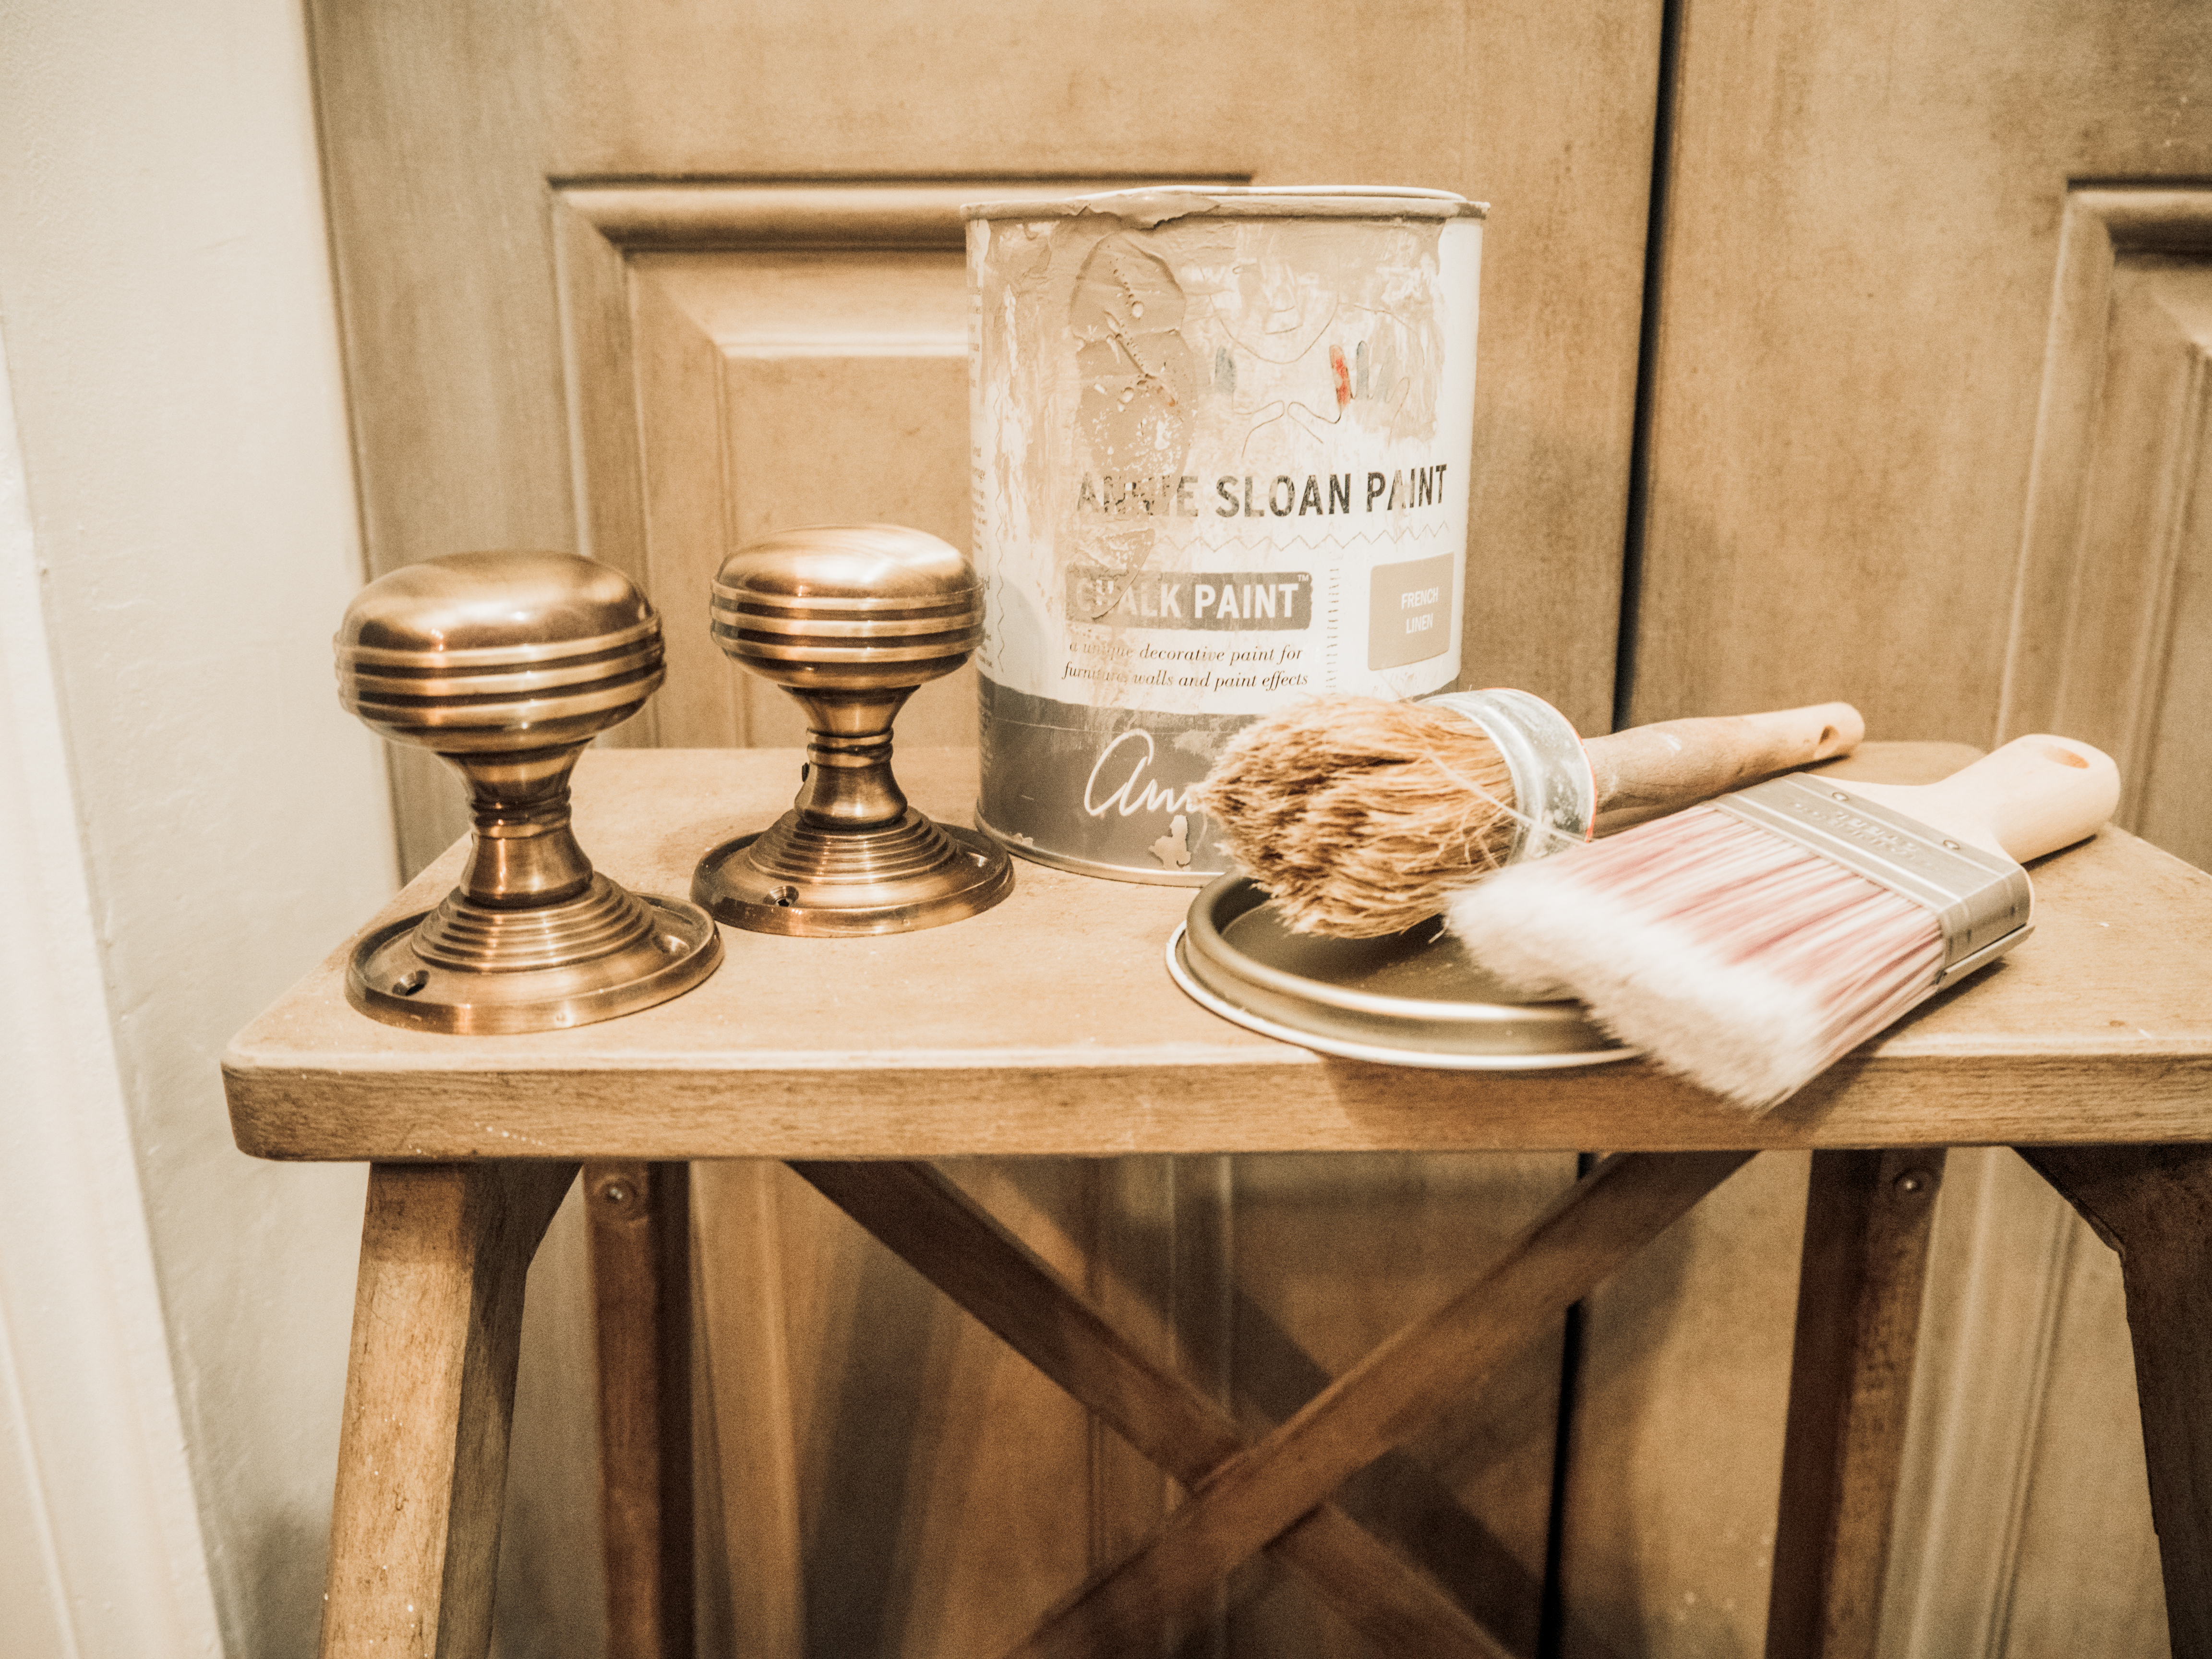
I bought a bi-folded door from Wayfair, knowing that my dad and I will transform it into a french door. There was no need for a lock on it, so I ended up getting two antique brass coloured knobs from Amazon. These still need to be fitted on the door. The reason we needed to customize a door it's because I literally could not find anywhere the right size for this whole.
I'm super happy with the results.
Once the door was fitted, I knew that I would paint it with chalk paint from Annie Sloan.

About Annie Sloan Chalk paint
Annie Sloan developed her paint range in 1990 that would able to adapt to any materials without priming or sanding. Can be applied to a variety of surfaces, such as wood, glass, metal, ceramic, and even plastic. Genious!
Due to skipping these steps it makes the painting process quicker and of course more enjoyable and fun.
It's super simple to use. As I have mentioned above, you don't need to prime or sand your project before applying the first coat of Annie Sloan Chalk paint.
Can be used for a number of different paint techniques including layering.
If you find the paint thick just add water. You heard it right. You can control the texture of the paint only with water.
Are you looking for a vintage look? This paint is the perfect choice when it comes to distressed, old-looking furniture.
Chalk painting adds a velvety and ultra matt finish to your projects which gives its name.
Rapid drying time. After I was applying the first coat of Annie Sloan, I made a cup of tea, and the by I finished my cuppa, the door was dry!
It takes about 15-20 mins to dry then its ready for its second coat.
After the second coat definitely give more time until you are 110% sure that it is dry before moving on to distressing or applying the wax.
I would recommend sticking to the traditional painting techniques if you are after a completely perfect look. Chalk paint is more likely used for vintage and imperfect projects.
As we have a sort of farmhouse style kitchen with rustic touches, there was no doubt that Annie Sloan Chalk paint is the best choice for us.
The best thing about this paint is that anyone can use it. You don't need to be expert at all. You can't really do anything wrong with chalk paint. Perfect for a peaceful mind.

Step by step for chalk painting
Step 1) Pick your first furniture piece
I would suggest you start with a small piece so this way you will able to build your confidence up. As chalk paint is a versatile paint to pick your first victim shouldn't be hard.
The door I painted is made of MDF, and the stepladder from Ikea is solid beech.
Step 2) Pick your colour
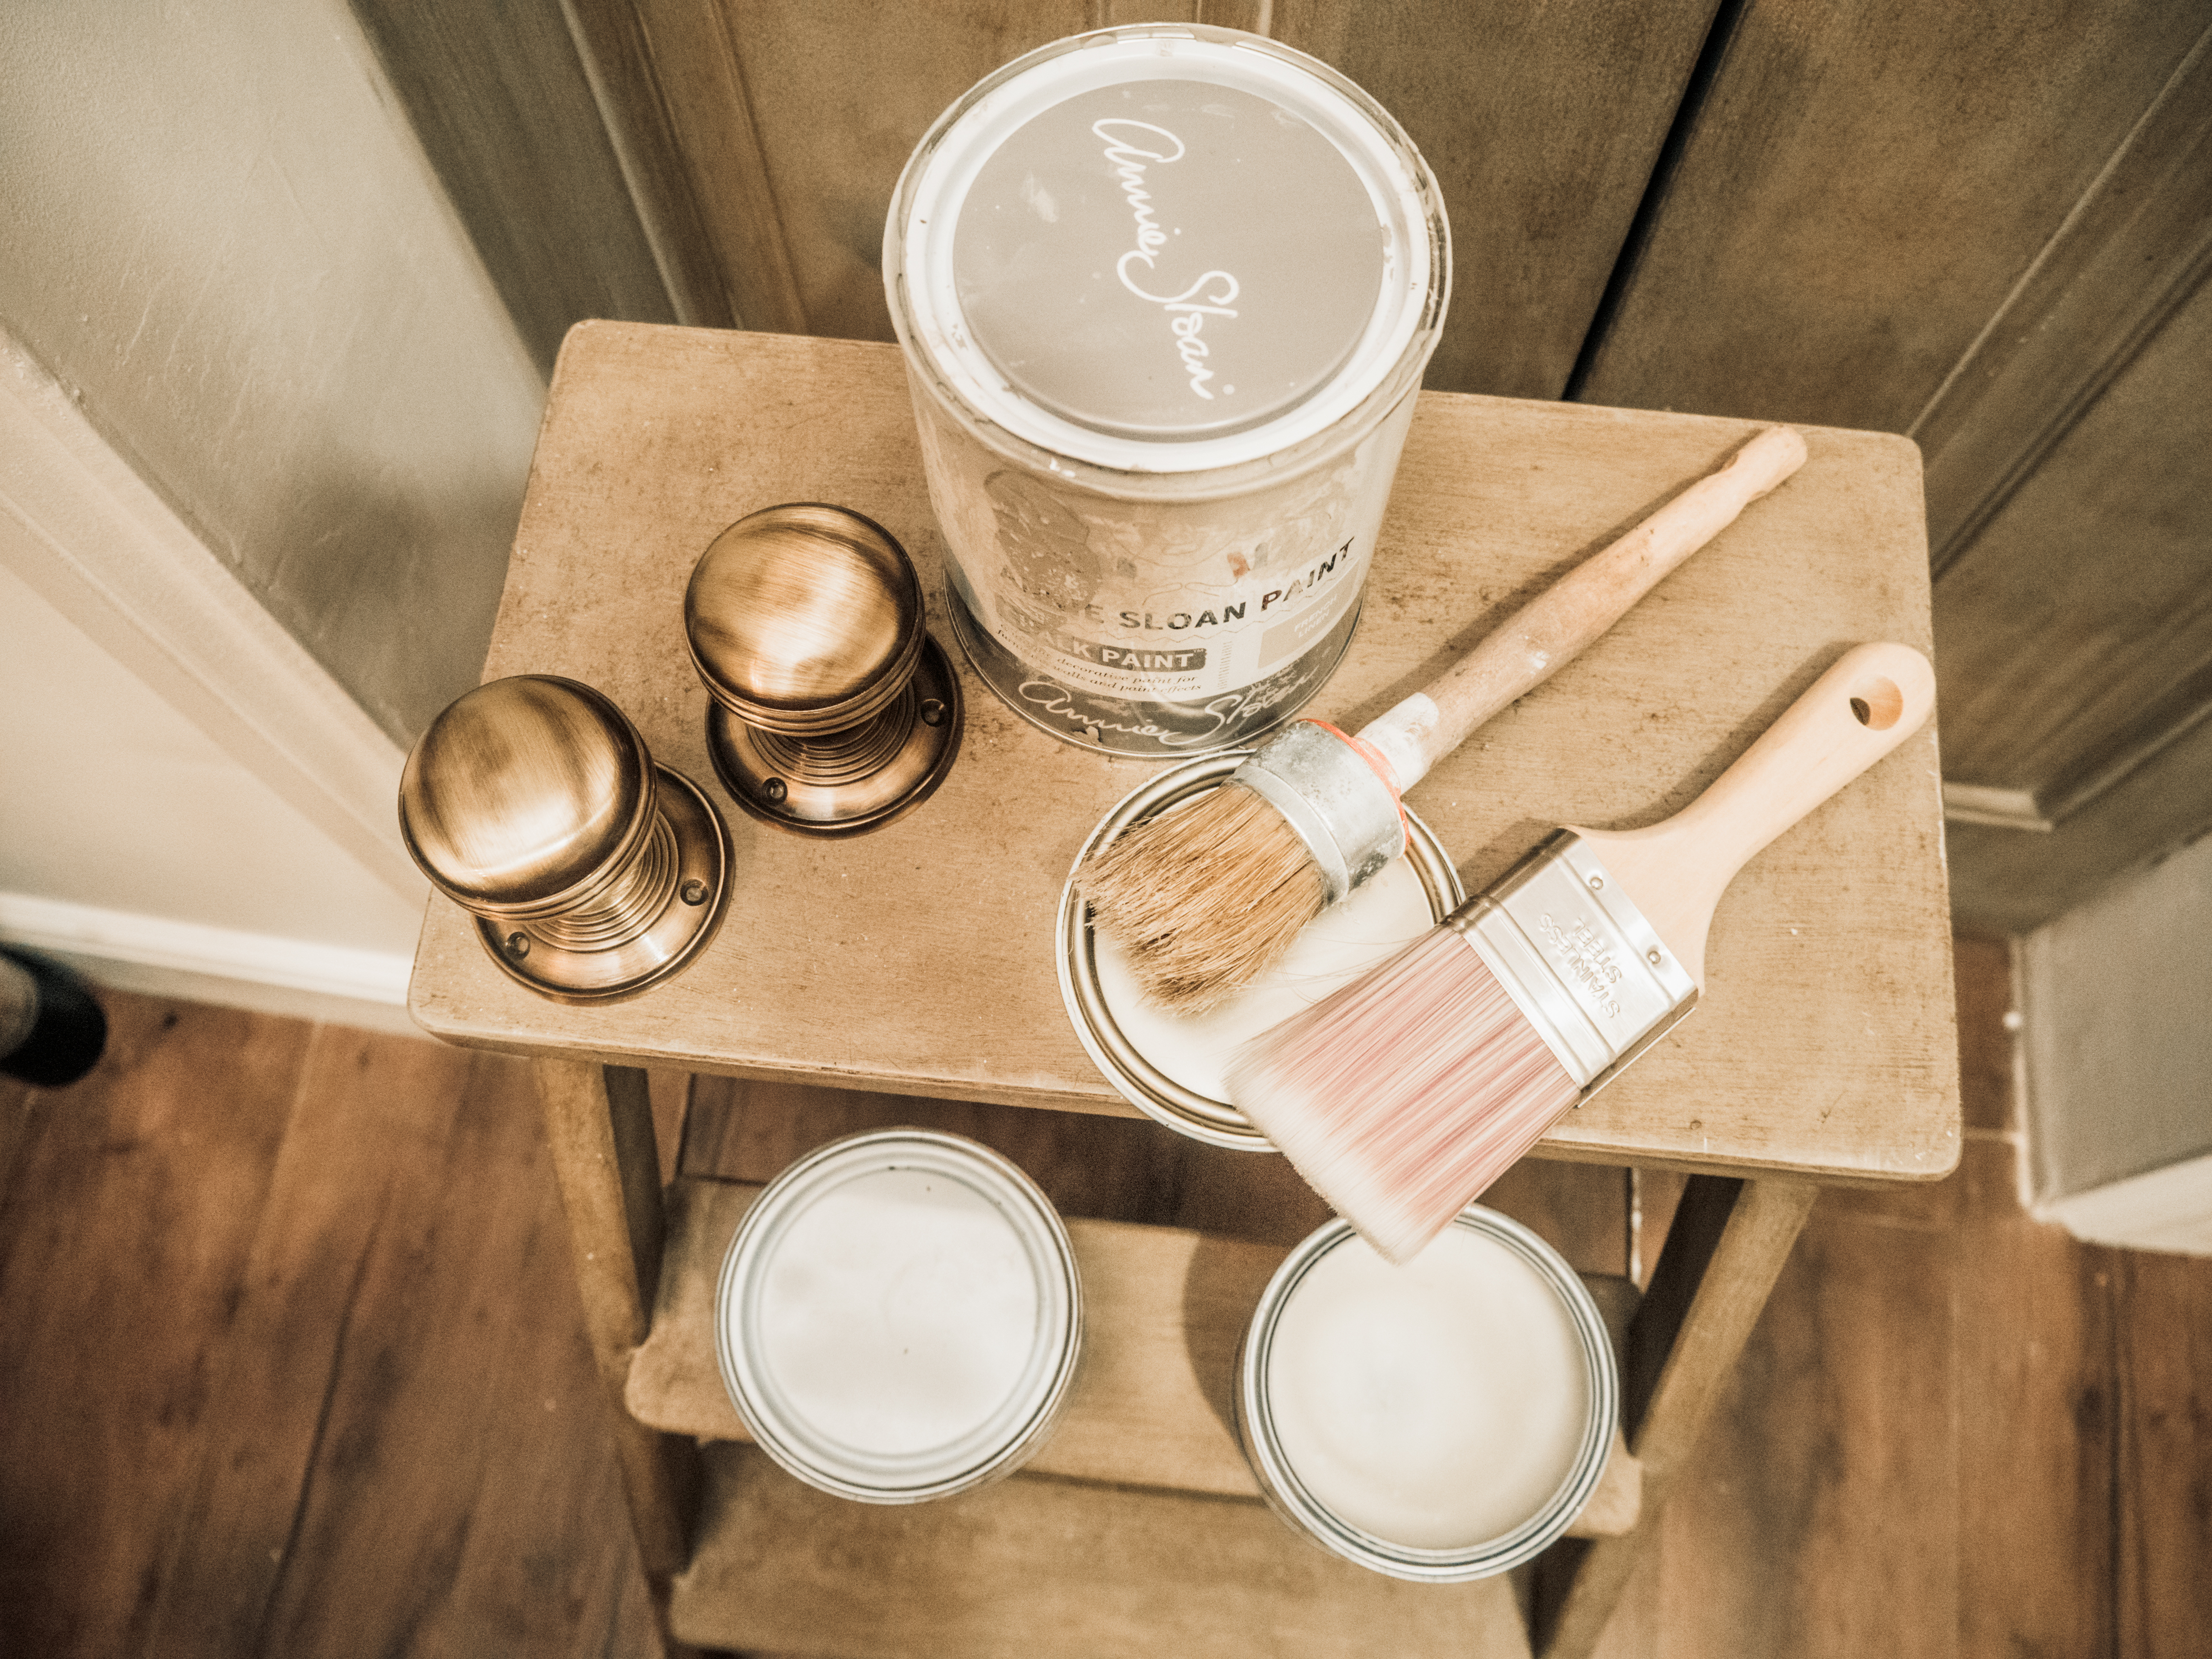
You can get a colour card from the Annie Sloan website. Click here to check their colour scheme. I used french linen on both of my pieces.
One litre of this paint is enough to cover approximately 13 square metres.


Step 3) Gather your supplies
1.Drop cloth
I'm sure you all know that anytime you paint it can be either a room, a piece of furniture or any other items you need a drop cloth to protect your surfaces that you don't want to paint. This reminds me of the next supply.
2. Painter's tape
Use a painter's tape to mark off any areas on your furniture that you'd prefer to leave unpainted or you will be using a different colour.
3. Brushes
I used a standard chip brush that I bought from Toolstation and a wax brush from Amazon. Click here to check out my brushes.
You can also purchase brushes directly from Annie Sloan that are designed obviously for chalk paint.
4. Paint
This is obvious you can't paint without paint, right? As I have mentioned above, I used a colour called French linen. Click here to buy.
5. Sugar soap and sponge
To prepare any surface that you wish to paint, I would highly suggest using Sugar soap to clean the area. This will help you to remove any grease that standard domestic cleaning supplies cannot.
6.Wax
Wax plays a crucial part when it comes to chalk painting as this will help you to seal your painted item. You will need one tin of Annie Sloan Soft wax which is 500ml and/or if you wish to reach an aged and give texture to your paintwork you also will need to purchase an Annie Sloan Dark wax. I used both waxes on my door to achieve an antique look.
7.Cloth
I highly recommend getting a lint-free cloth. It needs to be lint-free otherwise you will end up with some bits of material in the wax. I cut one of my old T-shirt into pieces, this did the job perfectly.
8.Sandpaper(optional)
If you are going to distress your piece, you need a fine-grit sandpaper.
Step 4) Prepare
I know I know, I said no priming and sanding. Promise its true, but even though you skipping these steps, you need a minimal prep work to make sure your surface is clean. You don't want any dust to get stuck under your paintbrush.
Clean off your furniture by start wiping down the piece with sugar soapy sponge. This will remove any dirt and debris. If your project piece has any hardware, make sure you remove them before you start painting.
Step 5) Apply the first coat
So your furniture is clean now you are ready to start painting. Apply one coat of paint.
After applying the first coat, you will end up with decent coverage. Let it dry.
Annie Sloan Chalk paint dries super quick. My first coat was ready for it the second one just after 20 mins.

Step 6) Apply Second coat
Time to add another layer and allow that to dry as well.
Check for any bleed-through of the colour beneath the paint. If you don't see any, feel free to continue to the next step. If you have patches just apply another coat, this will build up the perfect coverage slowly.
Step 7) Wash your paintbrushes
If you spend money on good brushes, you want to make sure you look after them properly, so they last you long. Do we agree?
I usually wash my brushes with warm soapy water then I lay them on an old towel to dry.
This way you can make your brushes last you decades.


Step 8) Apply clear wax
Generally takes about 2hrs for your painted item to dry completely, but if you are unsure, just touch it with a finger to confirm. This part is where you seal the deal. By applying wax to your furniture, this will help you to make it durable and last it long. Annie Sloan's Clear Soft Wax will bond to your paint to bring out the texture and make it look smooth. You can either use a wax brush or a soft cloth to apply it. I would suggest lint-free fabric.
To apply the wax, rub it into the surface in circular motions if you can see any excess wax use a cloth to remove it.
I also applied the Annie Sloan dark wax after the clear one to add a vintage look to both of my projects.
Step 9) Distress your piece ( optional)
If you wish to add an old vintage look to your furniture, follow this step otherwise you can skip it. If I'm completely honest chalk paint chips either way so you might as well distress the areas that will be mostly in used, like edges and corners. Annie Sloan is perfect for an imperfect project. This is why I would recommend it for an aged look finish.
I used fine-grit sandpaper (usually 180) to sand my piece lightly. Only a couple passes around the corner and edges with the sandpaper will do the trick.
If you interested in any other DIY tutorials, click here.
Hope to see you soon,


