
Before we even started to look for our first home, I knew that I want panelled walls all around the house. Once we found the perfect old Victorian corner house, there were no questions asked about the design as we knew instantly that we are going to bring back the old English features to this home with a bit of french Haussmann style.
When we refurbished our kitchen, I knew that this place won't be anything like the rest of the house. I wanted a big American rustic farmhouse kitchen with an elegant touch so it won't stand out too much from the rest of the house. But panelled walls were definitely not an option for this room.
As a second project, we started to refurbish our dining room this August. The update was quick because of my dad. He came over from Hungary to help with my mum, and they stayed for a month, but my dad finished everything in about 2 and a half weeks.
Honestly, me and Carl, we both love it when my parents are over. We work together on our home, we cook some delicious dinners together of course with Carl's supervision, take mini trips to here and there and spend hours catching up on things I missed even though we speak almost every second day over Skype.
I love working with my dad when they are over, he taught me so many things about DIY, and if it wouldn't be for him, I couldn't' save a penny during refurbishments. Feel so grateful to have a dad like him.
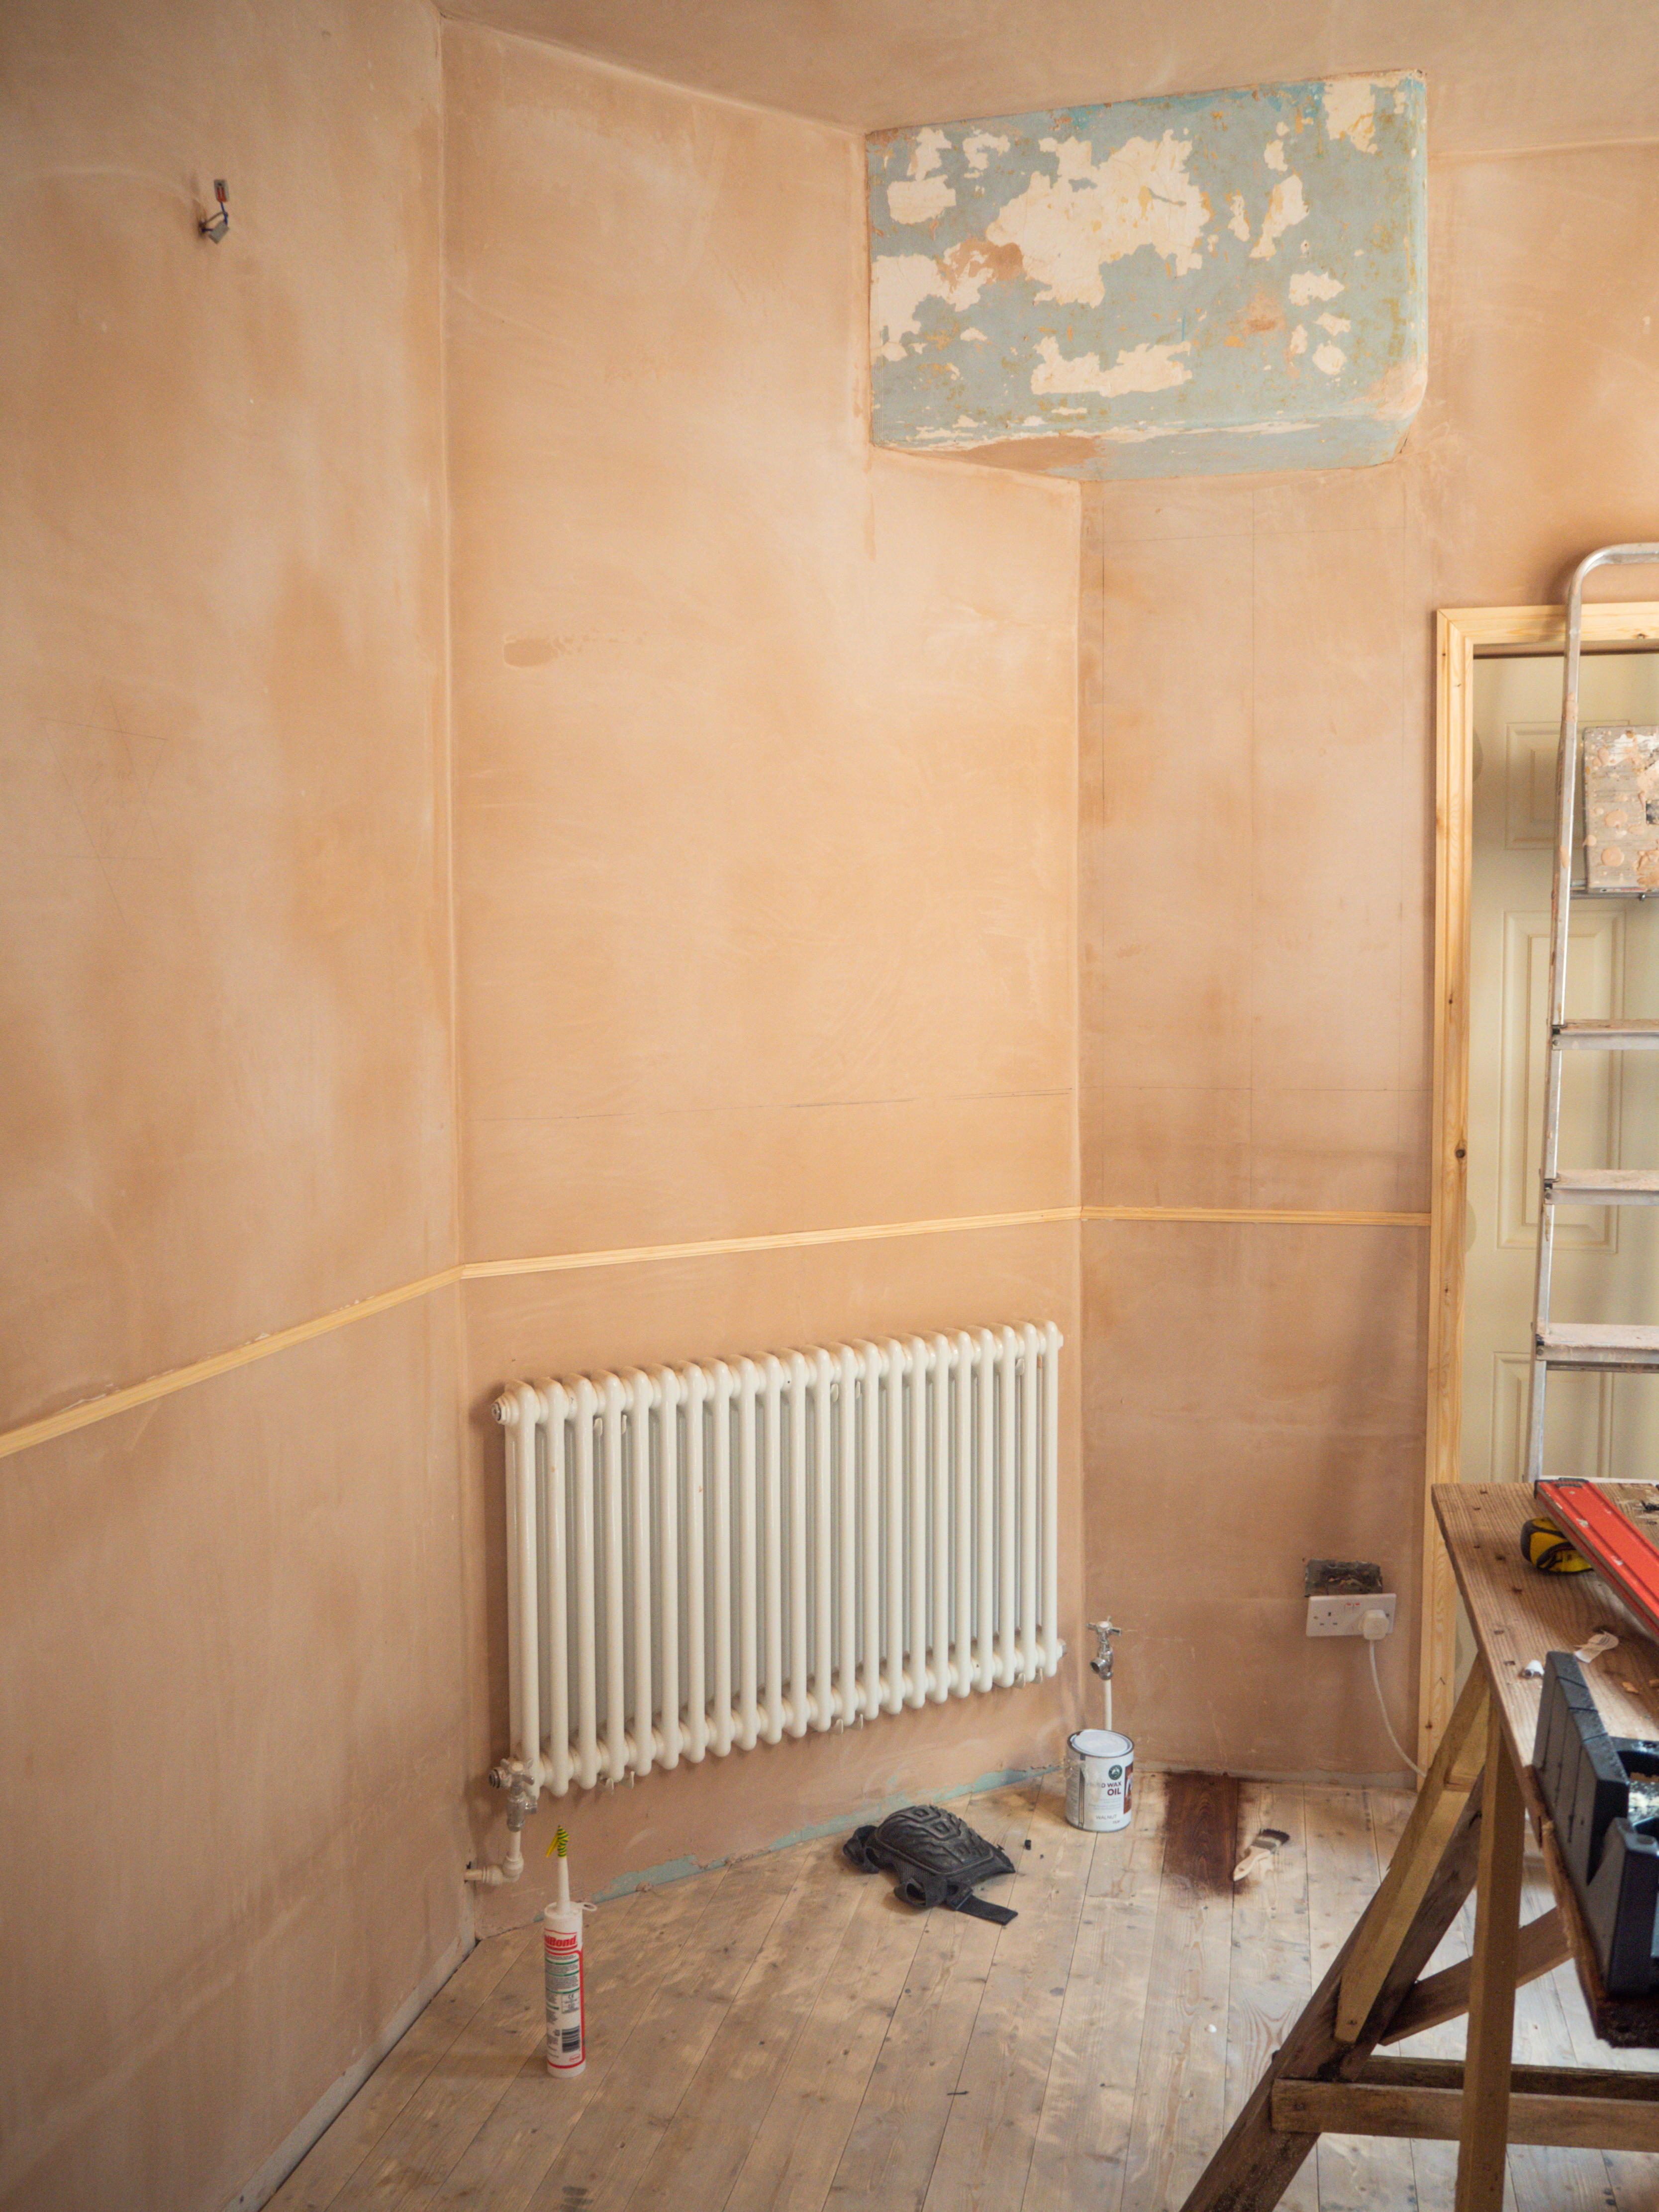
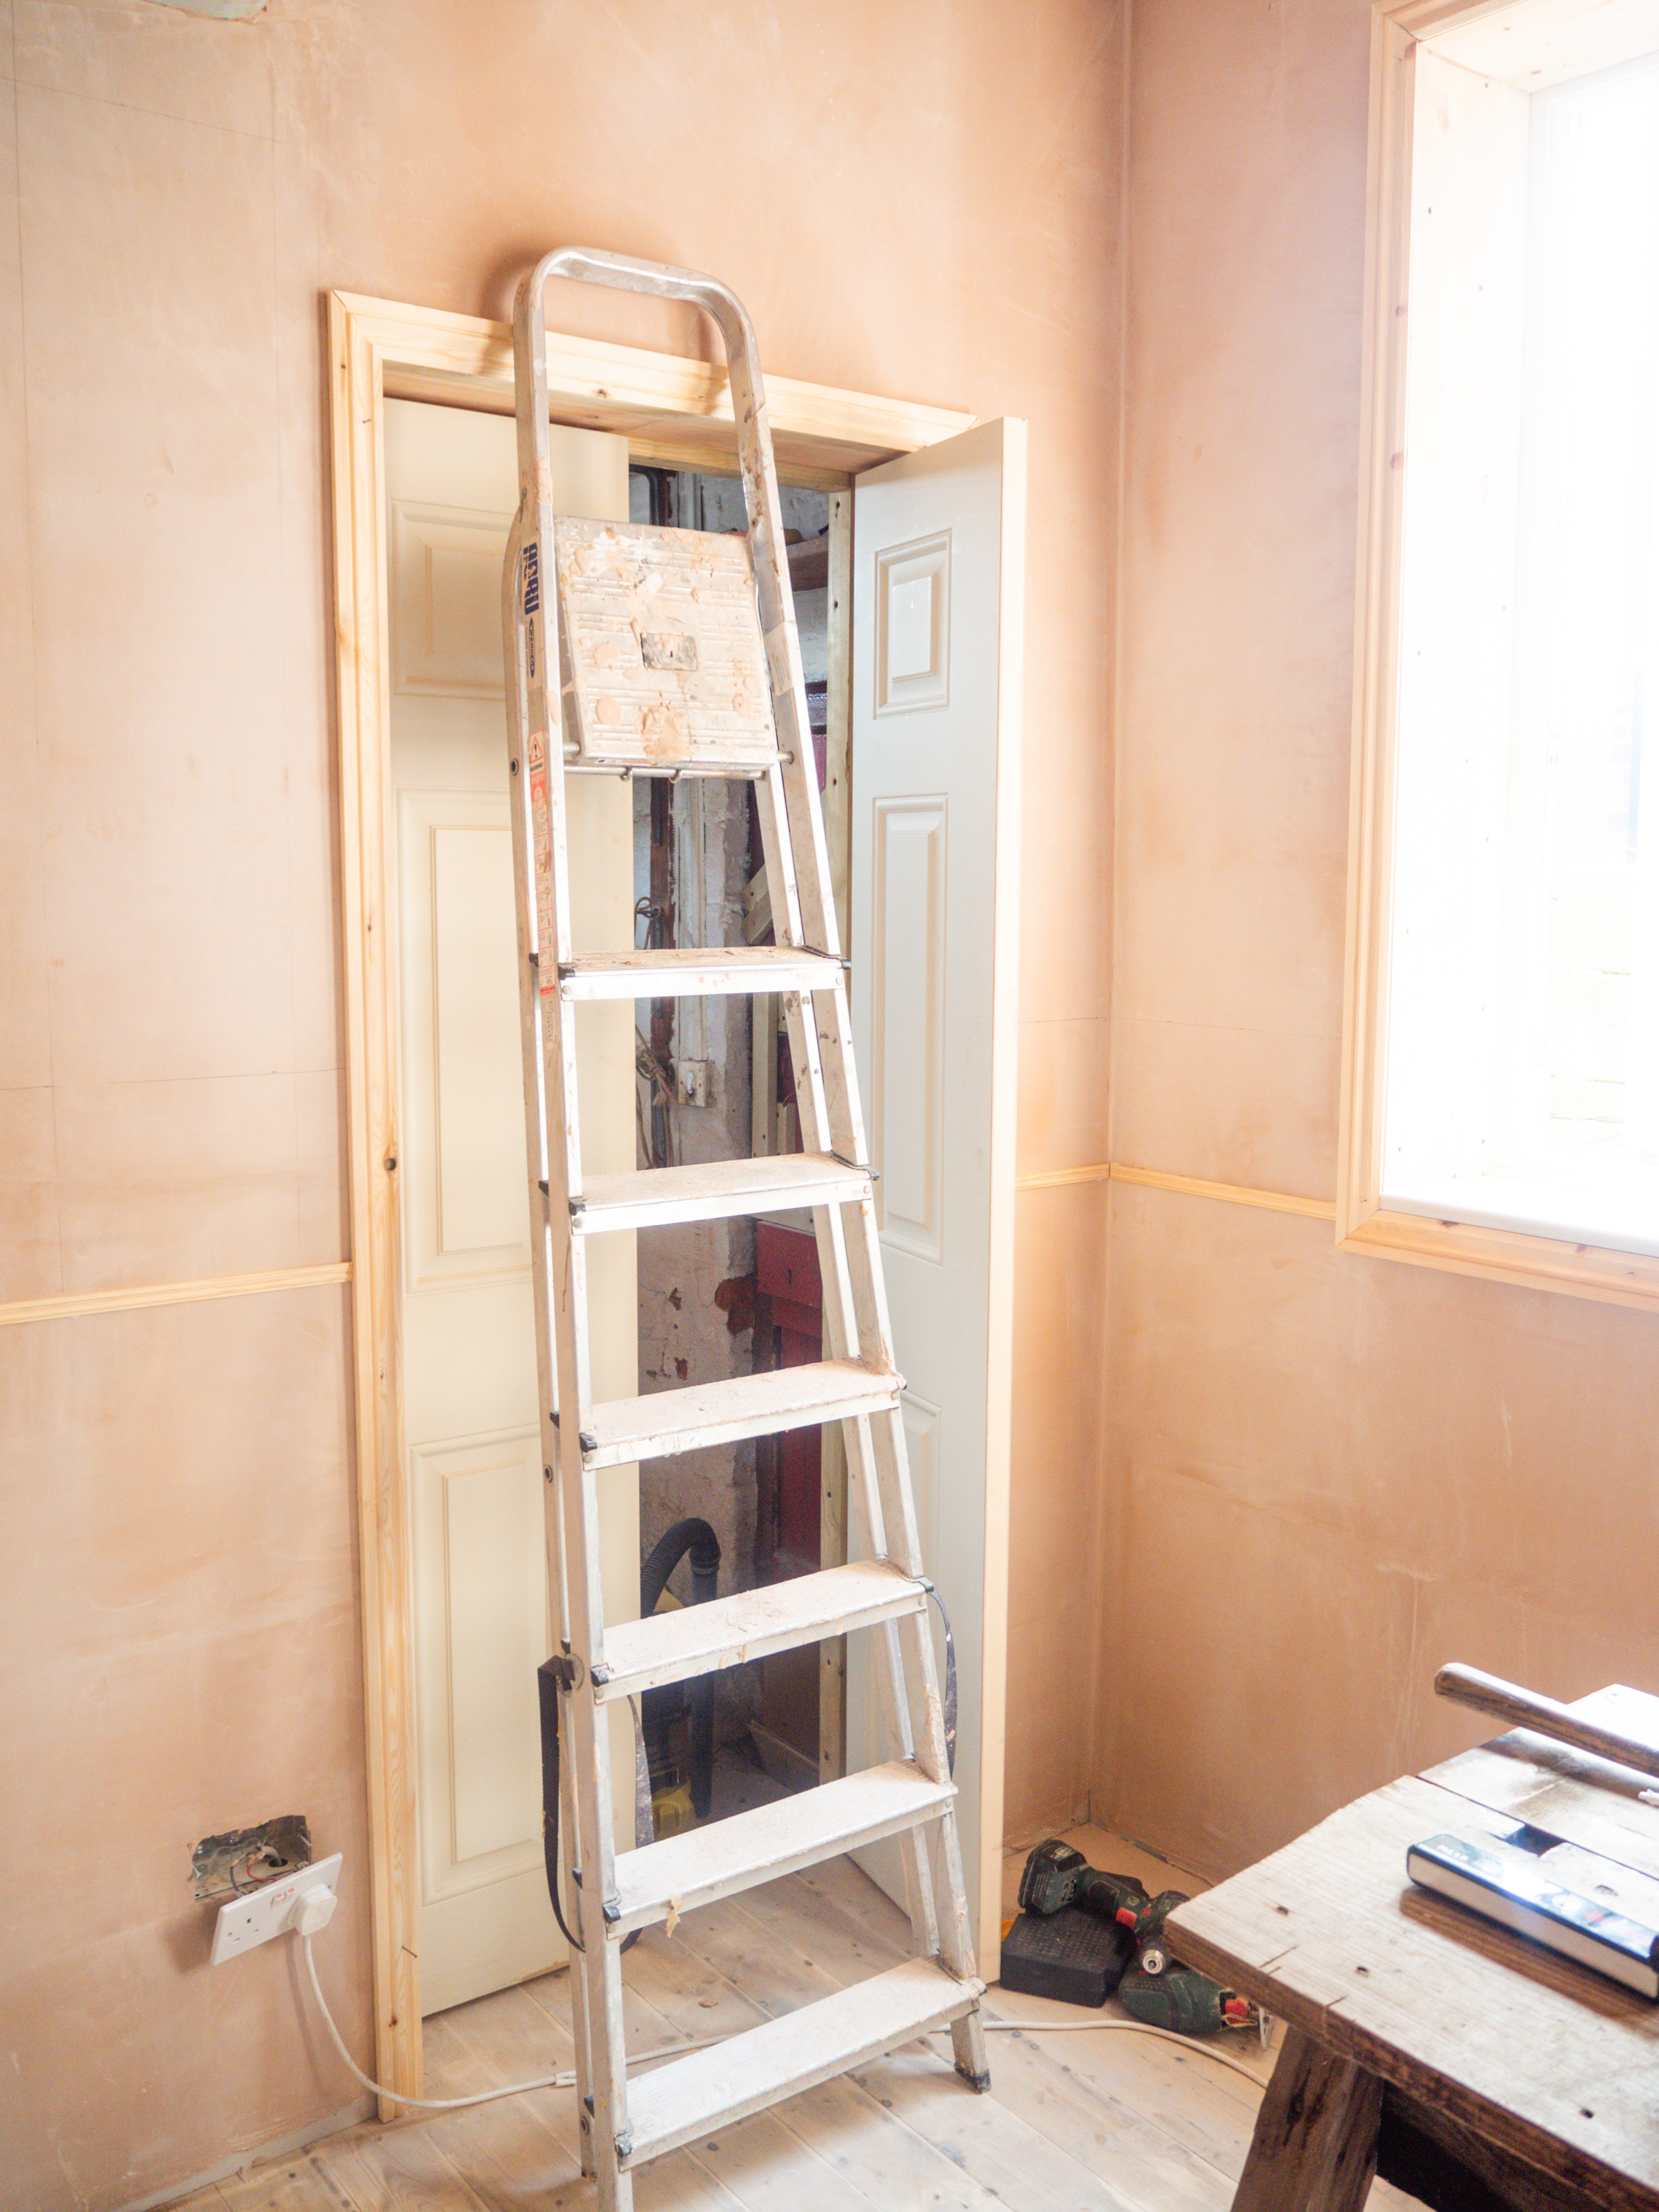
Once my parents have gone back, we hired a professional to plaster the ceiling and all the walls in the dining room.
Then I started the planning and drawing for the room.
Carl and I both had a busy September ahead of us so we couldn't install the panels onto the walls until now.
But, finally, this is done too. Another thing is ticked off the list. Yuppie!
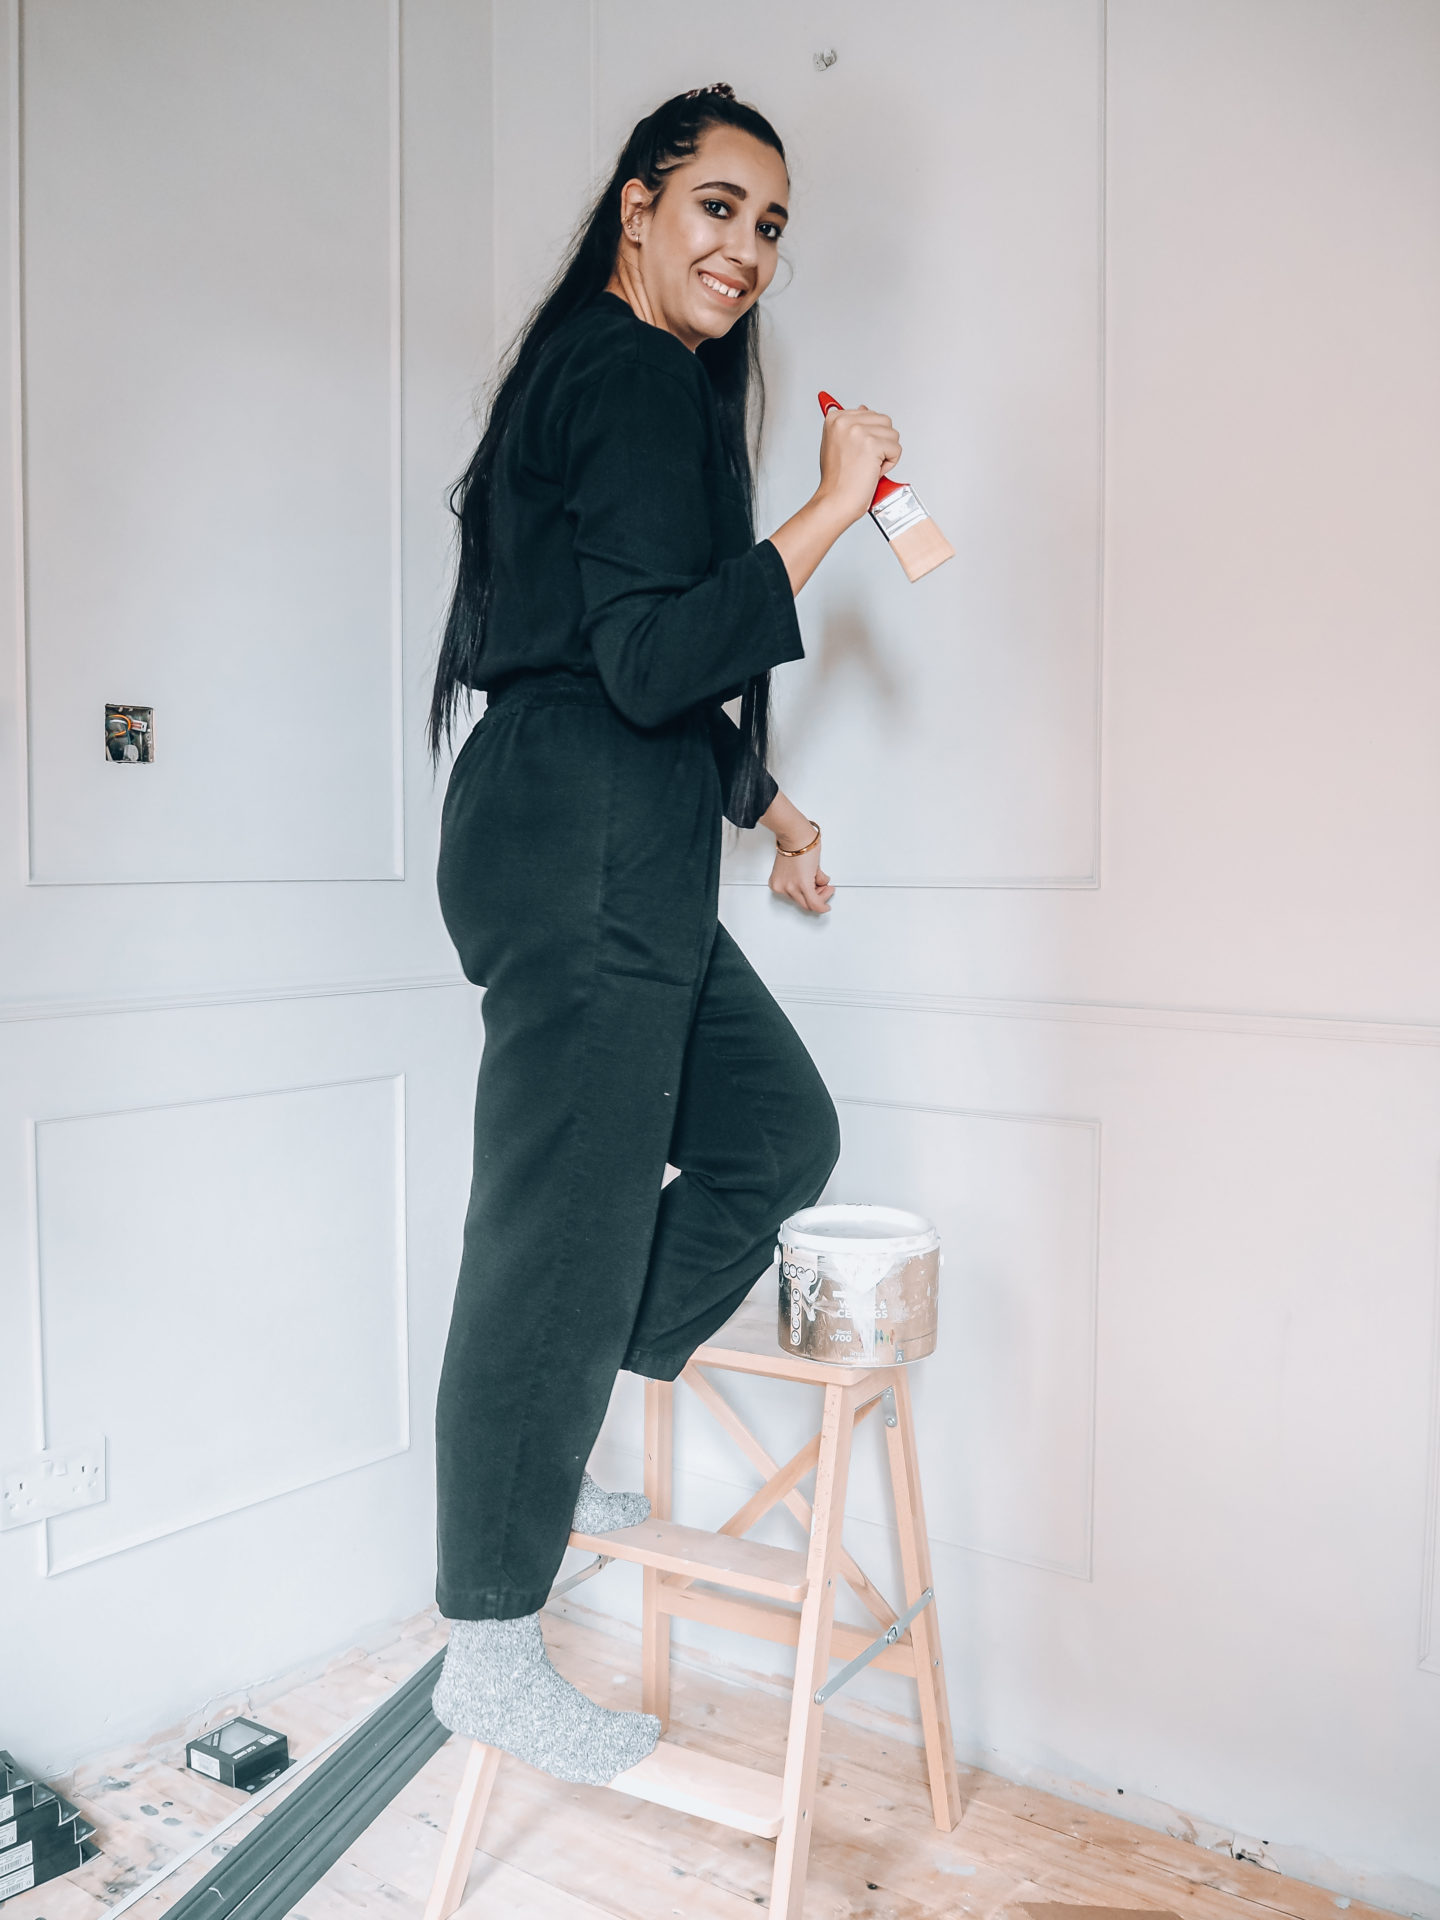
I am so excited to be sharing with you this step-by-step process on how to add a luxurious feel to any room with DIY wall panelling.
DIY panelled wall treatment makes such an elegant statement. Plus It's a really easy project and wallet-friendly.
What you will need for this project
Tools to draw on the walls:
I used a 120 and a 60 cm spirit level
Tape measure
Laser level
HB pencil
Tools and materials to cut and install:
Mitre box
Fine saw
Glue/Adhesive plus a gun
Nails and a Hammer ( or If you own a Nailgun even better)
Timber to create frames
Paint Primer for wood
Tools and materials to finish:
Mouldings - to create the boxes ( We used this from Wickes)
Mouldings- to create a slim railing around the room (We used this from Wickes )
Wood filler and a gun
Sanding paper- 120grit
Paint - Once my primer dried on the timber, I used two coats of the same colour that I used on the walls. If you have a thicker wood frame then mine I would suggest getting a wood finish for the wood surface with the same colour then your walls.


The process of panelling
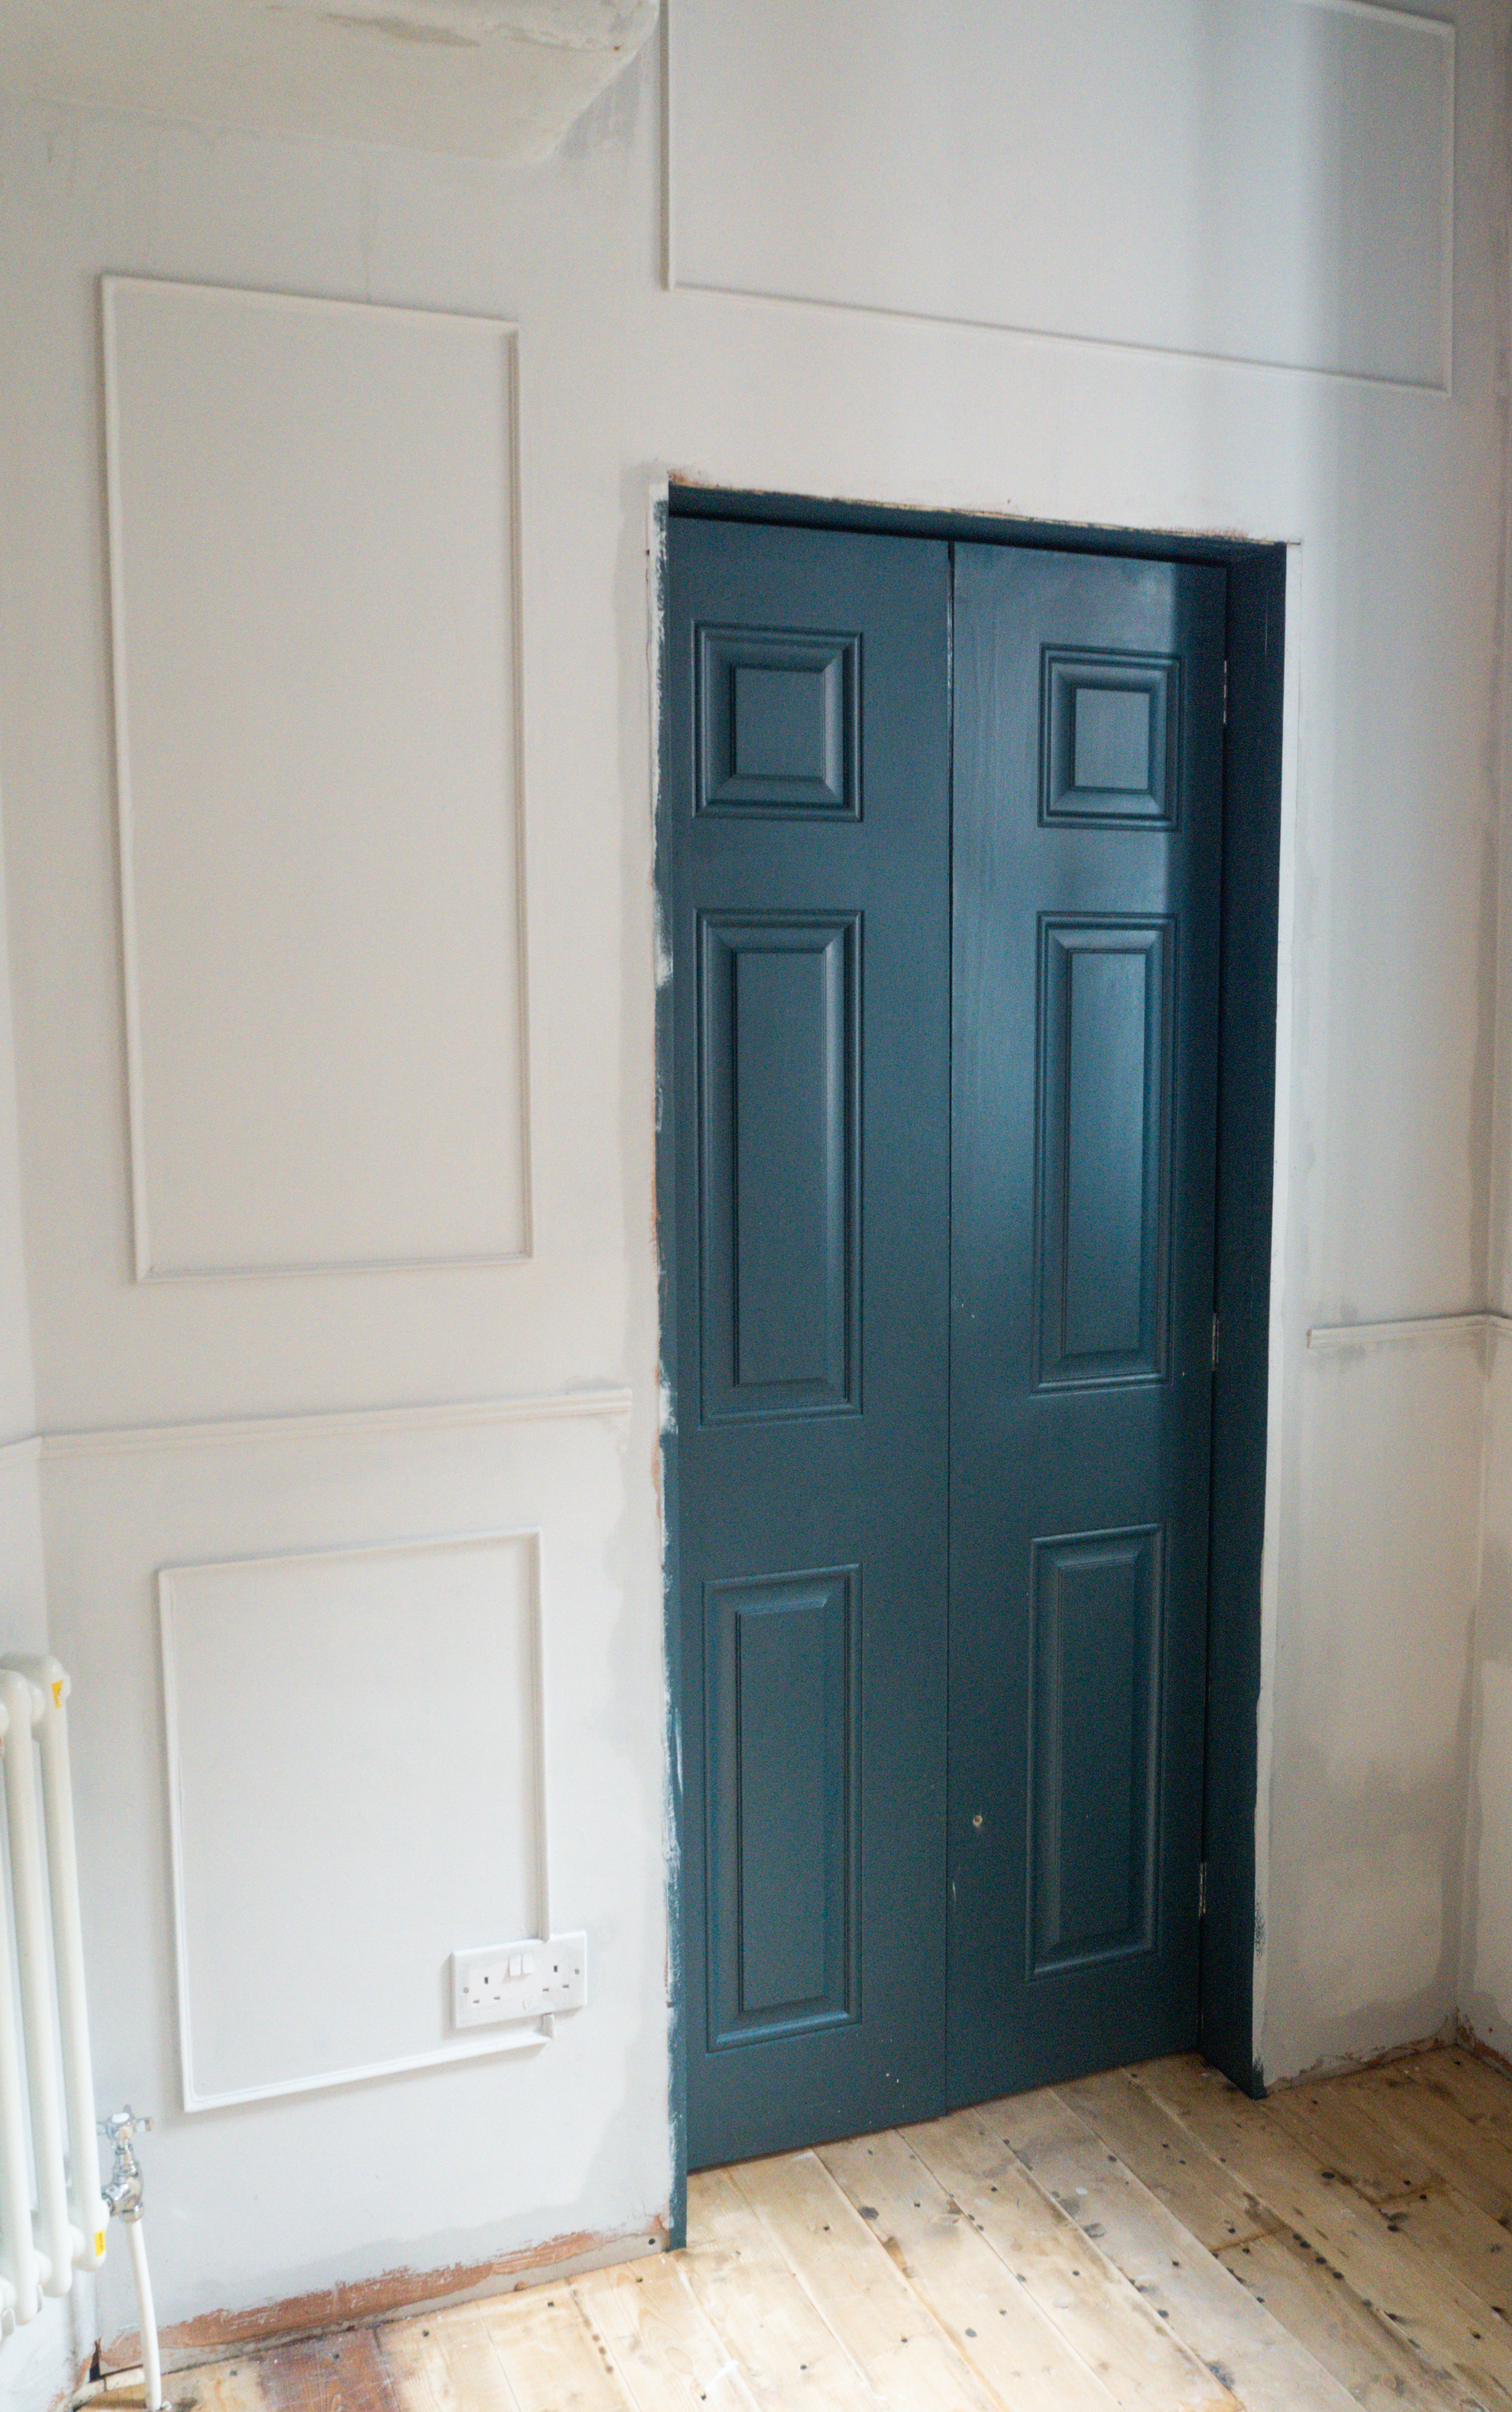
Wall panelling is the easiest way to achieve a high impact on space for a low cost.
All it involves are attaching a few strips of wood to the walls to create box shapes and painting everything the same shade.
Besides that wall panelling creates a fabulous look in any room is a quick-fix solution for older walls in less than perfect condition.
Step 1 – Planning
This is the most important, and it's also the most time-consuming part. But be patient once it's done it will save you a lot of time in the long run!
The first step is to start measuring the entire room.
I measured every inch of the dining room. Windows, doors and every socket.
I grabbed some paper from the printer, a ruler and a pen, and I draw the layout of the dining room. I draw each wall on a different paper. Once I was done with my drawings, I added the measurements.
Now it's time to start planning the panels.
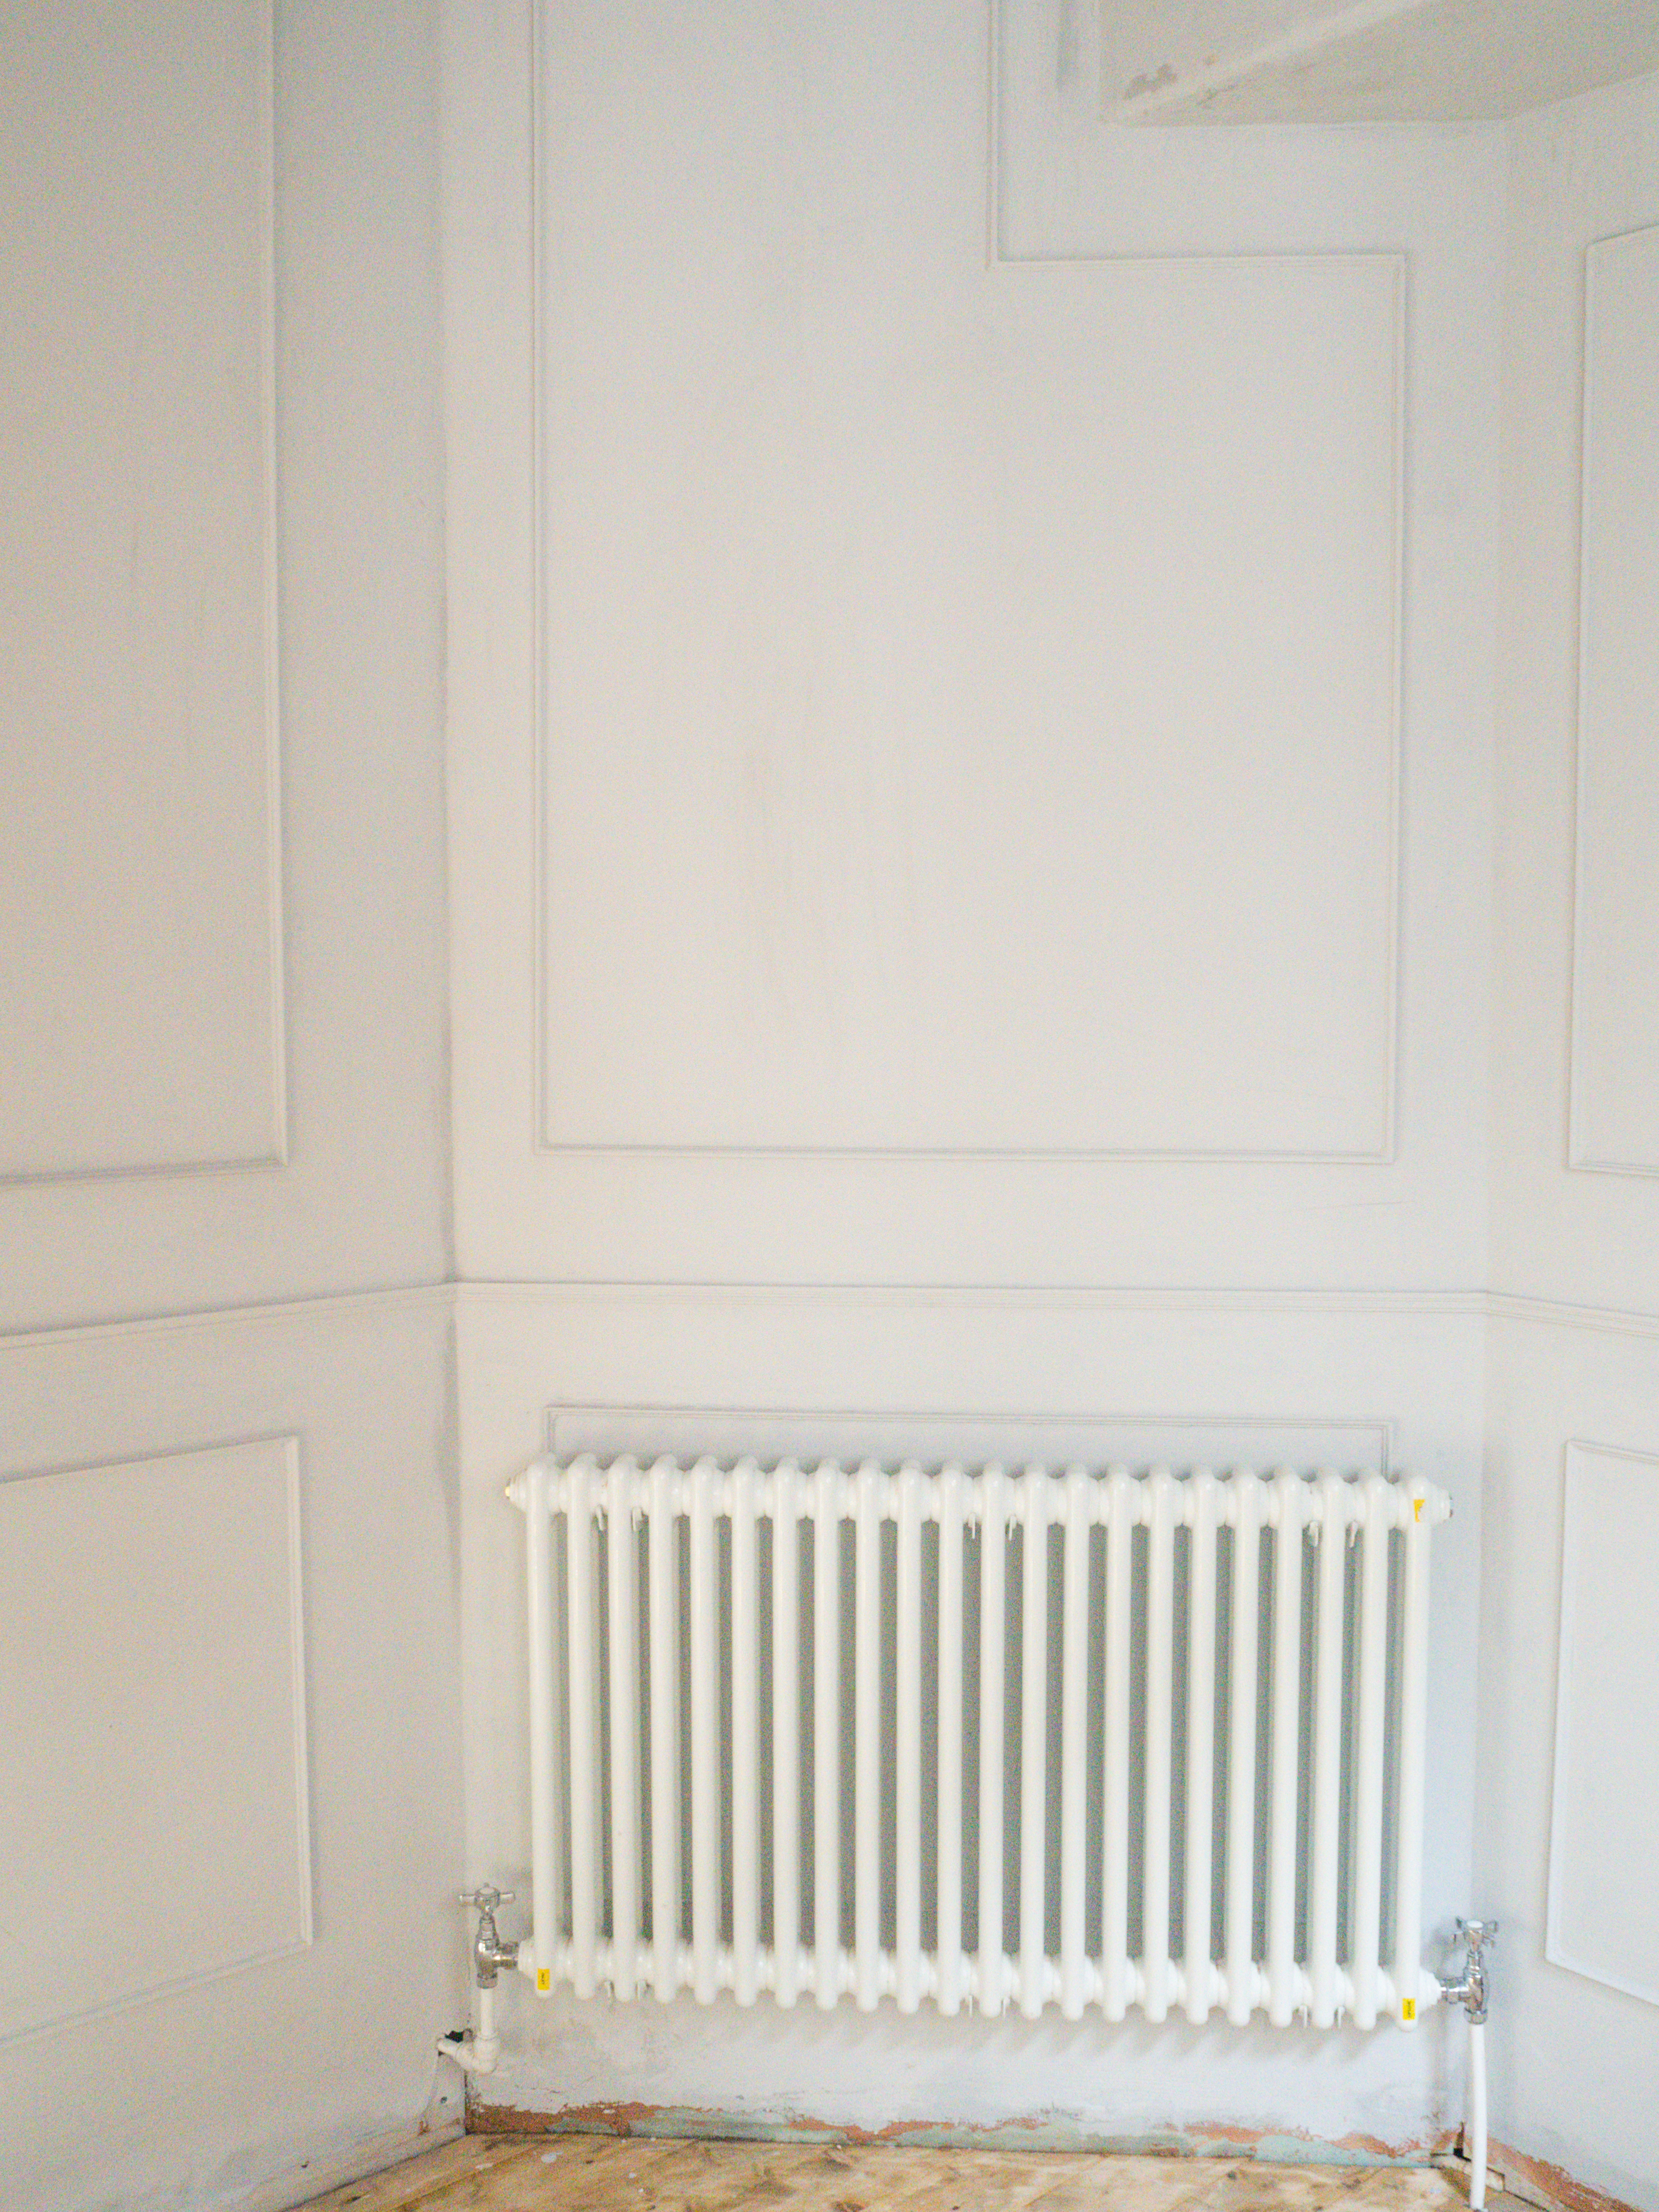
My starting point was a side cabinet that I want to place in front of the main wall. The idea was to split the wall with a railing so a straight line can beautifully run just above the cabinet.
I know that with time, this can change, but once the railing is up, anything could be helpful in front of it. The other thing I kept in mind while I was planning is that I'm planning to display two large frames on the main wall.
Just to clarify I always call the main wall the completely clear one, no windows, doors or radiators. Possibly isn't the right way, but this is my way.:)
Anyway, back to the planning. Because of my two frames, I had to create two boxes around them. When my dad was installing the sockets and the lights, I asked him to pull two wires in for two picture lighting, which then give me the perfect start point for the frames.
Once I draw the line around the room for the railing, I measured 10 cm up and 15 cm down from it. Then I created the two main boxes for the pictures. I measured 15 cm from the ceiling as I want to fit coving around the room then I drew a line just in the middle of the main wall to have a starting point to measure 20 cm both ways which then added the side of my boxes. From there, the rest of the design just flowed. Just try to keep it in symmetry.
This took a long time, but remember working out where to apply the panels is much easier and quicker on paper.

Step 2 - Transfer sketches onto the wall
Step one was completely me on my own, step 2 definitely required Carl's help to finish this project in a short amount of time. Once I had all my sketches, I had to transfer them onto the wall.
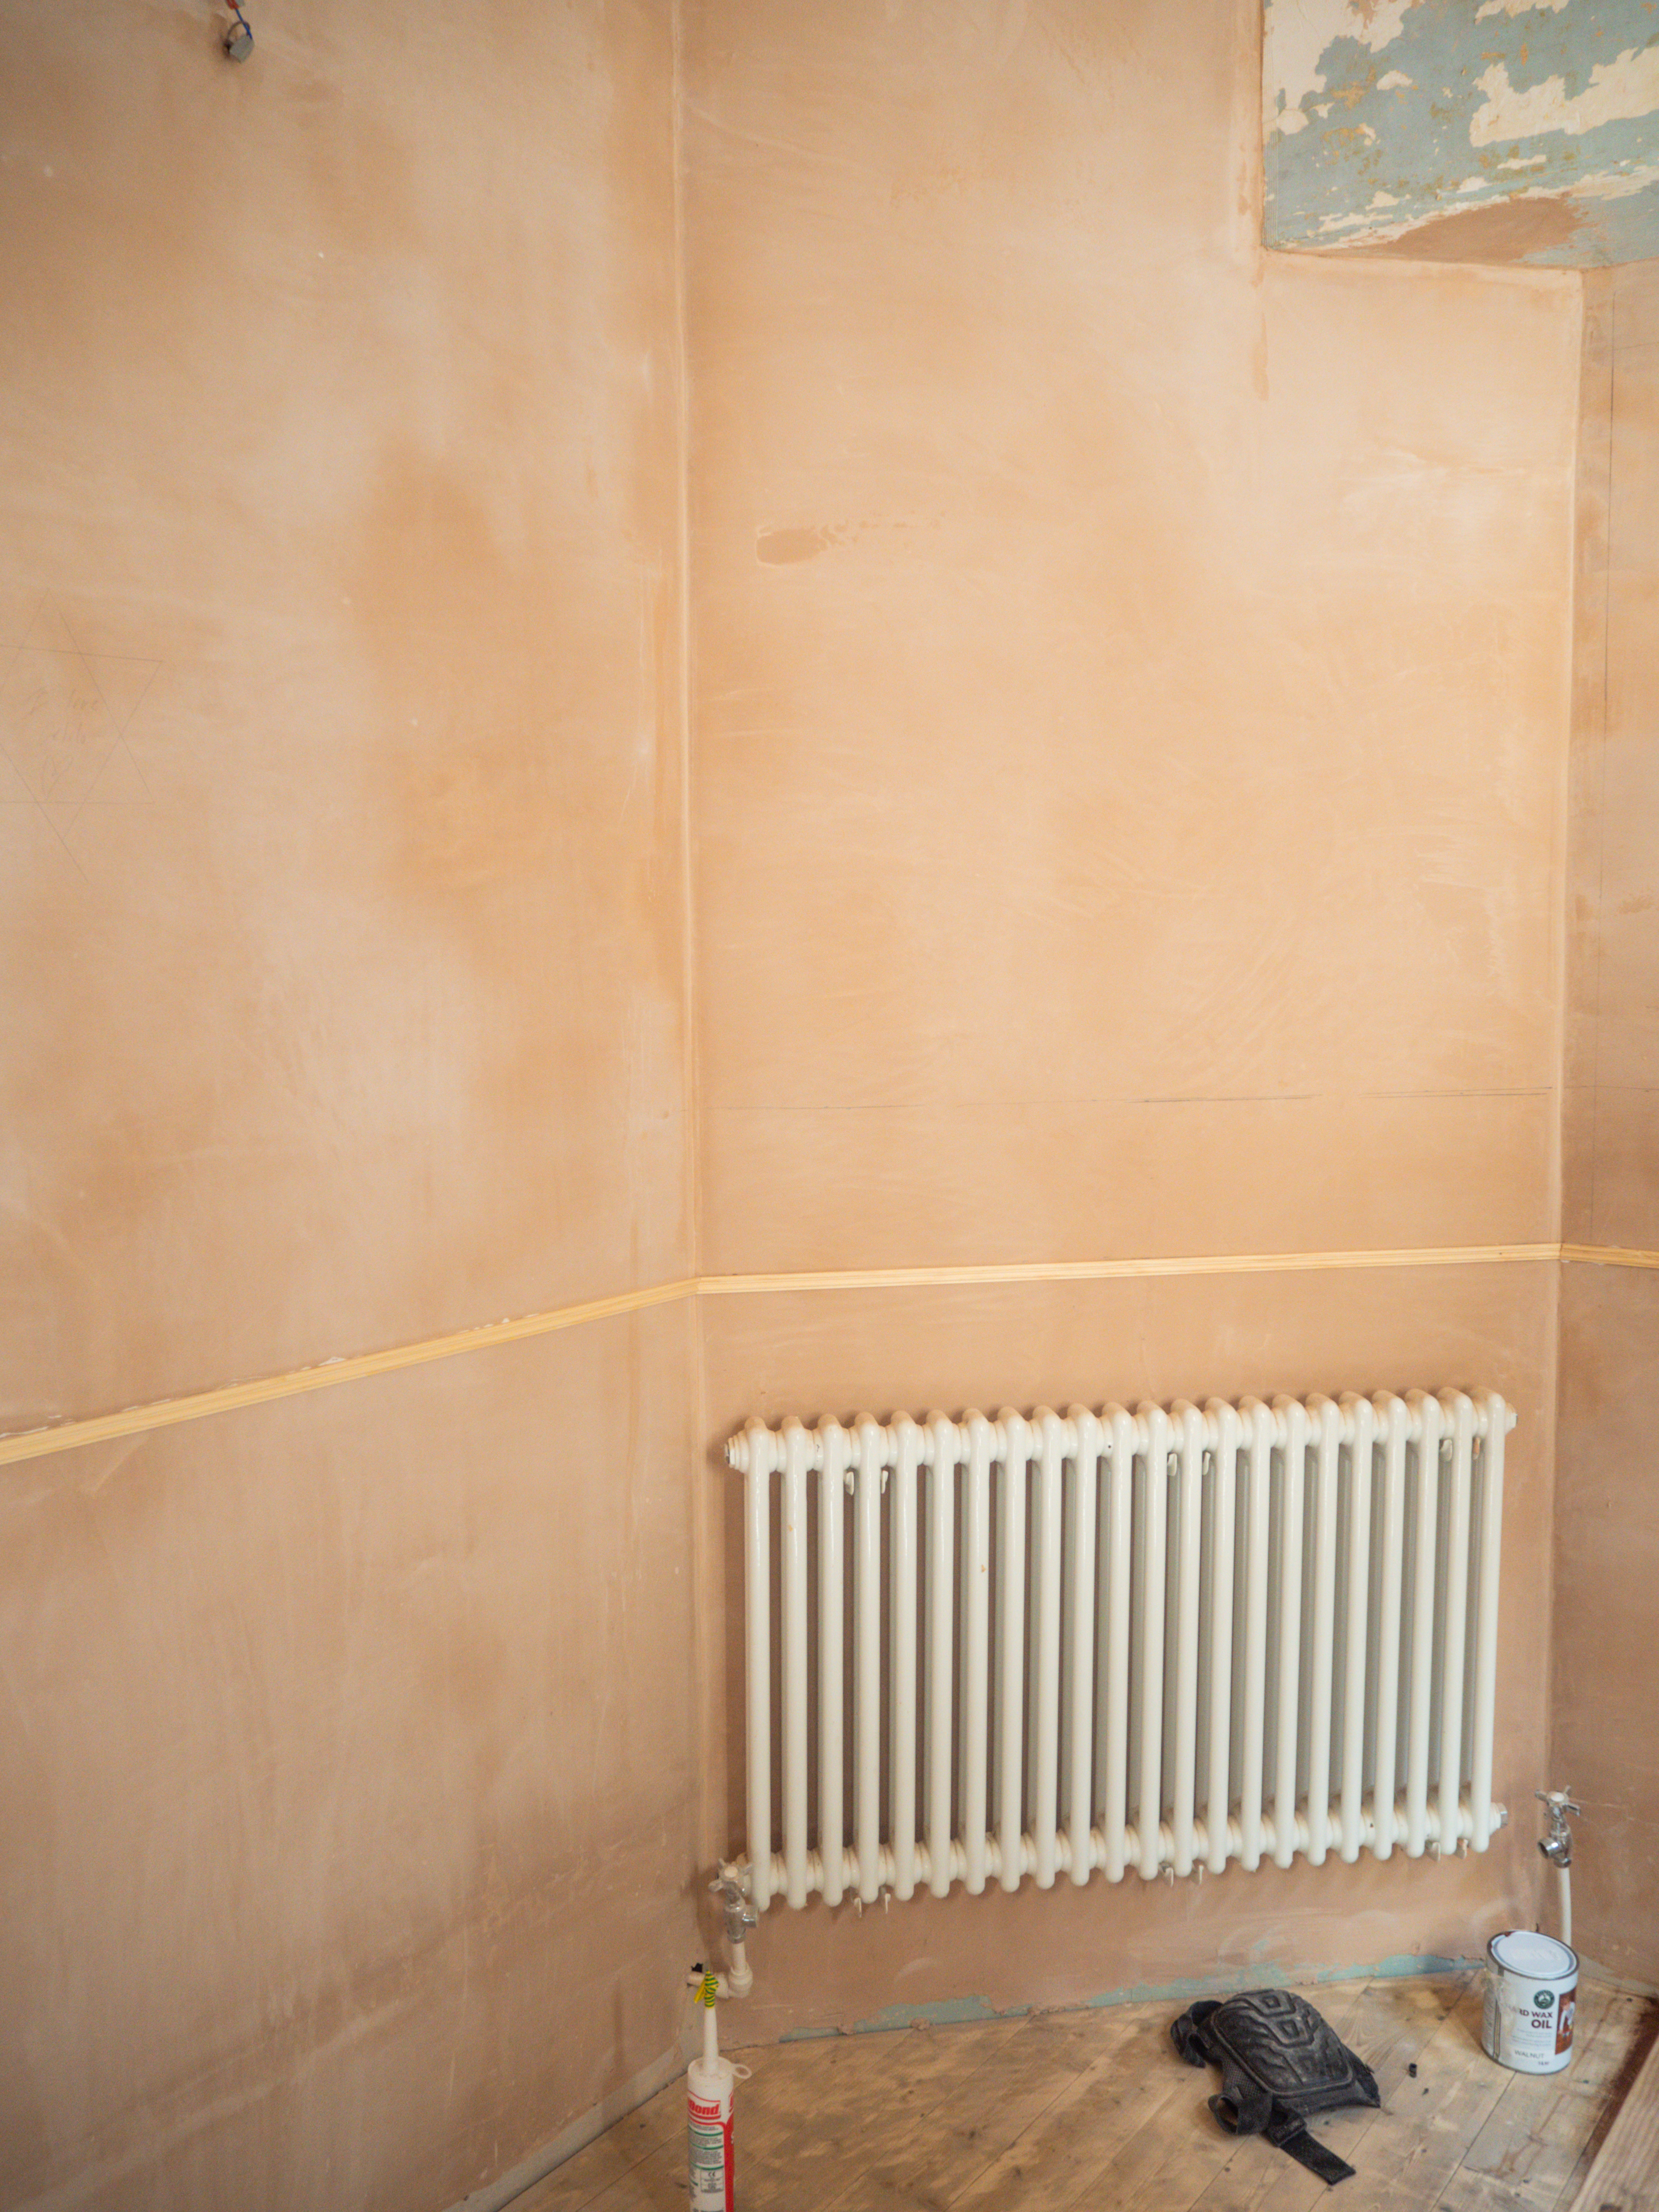
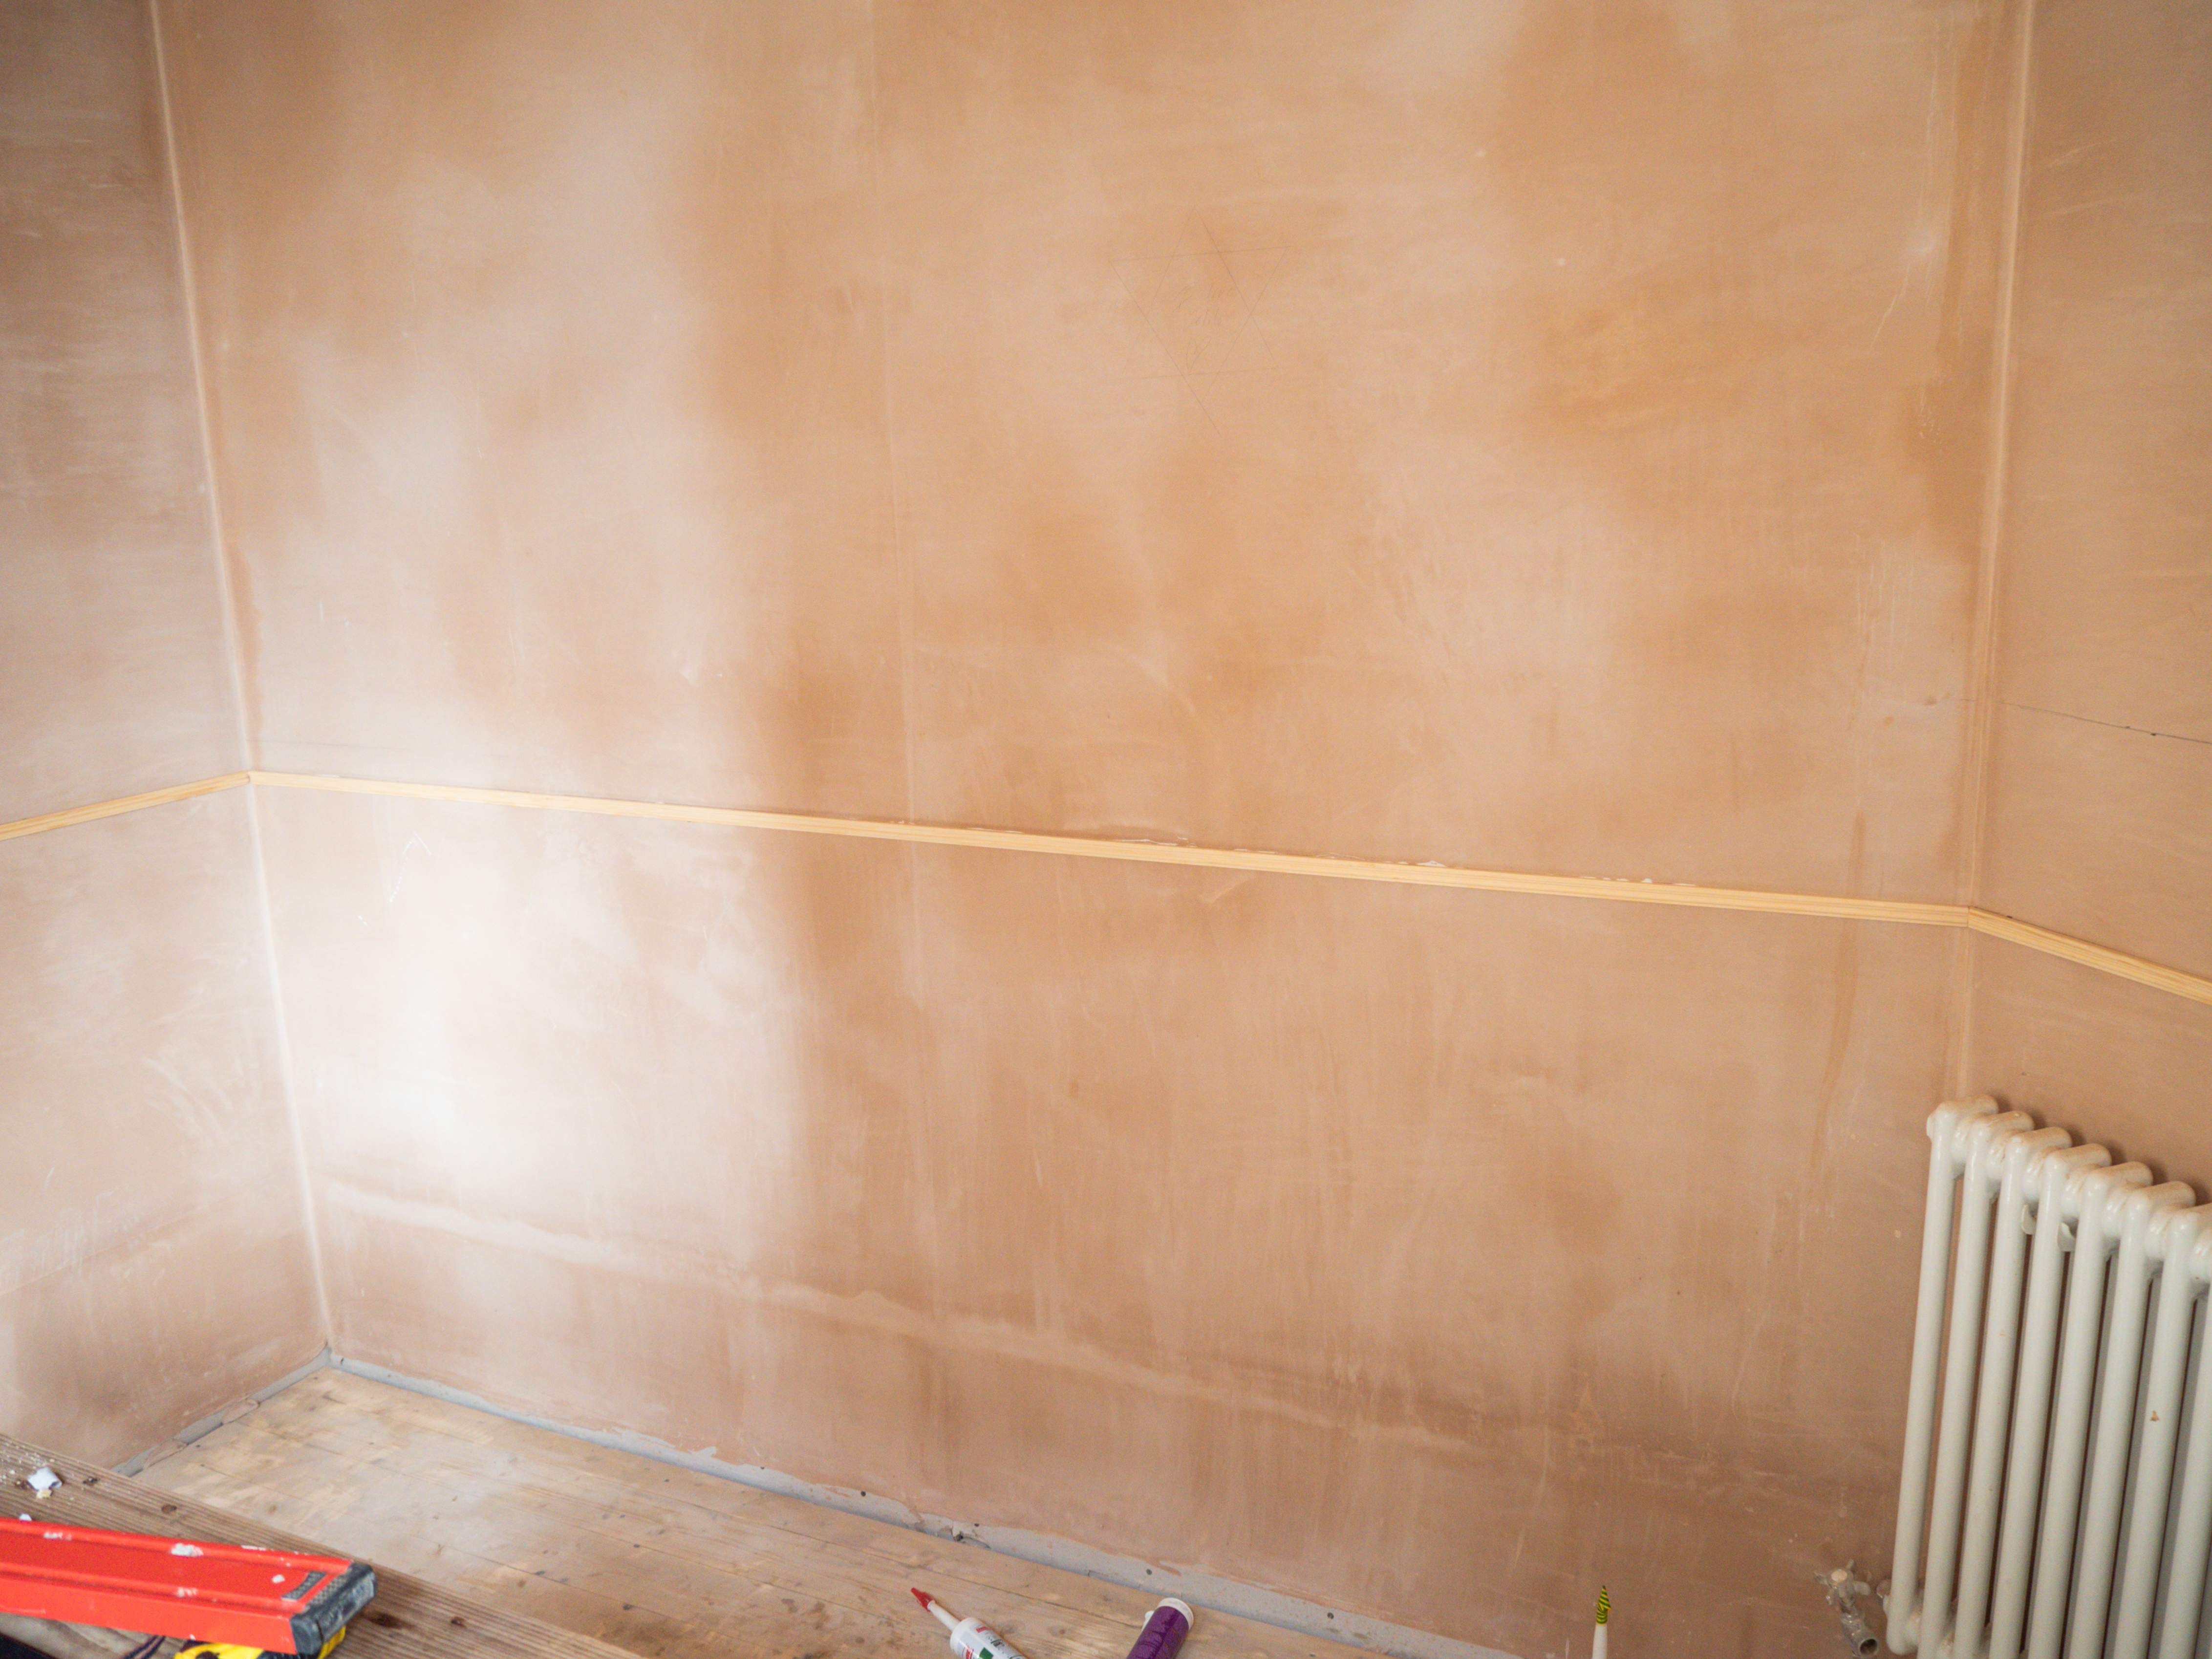
We started the process by drawing the main horizontal line onto the wall. We used a laser level for this.
Once we had the starting point up on the wall, we used this as a guide to making sure that everything else in parallel with it. We worked our way around the room with a tape measure and an HB pencil. Then we connected all the points with our spirit level. It was the perfect ruler for this job.
Where we couldn't fit the 120 cm long level, we used the smaller one.

Step 3- Panelling
This is the step that we all have been waiting for.
While attaching the panelling to the wall is the easiest and the quickest part of this DIY project, I would recommend two people for this job. It just makes it easier if you can divide the work.
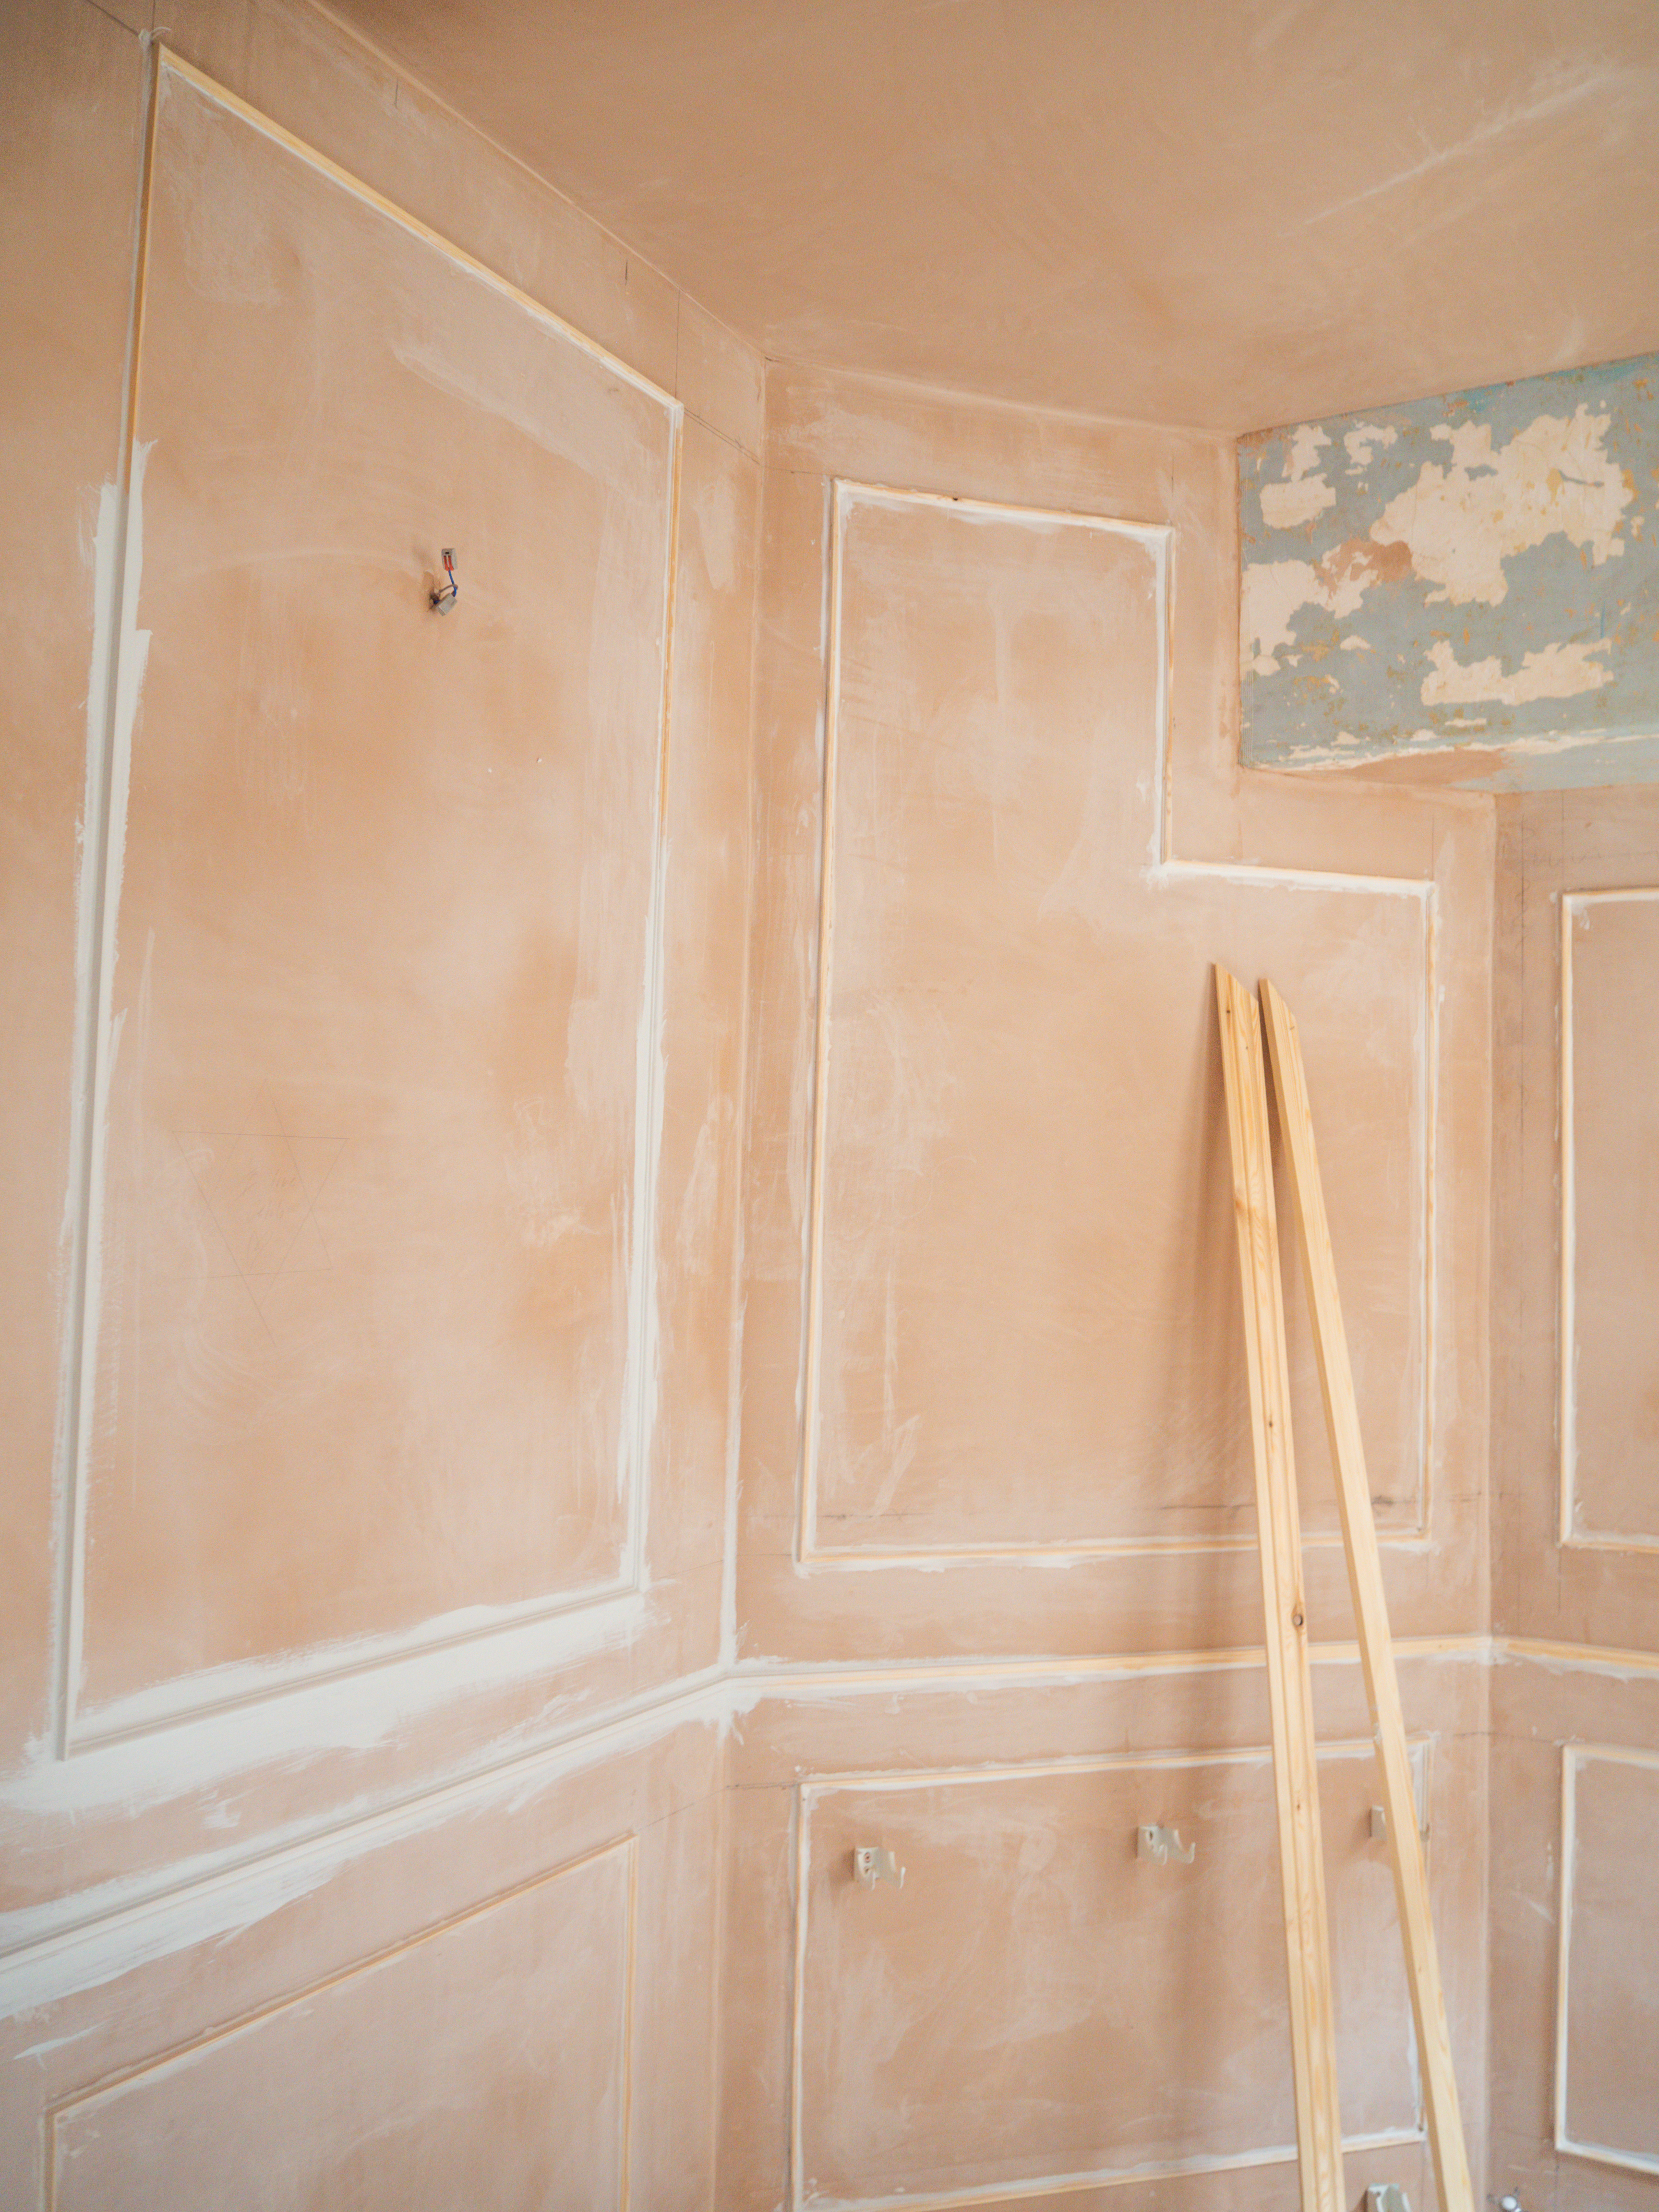
Once we draw all the lines on the wall together, we divided our work. I glued the strip wood, attached them to the wall, levelled, and symmetric everything and primed them all. Carl's job was to cut everything to the right size and to sand them.
The overall process is super simple. Cut the timber to the right size, sand the edges, add glue, nail at a 90degress angle and repeat the process around the room. To finish the look fill the gaps and corners with filler. Remember always measure twice, cut once!
We used a beginner mitre box for this project, I don't think we have not done any woodwork in this house without this 5£ box. It's a super cheap and easy tool to use, however, we had to replace it so many times, so we are aiming to get an electric one soon as there are many more projects like this to come.
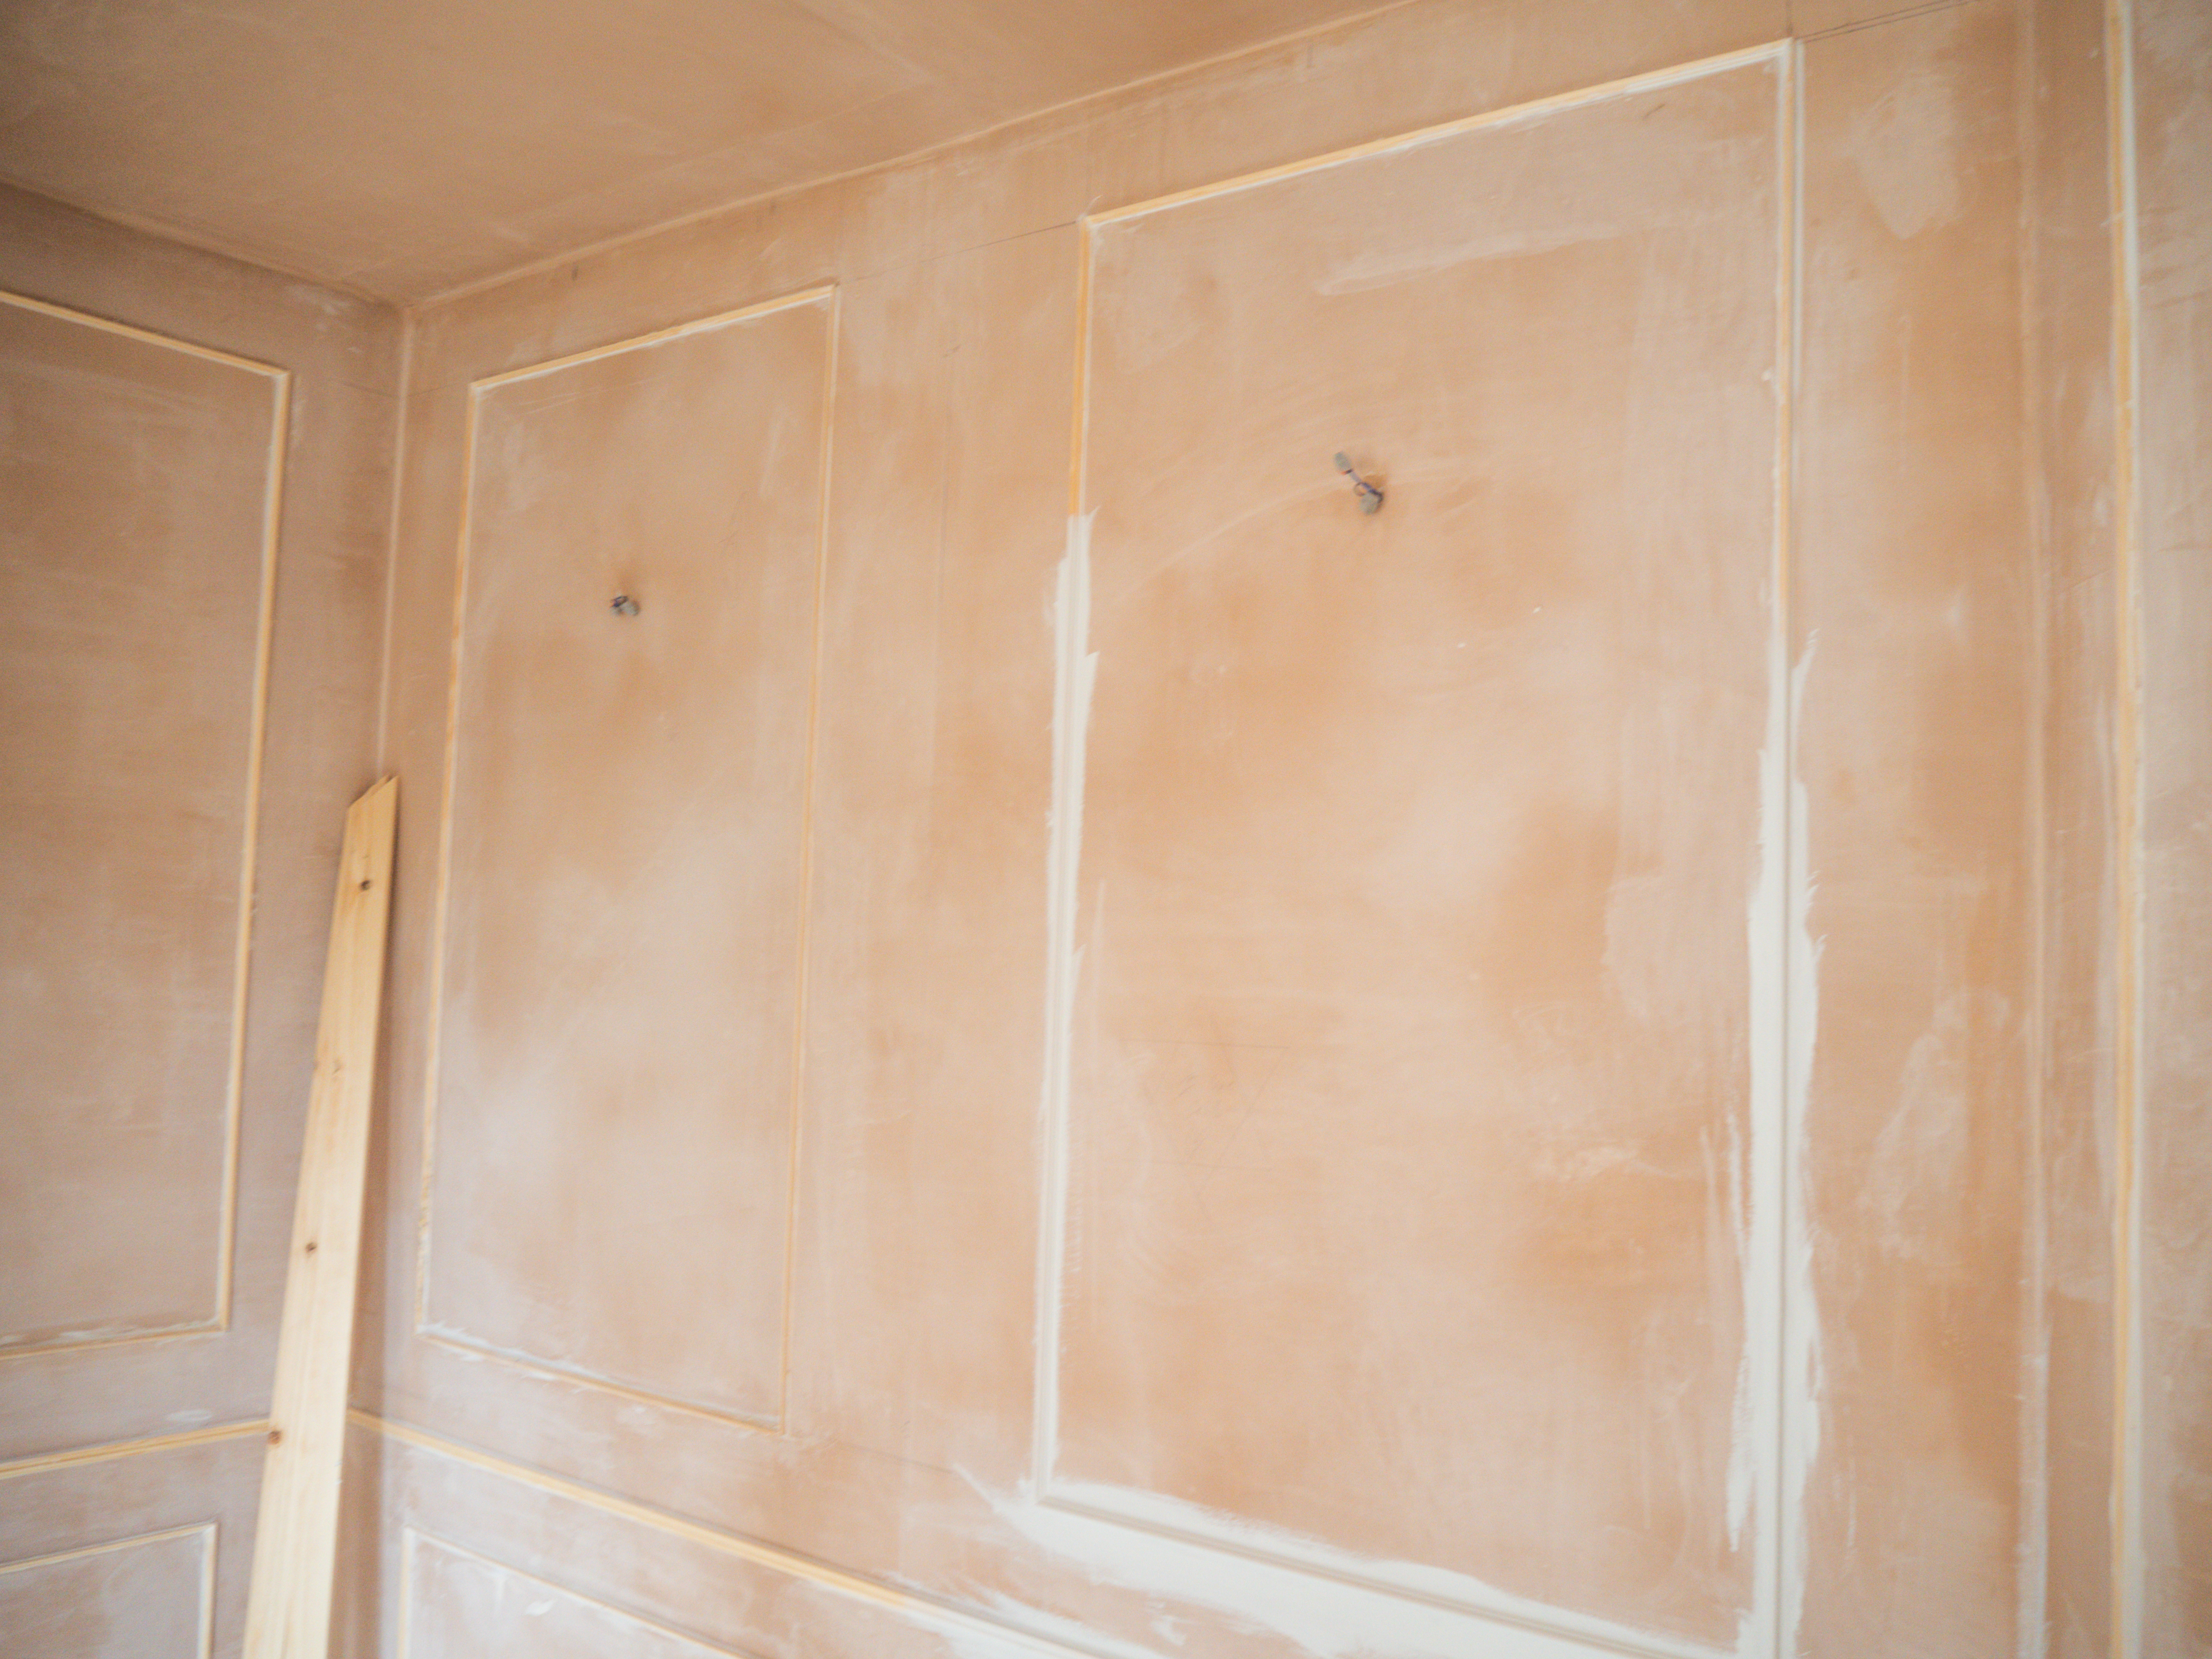
While attaching the panels, we nailed some small nails into the timber just to keep everything secured and in place while the adhesive was drying.
If the edges are rough just give them quicksand with some sandpaper. I used 120 grit.
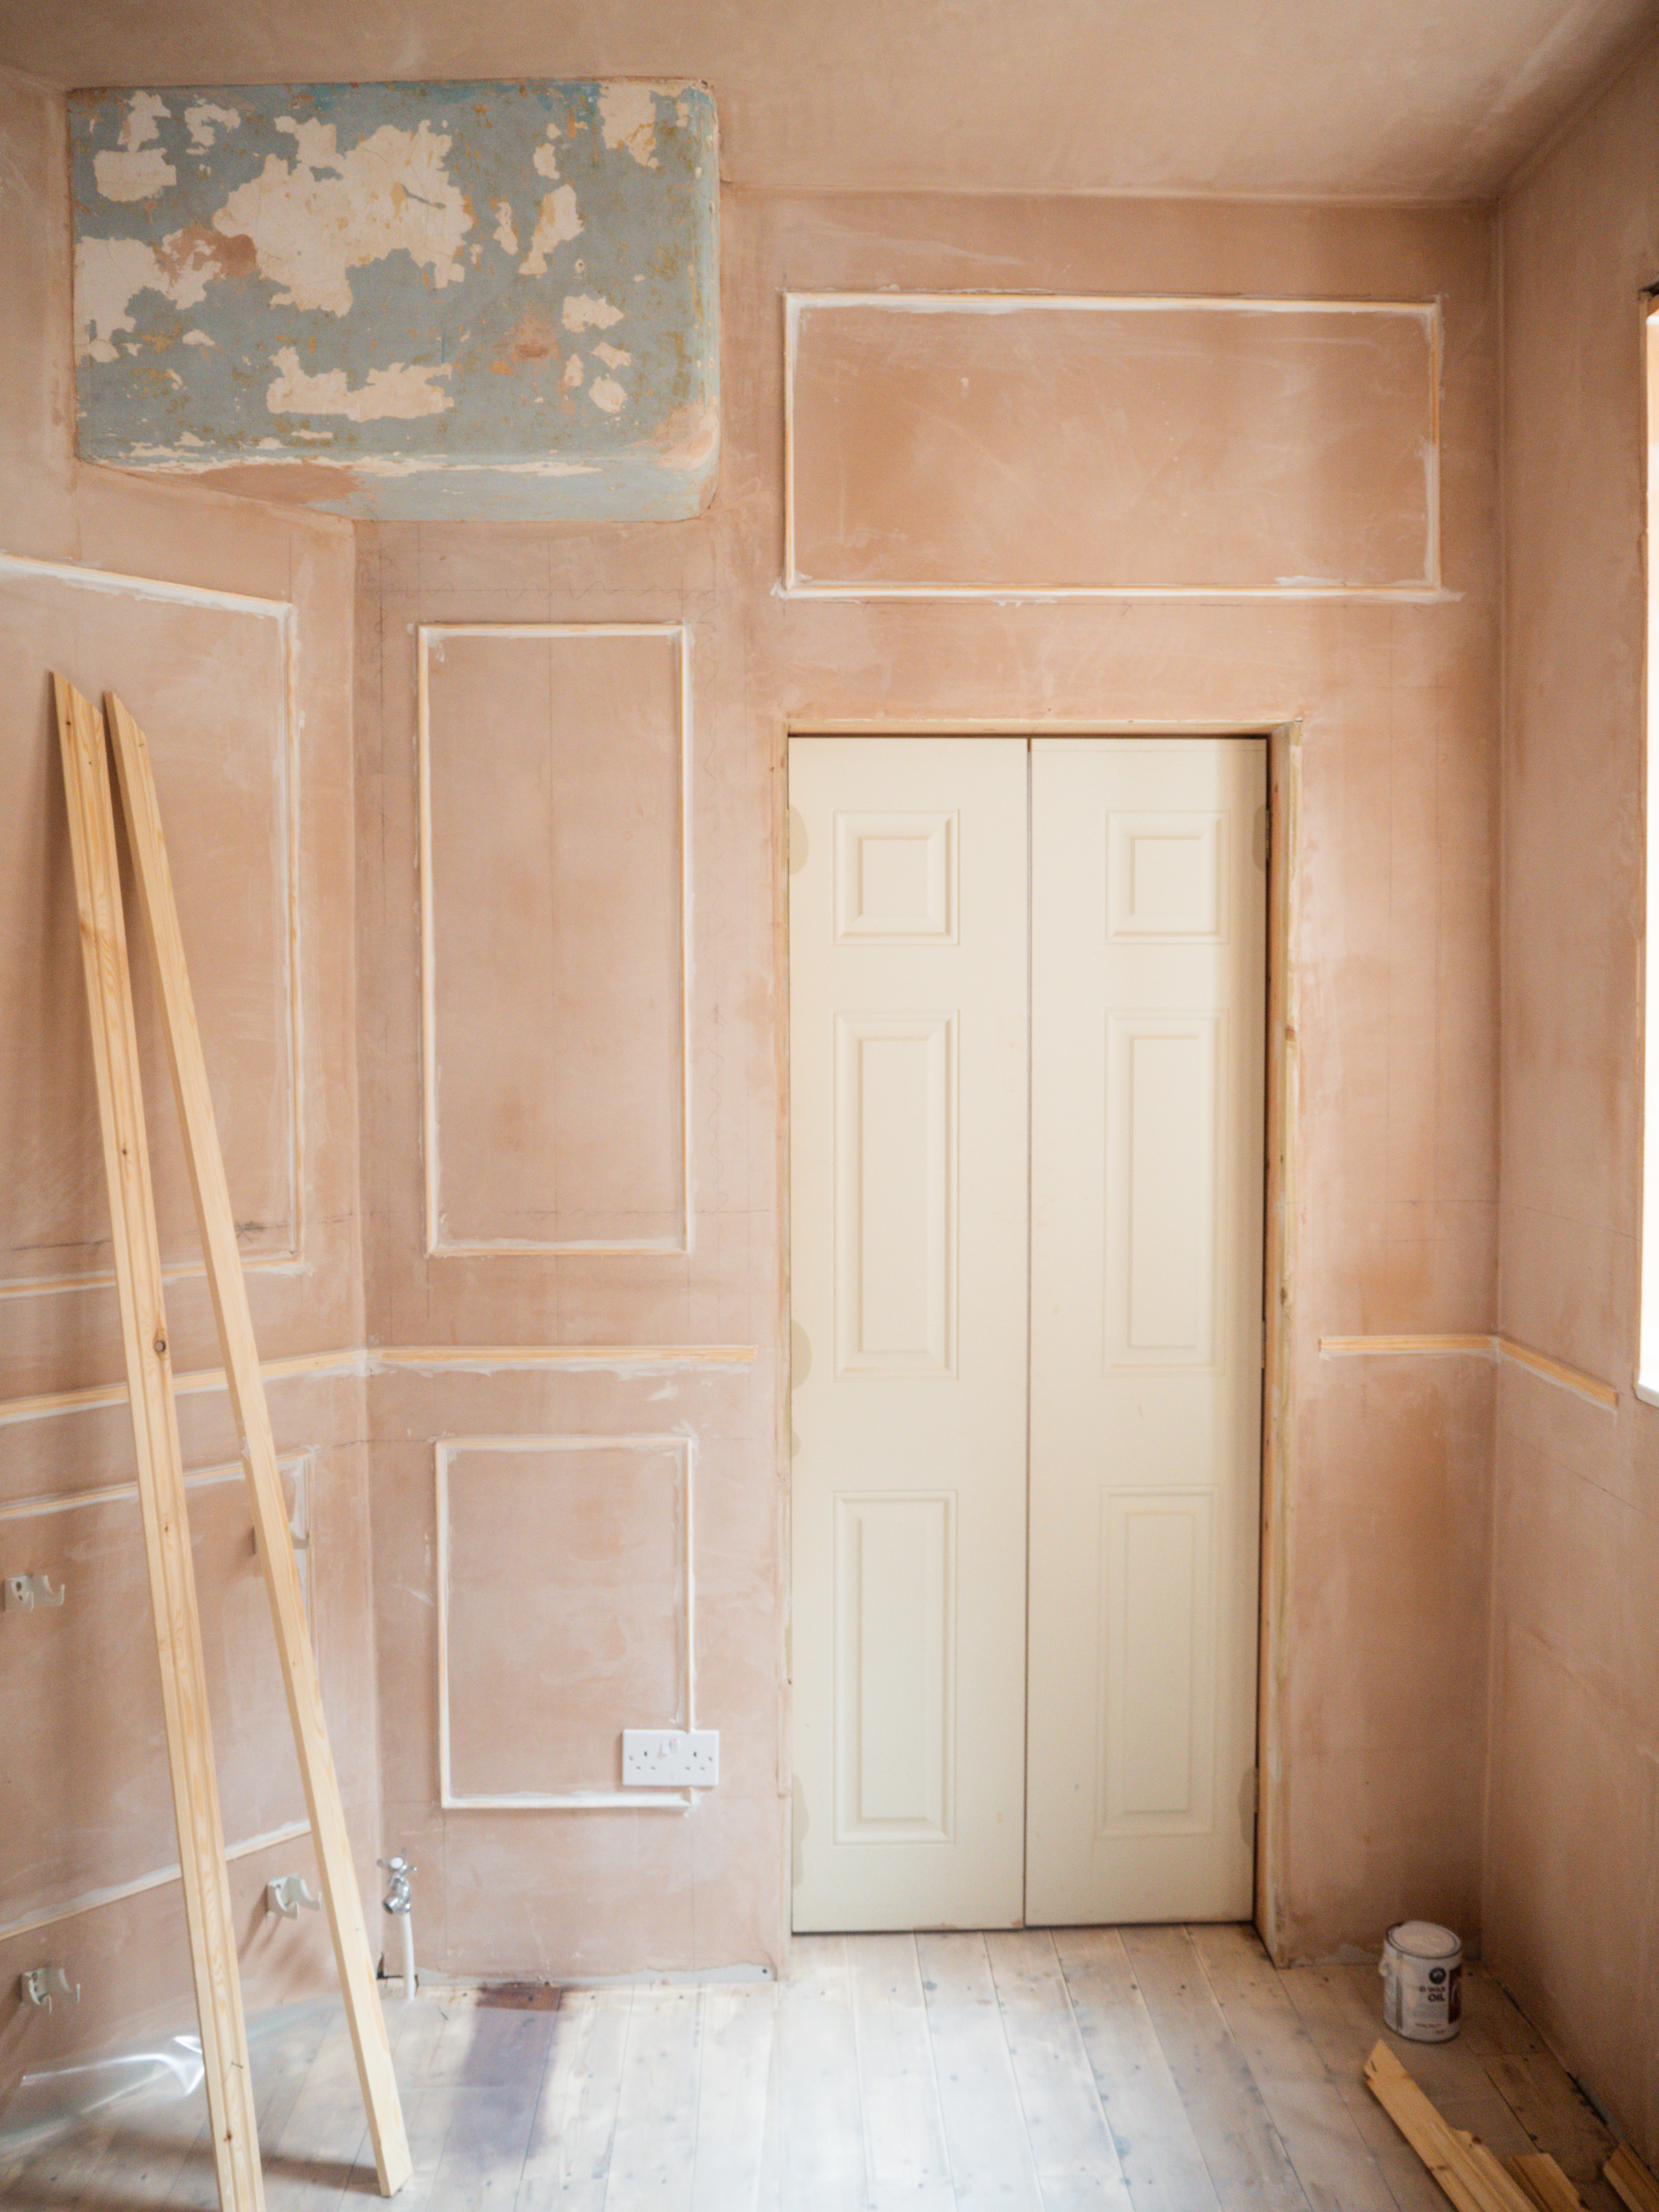
We both learned a lot from this project, and obviously this room is far from the finish line, we are both super happy how the panelling turned out. It has completely transformed the feeling of this space, it has given such a beautiful and elegant touch to it.


Tips for your project
If you attach a dado or picture railing, always start your panelling by drawing this horizontal line. This will help you to give a starting point.
Use a laser level. It's a quicker way to draw straight lines on the wall. I purchased mine from amazon. It's a Bosch spirit level and a laser level together. Love it, worth every penny.
Don't follow your sketch 100%. If you have an old house like ours, nothing will be straight.
I experienced many times that I had the measurement completely right. Everything was levelled, but something looked entirely wrong. Just aim for symmetric instead of perfect.
We were in a lucky position as when my dad was refurbishing the room I saw all the pipeworks and cables behind the walls, so I knew exactly everything was.
If you are applying panels to an unknown area, I would suggest using only glue.


Would love to see your DIY tutorial, don't forget to tag me @homeofdandc or @delilapipoly.
Disclaimer: This is a DIY Tutorial based on our own experience.


Do you mind if I quote a few of your articles as long as I provide credit and sources back to your webpage? My blog site is in the exact same area of interest as yours and my visitors would truly benefit from a lot of the information you present here. Please let me know if this okay with you. Cheers!
Author
Hello Sari,
Thank you for the kind words. I have sent you an email regarding your offer. xx
I just want to tell you that I’m beginner to blogs and truly savored this blog. Likely I’m going to bookmark your blog . You surely come with very good articles. Thanks a lot for revealing your web page.