Where I am from, we do not celebrate Halloween so since I was a kid I was eager to have Halloween in the same way we see it in the movies.
Just looks so fun.
Spooky decorations, getting dress up in costumes, parties, pumpkin carvings and of course the sweets.
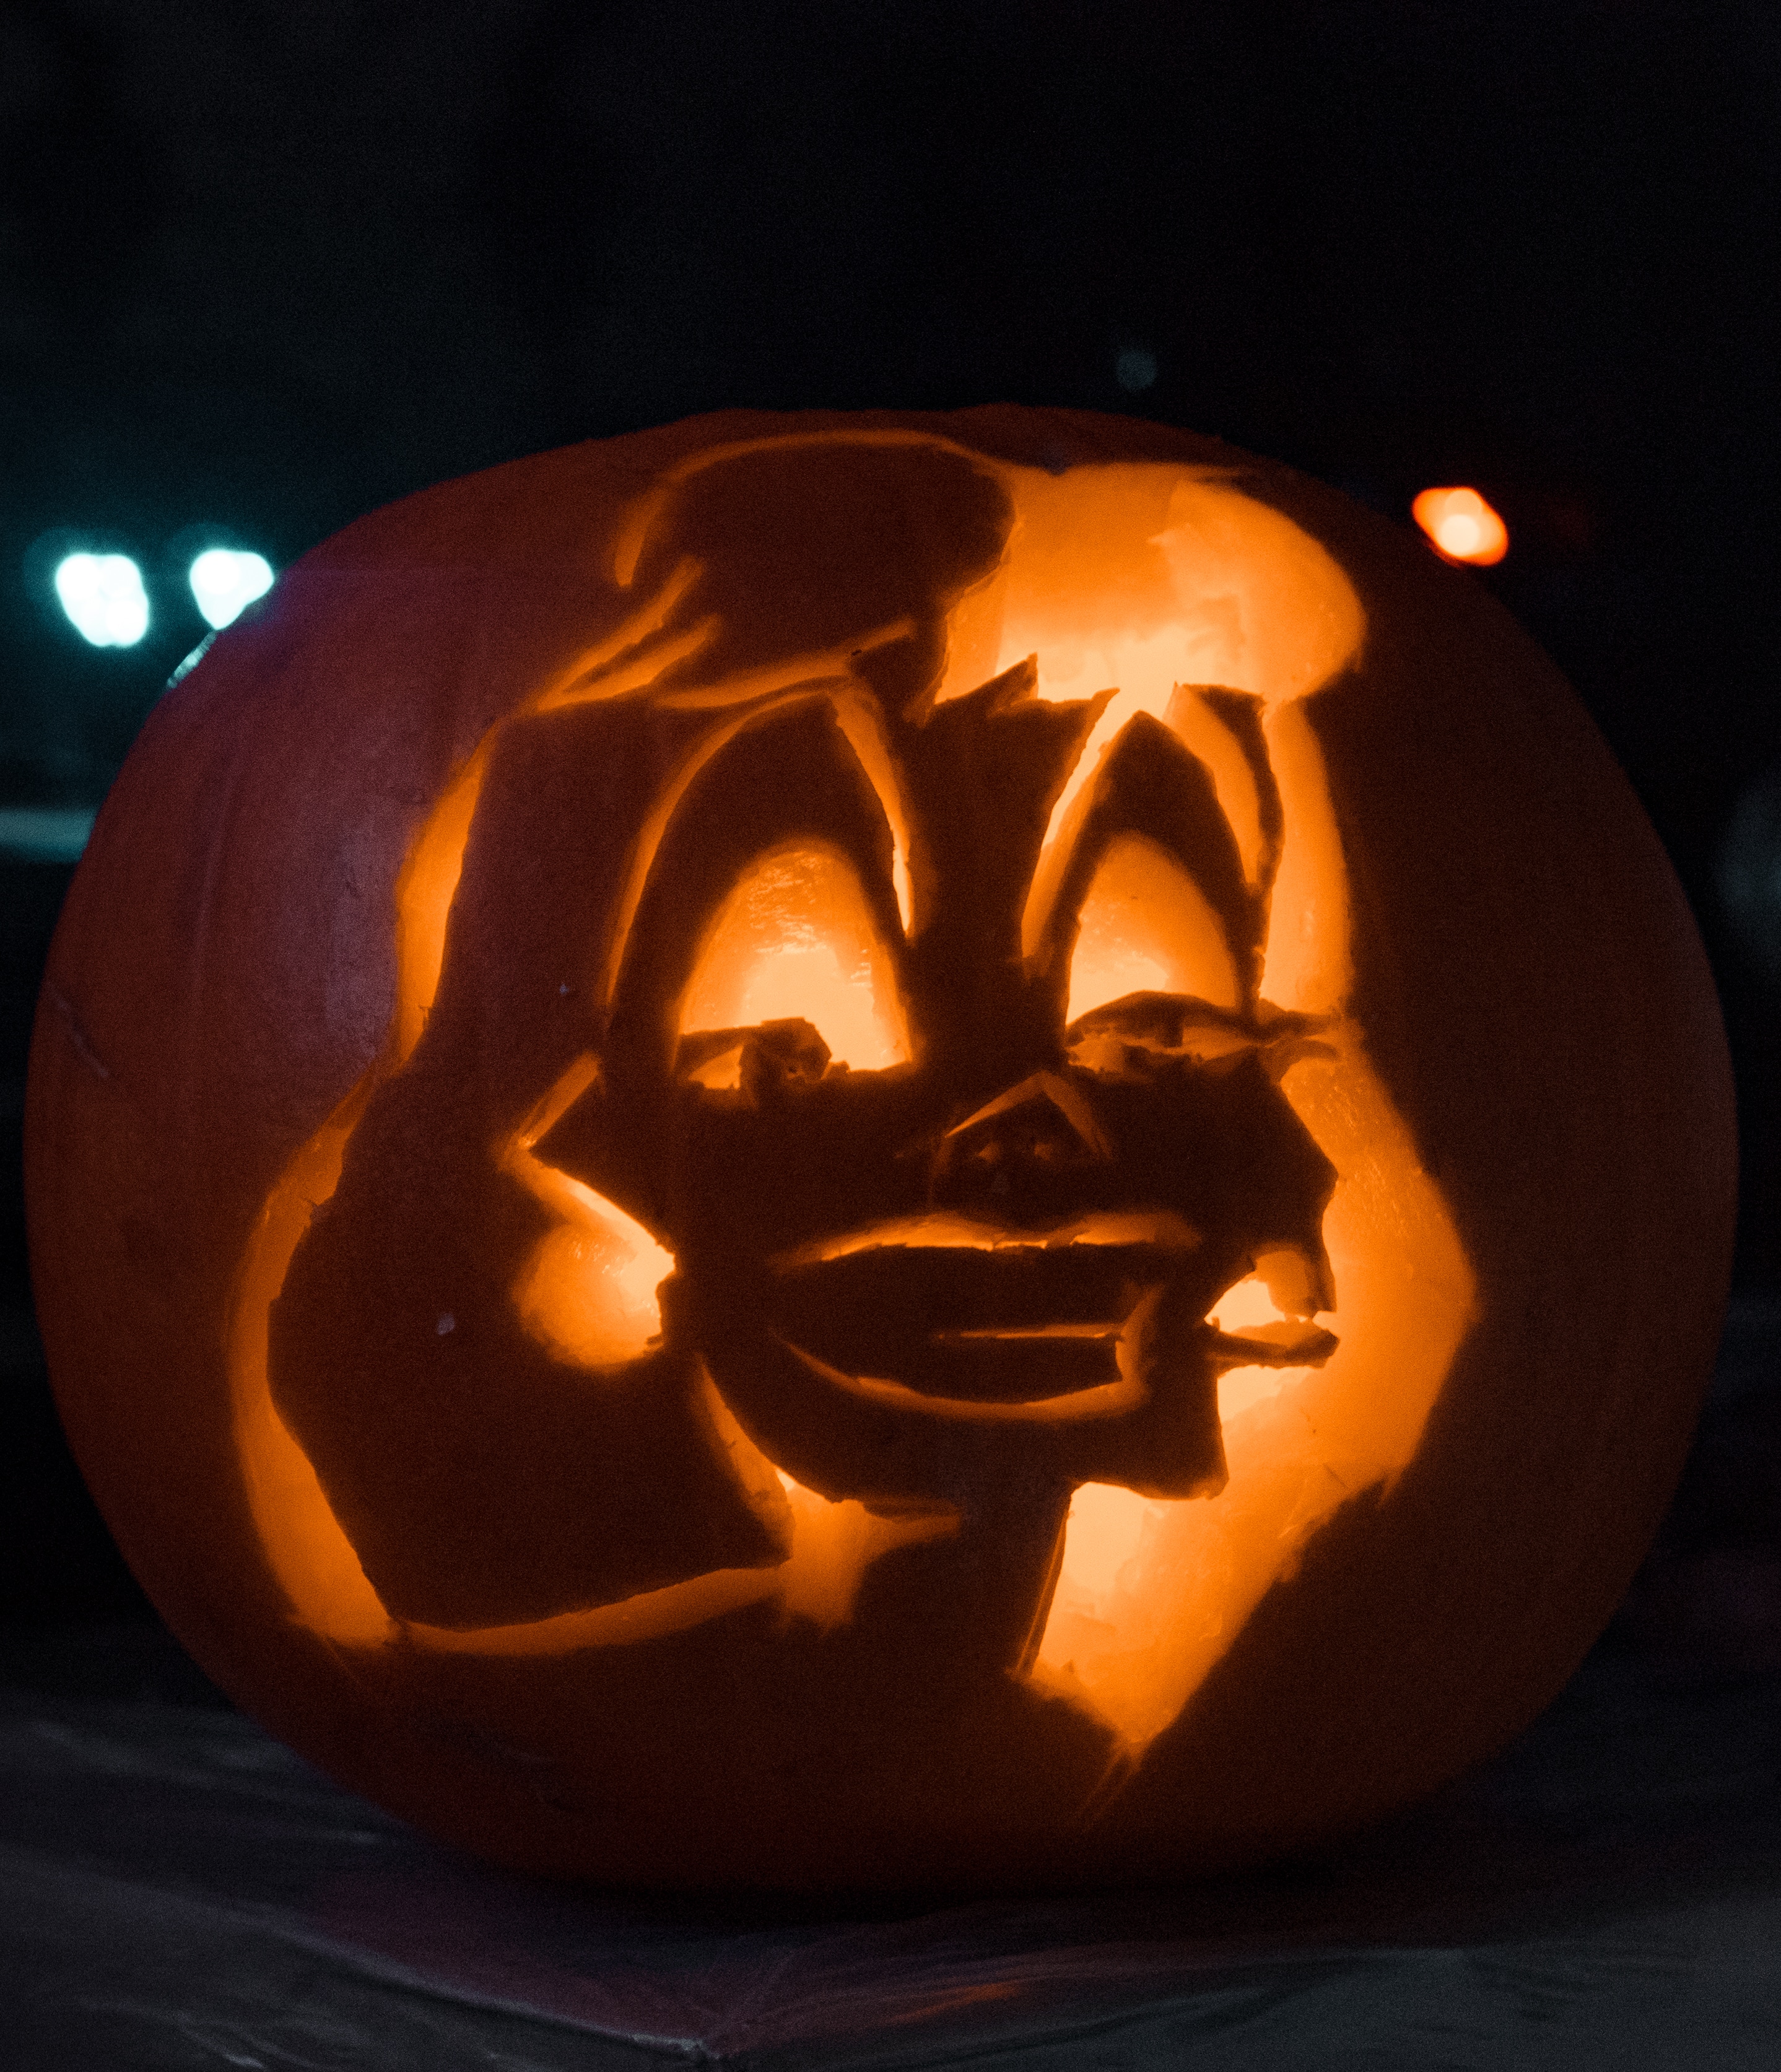
In this post, I'm going to focus on pumpkin carving, and I will teach all of you how to create your own creative jack-o'- lantern this year.
I have never been a big fan of spooky, scary themed pumpkins so a couple of years ago I decided to craft characters from my most beloved Disney movies and since it has become a tradition.
Let's get into the Halloween spirit together!

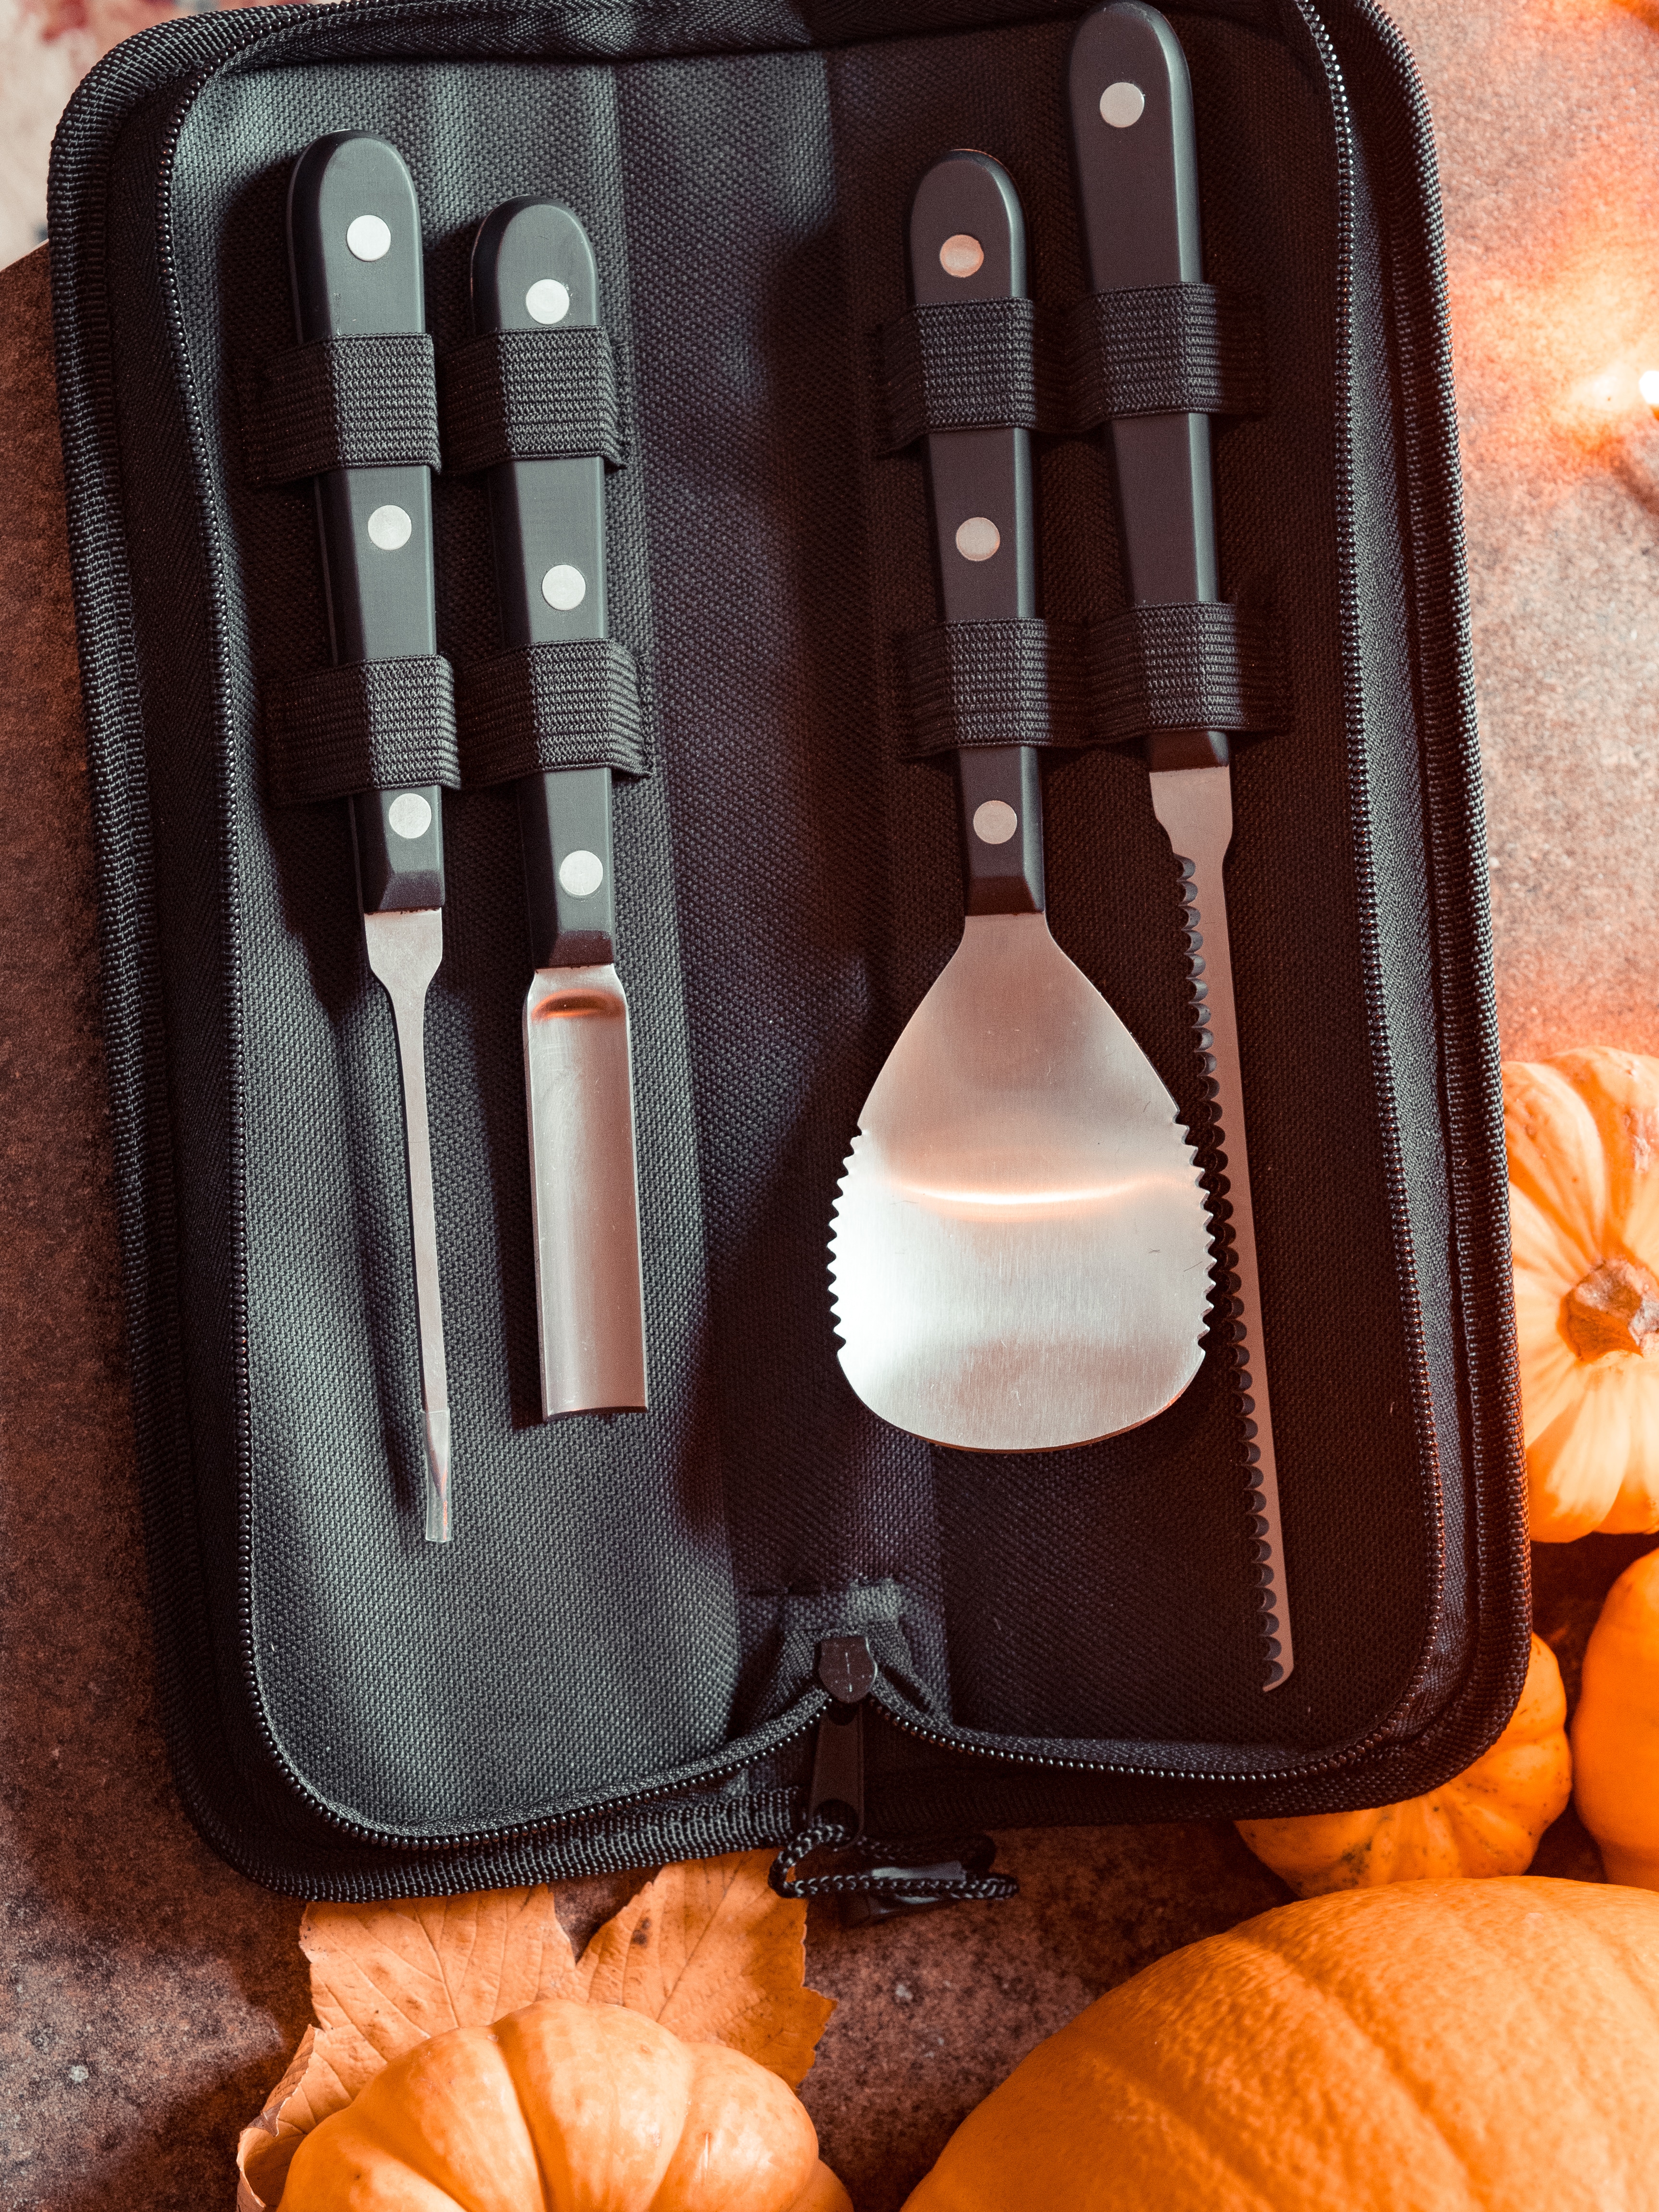

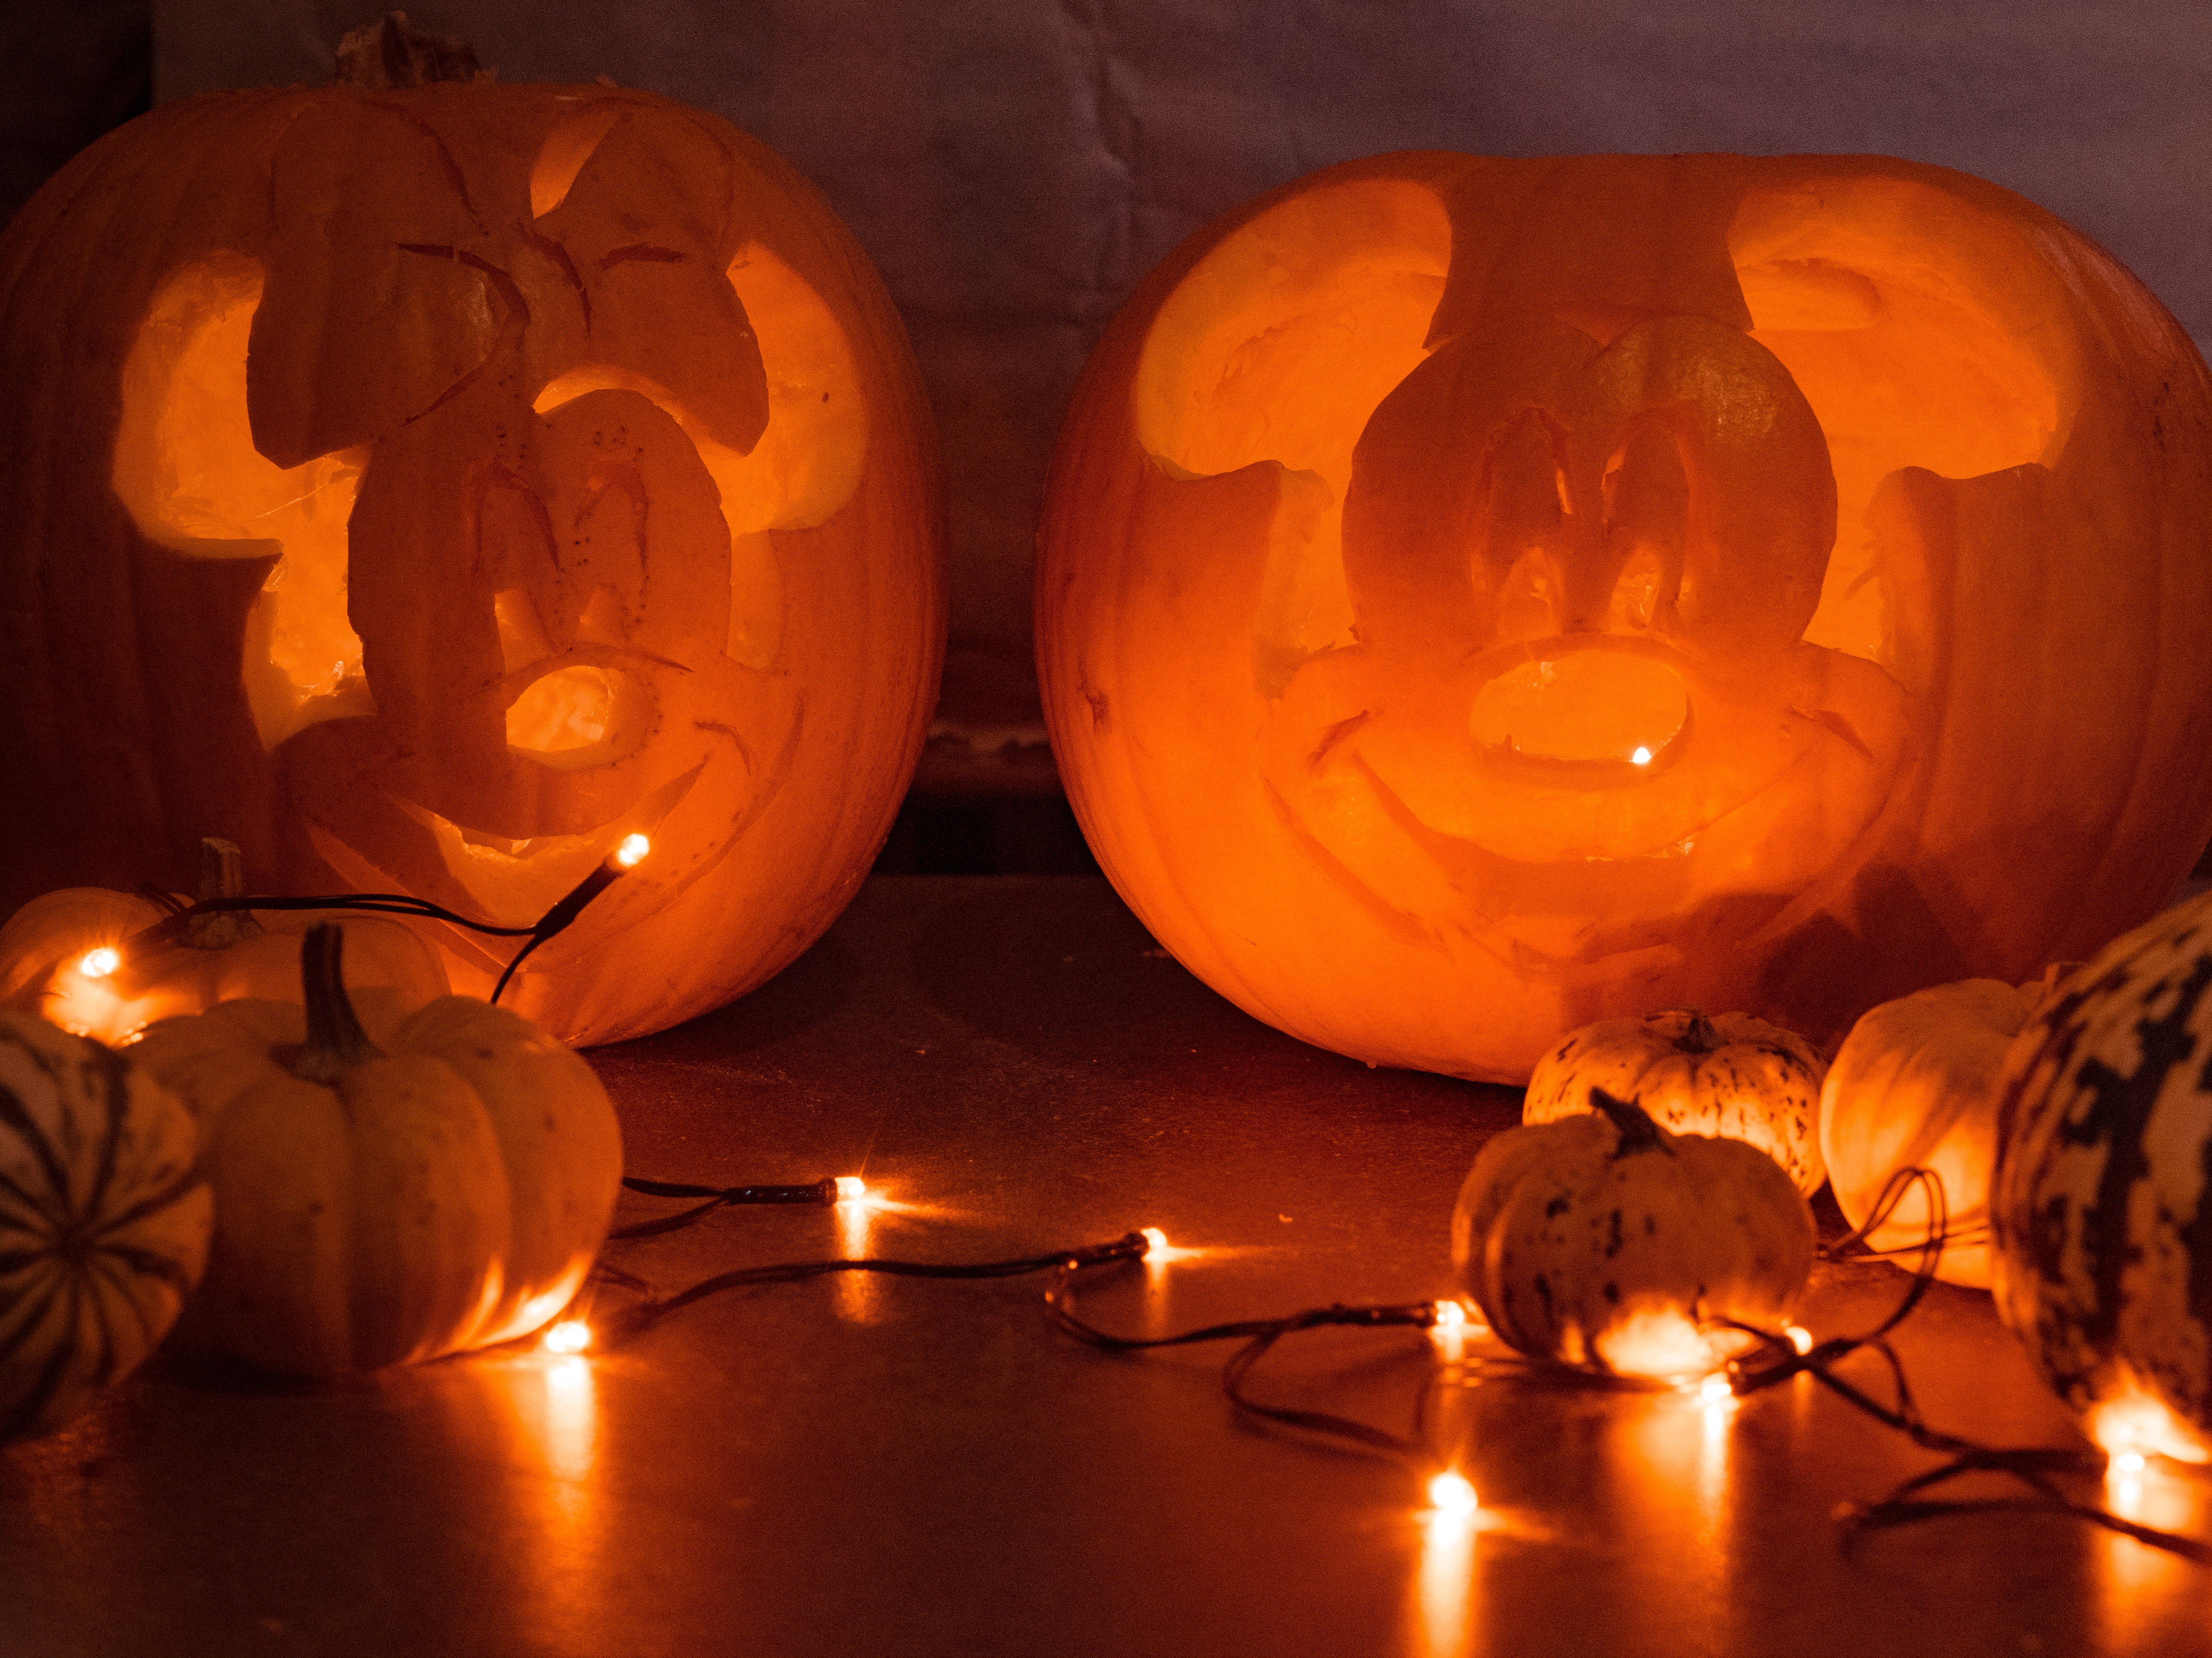
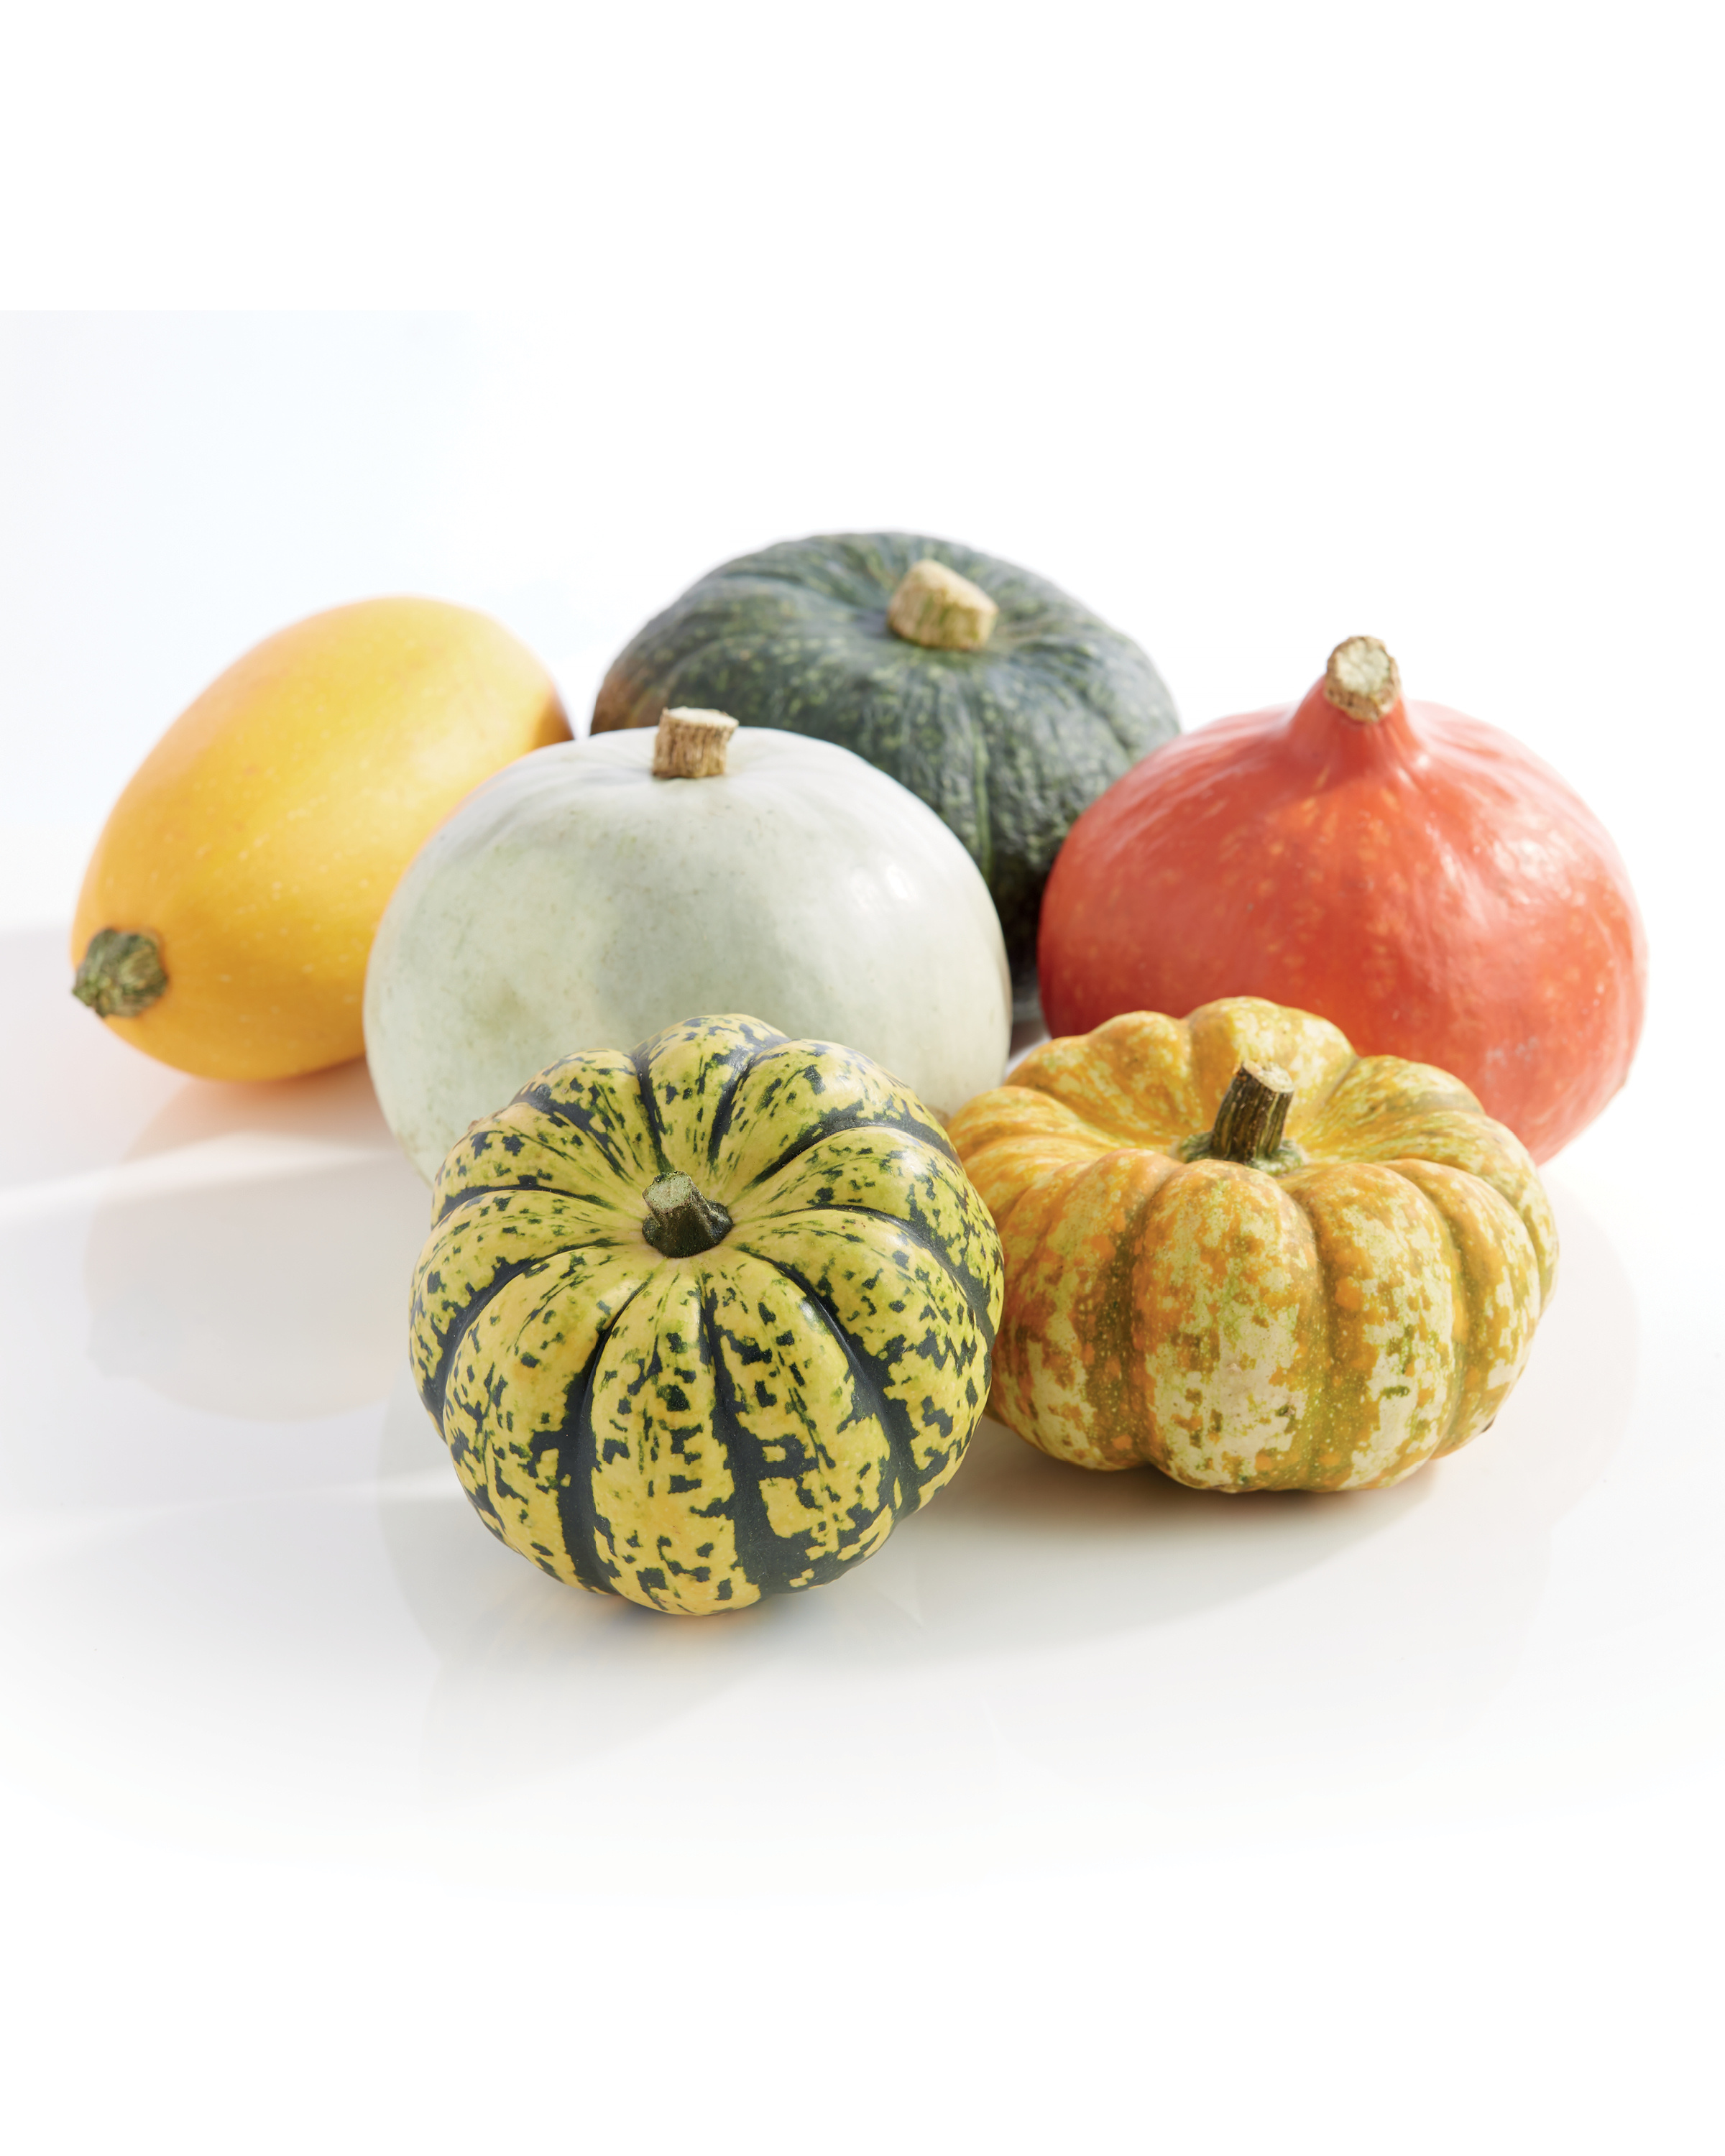
1)Pick a healthy pumpkin with a flat base.
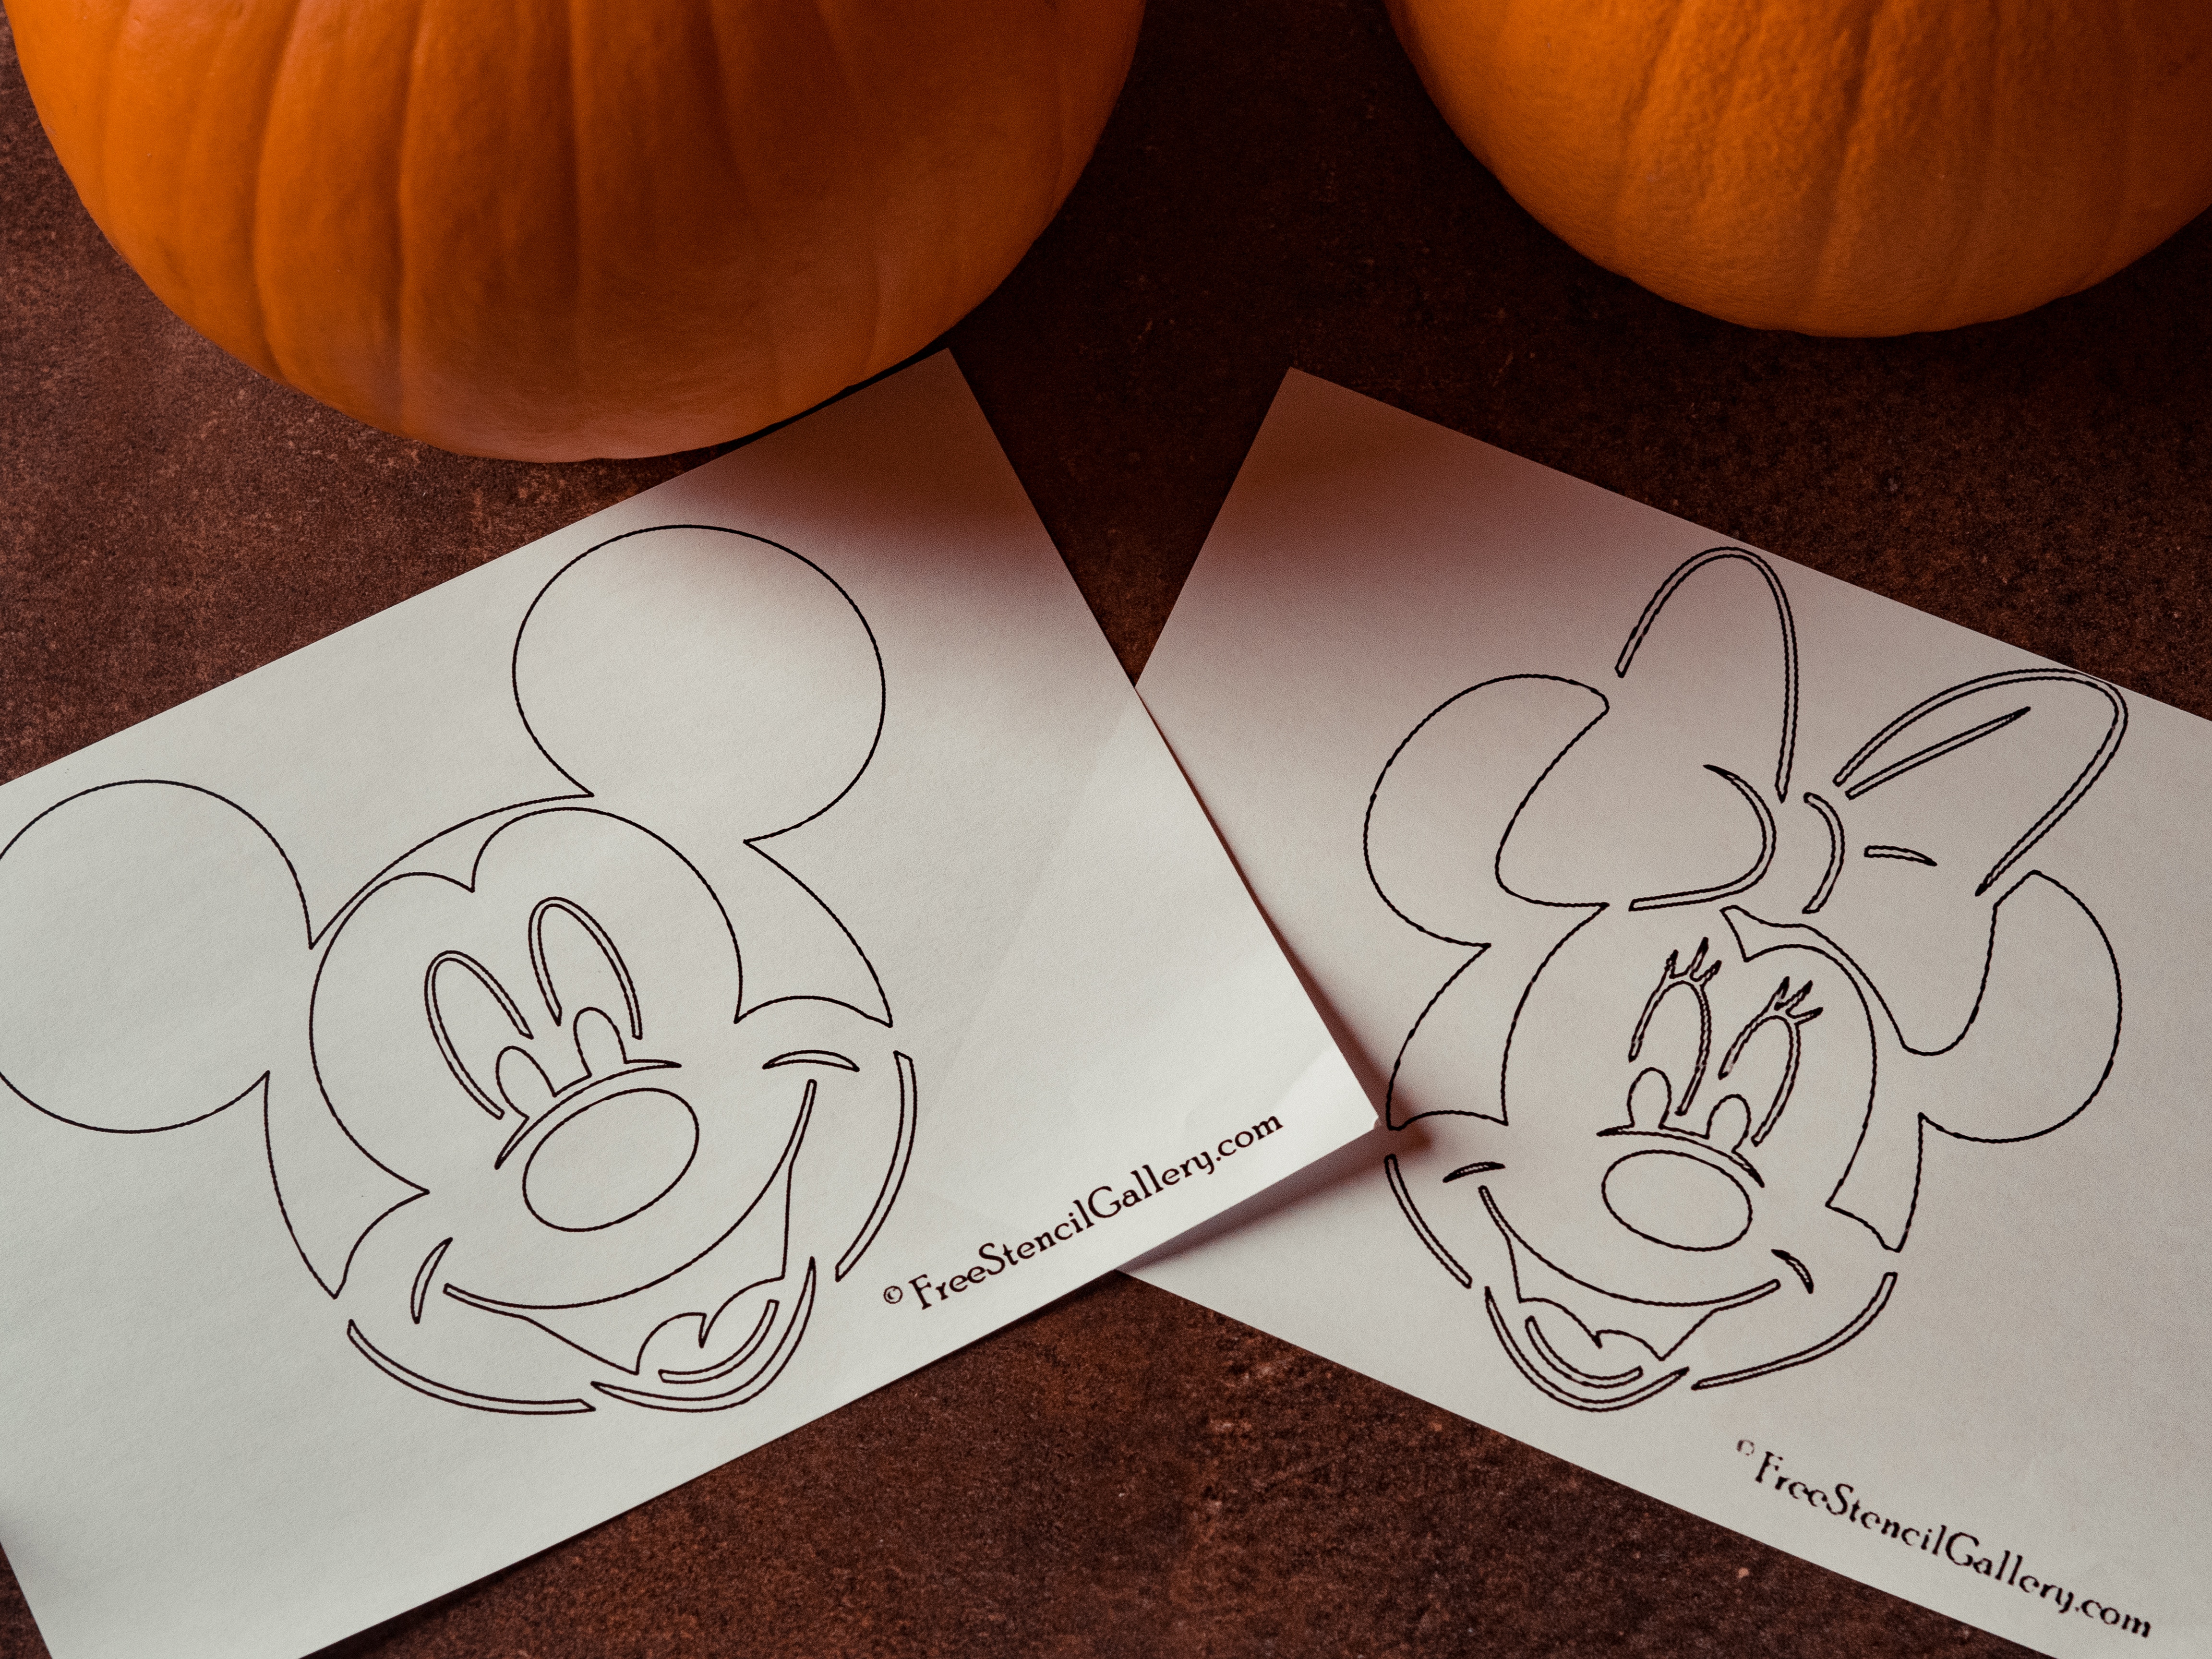
2)Secondly, browse around the internet for a template, or you can use the stencils I have collected below. As soon as you find the one, there are many different methods to prick from how you would like to transfer your print onto your pumpkin.
Either download your print and cut out all the design pieces, you can draw the template if you are good at drawing or you can tape the template onto the pumpkin temporarily and poke the stencils with a small pin into the pumpkin.
If you go with option three follow the steps below.
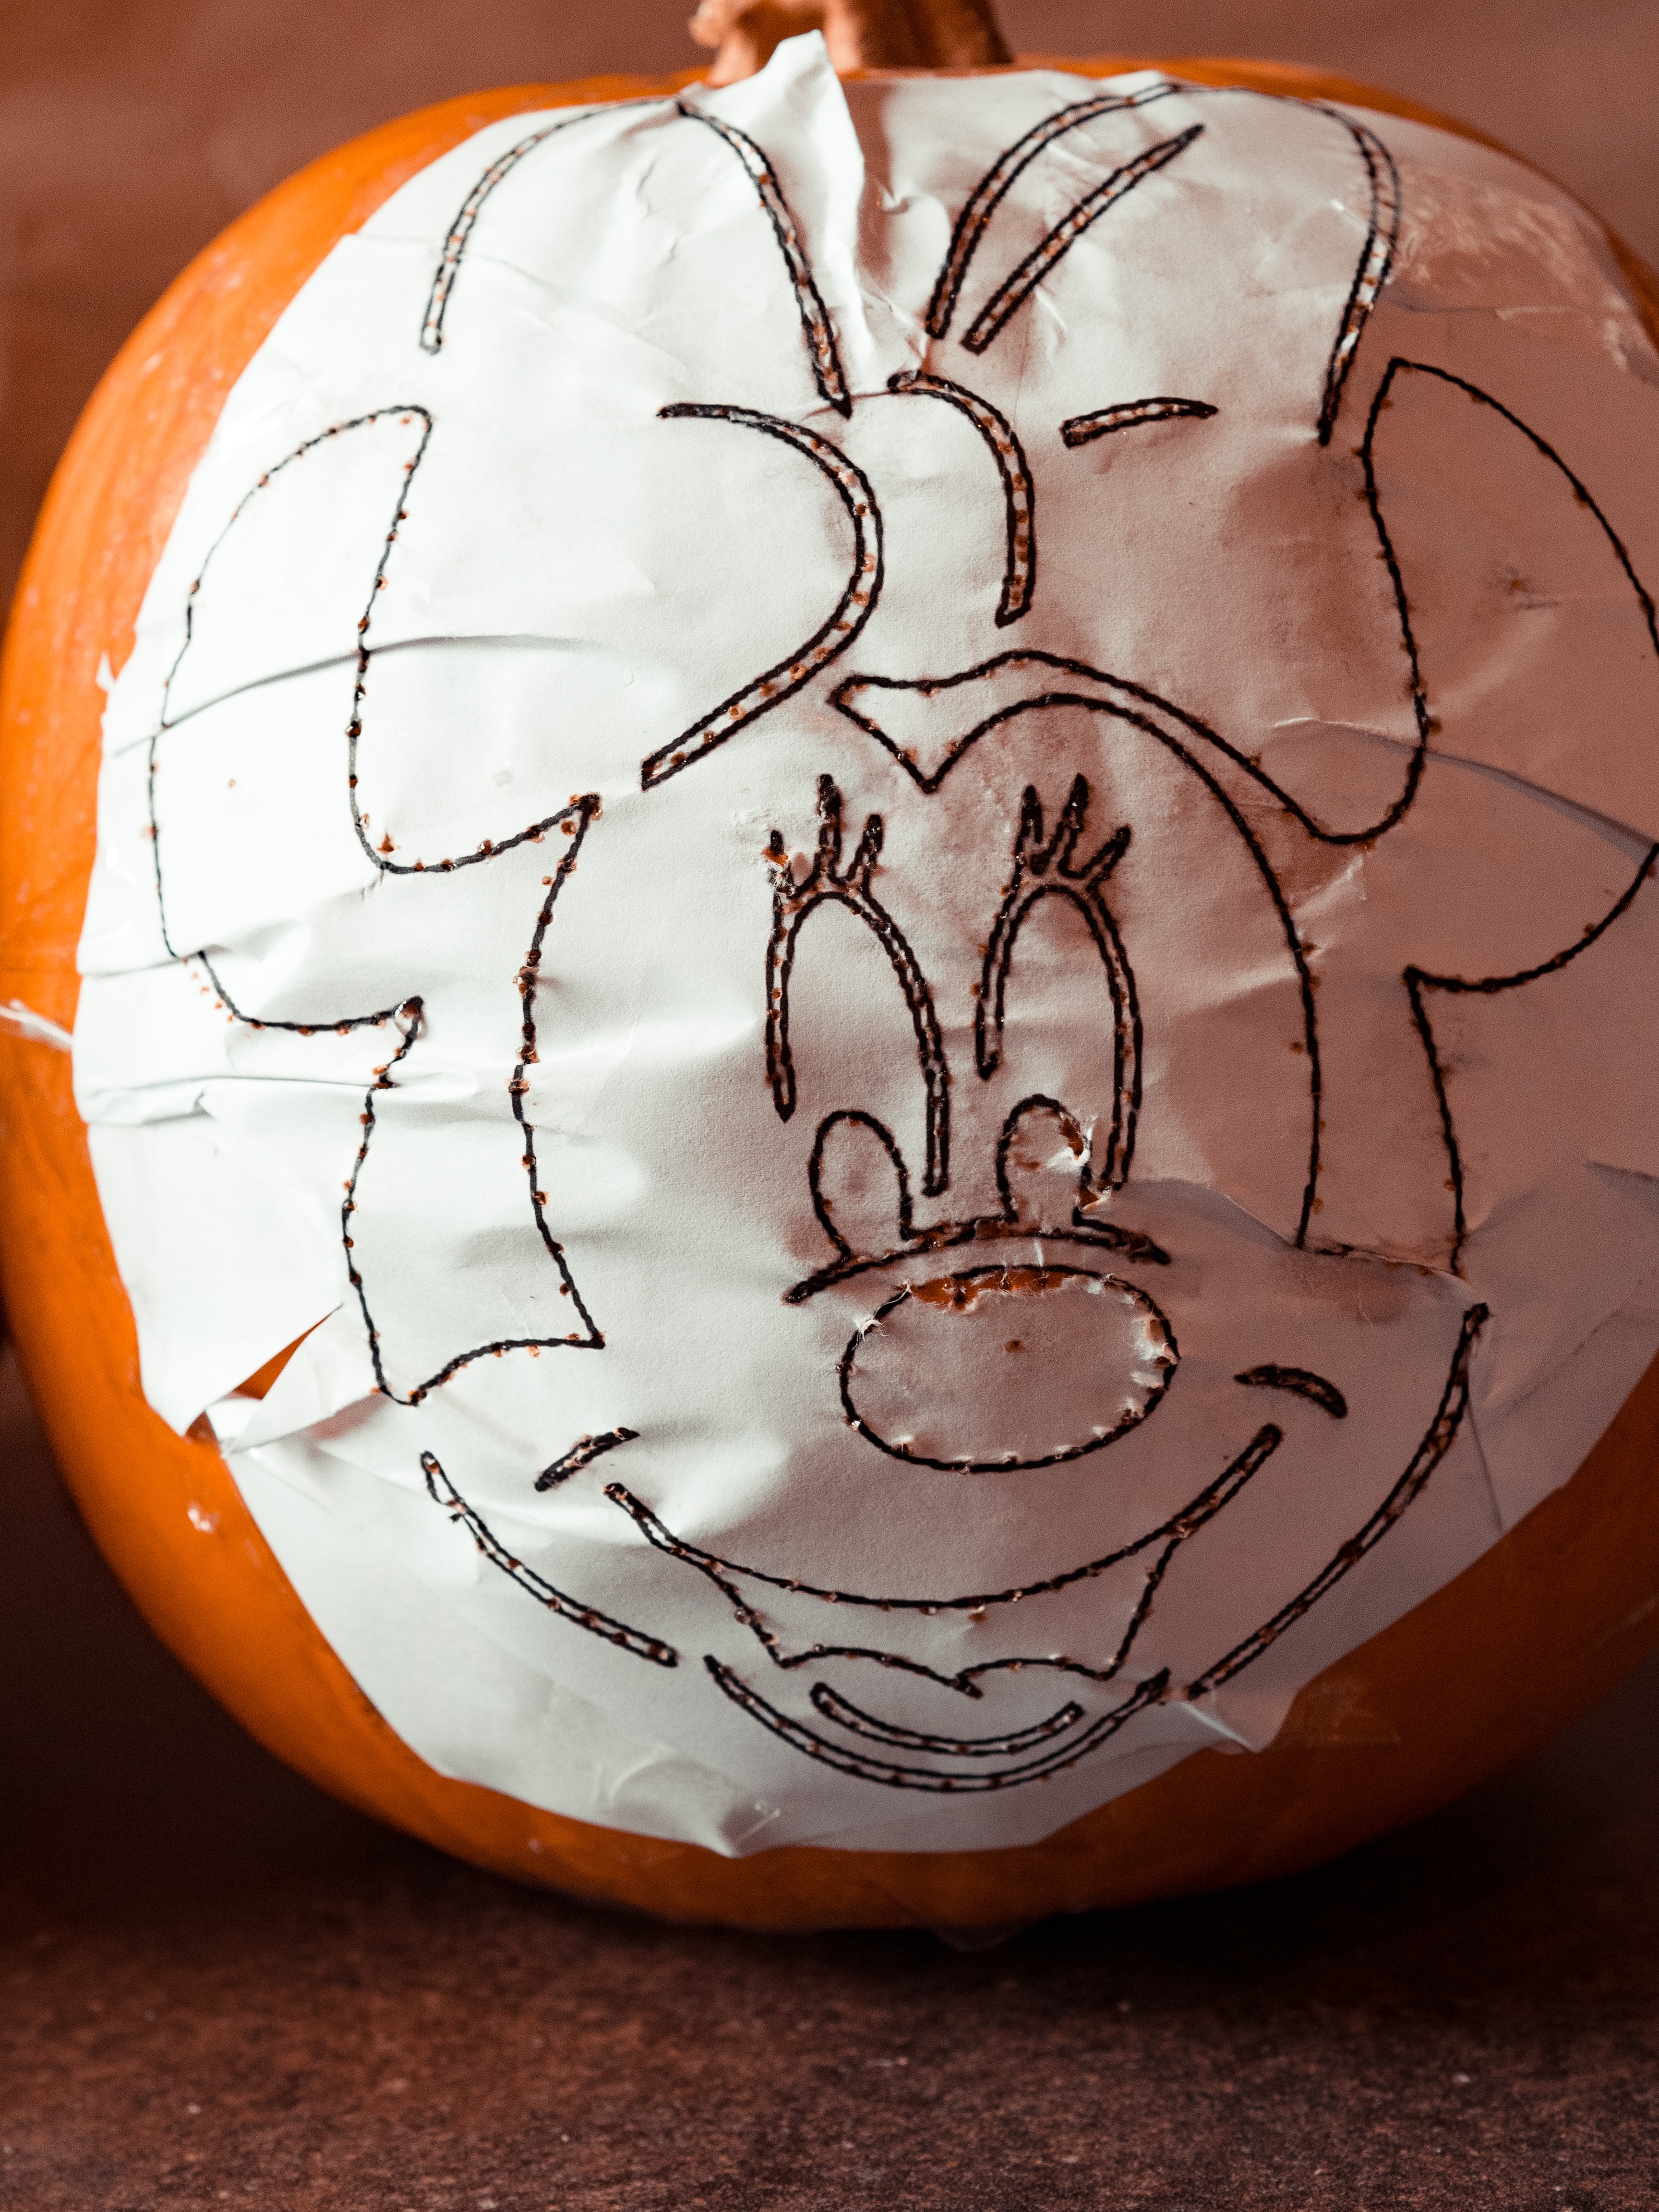
3)Make 4 small cuts at the end of all the edges so you can fold the template onto the pumpkin nicely. Press firmly on to the pumpkin and tape the edges.
4)Trace the drawing with a pin or blade and start poking the stencil into the pumpkin.
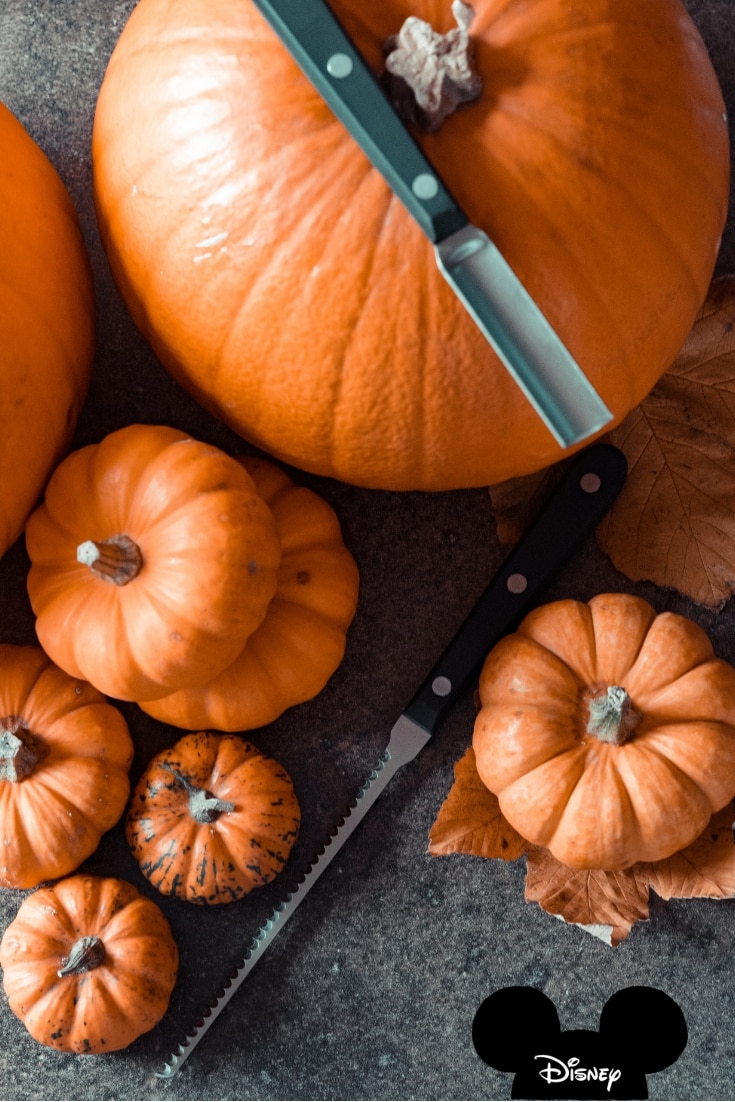
5)Use a sharp knife to cut off the crown.
6)Scrape the pumpkin as clean as you can. Using a large serving spoon or your hand scoop out the seeds and fibres and discard.
Don't forget cleaner is better so more light can shine through.
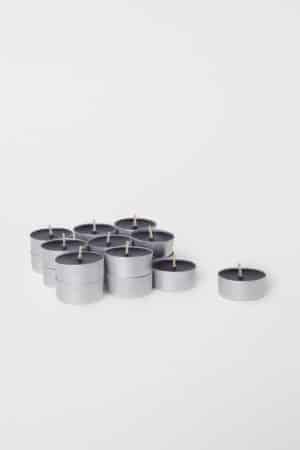
7) Last, pop a tea light inside the pumpkin, light it and place the lid back on.

Some stencils to save you some time:


Last year : 2017
Looking for a quick and super easy recipe for Halloween? Check out my previous blog post. (click here)
Would love to see what design you all come up this year.
Tag me on Instagram @delilapipoly!
Happy Halloween everyone!

